7 Deep Ways How to Prep Soil for Carrots
The scent of damp, mineral-rich earth signals the beginning of the root crop cycle. Successful carrot cultivation relies on the precise manipulation of the rhizosphere to ensure unimpeded downward growth. When you learn how to prep soil for carrots, you are essentially engineering a low-resistance environment that maximizes taproot elongation and diameter. A single pebble or a dense clay pocket will cause the root to fork or stunt; therefore, the physical structure of the substrate is as critical as its chemical composition. Proper preparation ensures high turgor pressure within the cells, leading to a crisp texture and high sugar concentration.
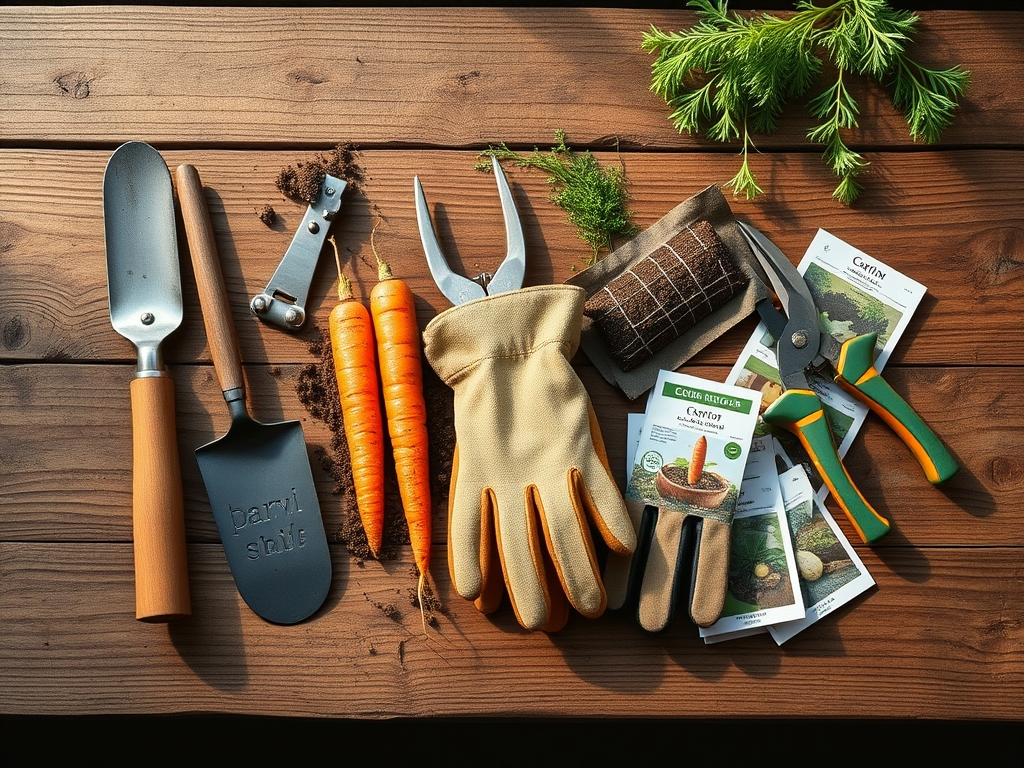
Materials:
The ideal substrate for *Daucus carota* is a **friable sandy loam** with a **Cation Exchange Capacity (CEC)** that allows for efficient nutrient uptake without excessive nitrogen retention. You must target a **soil pH between 6.0 and 6.8**. If the pH drops below 5.5, manganese toxicity can occur; if it rises above 7.5, micronutrients like iron and boron become chemically locked and unavailable to the plant.
Regarding nutrition, avoid high-nitrogen fertilizers which stimulate excessive foliage at the expense of root development. Aim for an NPK ratio of 5-10-10 or 1-2-2. Phosphorus is essential for ATP production and root expansion, while potassium regulates water movement and sugar translocation. Incorporate well-aged compost at a rate of one cubic yard per 100 square feet, ensuring it is screened to remove any debris larger than 0.25 inches.
Timing:
Carrots are cool-season biennials that thrive when soil temperatures are between 45 and 85 degrees Fahrenheit. In Hardiness Zones 3 through 6, sowing typically begins 2 to 3 weeks before the last frost date. In Zones 8 through 10, carrots are often treated as a winter crop, sown in late autumn to mature during the cooler months.
The biological clock of the carrot is governed by vernalization. If the plant experiences a prolonged period of temperatures below 50 degrees Fahrenheit followed by a rapid warming, it may trigger premature senescence and "bolting." This transition from the vegetative stage to the reproductive stage renders the root woody and inedible as the plant redirects all energy to seed production. Monitor the local frost-date window and aim to harvest before the soil temperature consistently exceeds 80 degrees Fahrenheit.
Phases:

Sowing
Direct sow seeds at a depth of 0.25 inches. Because carrot seeds are minute and have low metabolic reserves, they require consistent moisture to break dormancy. Use a fine mist to avoid displacing the seeds. Space rows 12 to 18 inches apart to allow for adequate airflow and cultivation.
Pro-Tip: Maintain a "stale seedbed" for 10 days prior to sowing. This involves watering the bare soil to trigger weed germination, then lightly scuffing the surface to kill weeds without bringing new seeds to the surface. This reduces competition for light and nutrients, preventing auxin suppression in the young carrot seedlings.
Establishing
Thin the seedlings once they reach 2 inches in height. Space individual plants 3 inches apart. This prevents overcrowding, which leads to root intertwining and competition for soil moisture. During this phase, the primary taproot is extending deep into the soil profile.
Pro-Tip: Avoid disturbing the soil near the crown during thinning. Carrots rely on a delicate network of fine lateral roots for water absorption. Disrupting these can cause a temporary loss of turgor pressure, slowing the overall growth rate and potentially leading to "fanging" of the main root.
Maturation
As the carrot enters the bulk-up phase, the plant focuses on storing carbohydrates in the taproot. Maintain consistent soil moisture to prevent the root from splitting. Fluctuations in water availability cause the inner core to expand faster than the outer skin, resulting in longitudinal cracks.
Pro-Tip: Apply a thin layer of organic mulch once the plants are 6 inches tall. This regulates soil temperature and encourages mycorrhizal symbiosis. These beneficial fungi extend the reach of the root system, increasing the surface area for phosphorus and water uptake.
The Clinic:
Physiological disorders in carrots are often a direct result of soil preparation errors or nutrient imbalances.
- Symptom: Forked or Twisted Roots.
- Solution: This is caused by physical obstructions or excess fresh manure. Ensure the soil is tilled to a depth of 12 inches and all stones are removed. Never use uncomposted manure, as the high ammonia levels can "burn" the growing tip of the taproot.
- Symptom: Hairy Roots.
- Solution: Excessive nitrogen levels or waterlogged soil. Reduce nitrogen inputs and improve drainage by adding coarse builder's sand to the soil mix.
- Symptom: Cavity Spot.
- Solution: Often caused by calcium deficiency or Pythium fungi in wet soils. Apply gypsum (calcium sulfate) to improve soil structure and calcium availability without altering the pH.
- Fix-It: Nitrogen Chlorosis.
- Diagnosis: Pale yellowing of older leaves.
- Fix: Apply a side-dressing of blood meal or a liquid seaweed extract at a rate of 1 pound per 100 square feet. This provides a controlled release of nitrogen to restore chlorophyll production.
Maintenance:
Precision is the hallmark of a professional harvest. Carrots require exactly 1.5 inches of water per week, delivered via drip irrigation to the drip line. Overhead watering should be avoided to prevent foliar pathogens. Use a soil moisture meter daily to ensure the substrate remains at 60 to 70 percent field capacity.
Weeding must be performed with a hori-hori knife to slice weed roots below the surface without upending the carrot's rhizosphere. For larger operations, a stirrup hoe can be used between rows. If you notice the shoulders of the carrots emerging from the soil, "hill" a small amount of soil or mulch over them. Exposure to sunlight triggers chlorophyll production in the root, causing the crown to turn green and bitter.
The Yield:
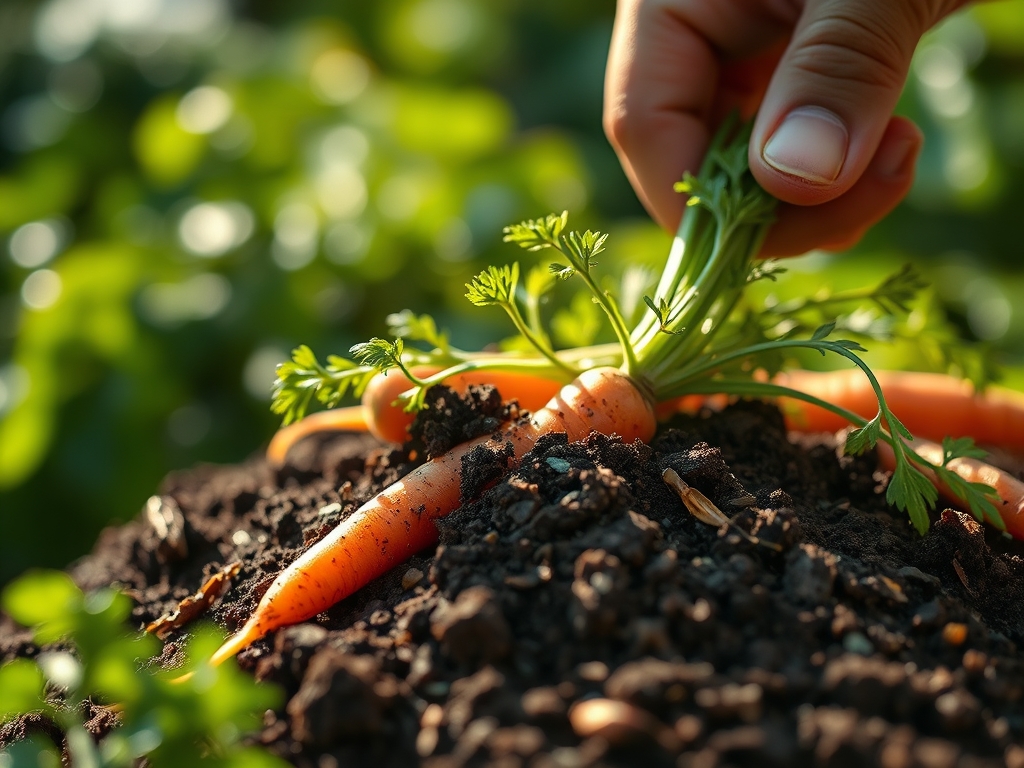
Harvesting occurs when the "shoulder" of the carrot is roughly 0.5 to 1 inch in diameter, depending on the variety. Do not pull the carrots by the greens, as this can snap the root in heavy soil. Instead, use a garden fork to loosen the soil 4 inches away from the row, then gently lift the roots.
For "day-one" freshness, remove the green tops immediately after harvest. The foliage continues to transpire water, drawing moisture out of the root and causing it to go limp. Store the unwashed roots in a high-humidity environment at 32 to 35 degrees Fahrenheit. Under these conditions, the carrots will maintain their crispness and sugar content for several months.
FAQ:
How deep should I till the soil for carrots?
Till the soil to a minimum depth of 12 inches. This ensures the taproot can extend downward without hitting compacted subsoil, preventing stunted or deformed roots. Use a digging fork to break up any deep "hardpan" layers.
Can I grow carrots in heavy clay soil?
Yes, but you must amend it heavily. Incorporate 30 percent coarse sand and 20 percent organic compost by volume. Alternatively, grow "Chantenay" or "Nantes" varieties, which are shorter and more tolerant of dense soil structures.
Why are my carrots bitter instead of sweet?
Bitterness is often caused by heat stress or harvesting too early. High temperatures cause the plant to consume its stored sugars. Terpenoids also increase when the plant is stressed. Ensure soil remains cool and moist during the final maturation weeks.
How do I prevent carrot rust fly?
Use a physical barrier such as a floating row cover immediately after sowing. This prevents the adult flies from laying eggs at the base of the plants. Rotate crops annually to ensure larvae do not overwinter in the same soil.