9 Technical Ways How to Prep for Hydroseeding
The scent of damp, disturbed earth signals the start of a successful germination cycle. When the soil is rich in organic matter and the turgor pressure within local flora remains high, the environment is primed for a hydraulic mulch application. Learning how to prep for hydroseeding requires more than a casual rake; it demands a rigorous analysis of the rhizosphere and the physical structure of the topsoil. Success is measured in the rapid development of the coleoptile, the protective sheath that emerges from the seed. To achieve a 95 percent germination rate, the substrate must be cleared of all competitive biomass and compacted debris. You are not merely planting grass; you are engineering a biological system that relies on precise moisture retention and nutrient availability. Every mechanical action taken before the slurry hits the ground dictates the eventual senescence or survival of the turf. Without a firm understanding of soil mechanics and hydraulic conductivity, the hydroseeding process will fail to establish a deep, resilient root architecture.
Materials:

The foundation of a hydroseeded lawn is a friable loam with a granular structure that allows for optimal gas exchange. You must target a soil pH between 6.0 and 7.0 to ensure maximum nutrient bioavailability. If the pH falls below 5.5, aluminum toxicity can inhibit root elongation. Conversely, a pH above 7.5 often results in iron and phosphorus fixation.
Before application, integrate a starter fertilizer with a specific NPK ratio of 10-20-10 or 18-24-12. High phosphorus content is critical for early root development. The substrate must have a Cation Exchange Capacity (CEC) of at least 10 to 15 milliequivalents per 100 grams to retain these nutrients against leaching. If your soil is sandy with a low CEC, incorporate composted organic matter to increase the surface area for ion adsorption. The physical texture should consist of approximately 40 percent sand, 40 percent silt, and 20 percent clay. This balance prevents the compaction that leads to anaerobic conditions while maintaining enough capillary action to keep the seeds hydrated.
Timing:
Timing is dictated by the Hardiness Zones and the specific biological clock of the chosen seed species. For Zones 4 through 7, the optimal window for cool-season grasses (such as Kentucky Bluegrass or Tall Fescue) is late summer to early fall. During this period, soil temperatures remain between 50 and 65 degrees Fahrenheit, which is the thermal range required for rapid metabolic activity in the embryo.
Spring applications must occur after the final frost date but before the heat of the summer triggers photorespiration, a process where the plant loses carbon instead of gaining it. For Zones 8 through 11, warm-season grasses (like Bermuda or Zoysia) should be hydroseeded when soil temperatures consistently exceed 70 degrees Fahrenheit. This ensures the plant moves quickly from the vegetative stage to a robust establishment phase before the first winter dormancy. Monitoring the photoperiod is also essential; most turfgrasses require at least six hours of direct solar radiation to maintain the energy levels necessary for cellular division.
Phases:

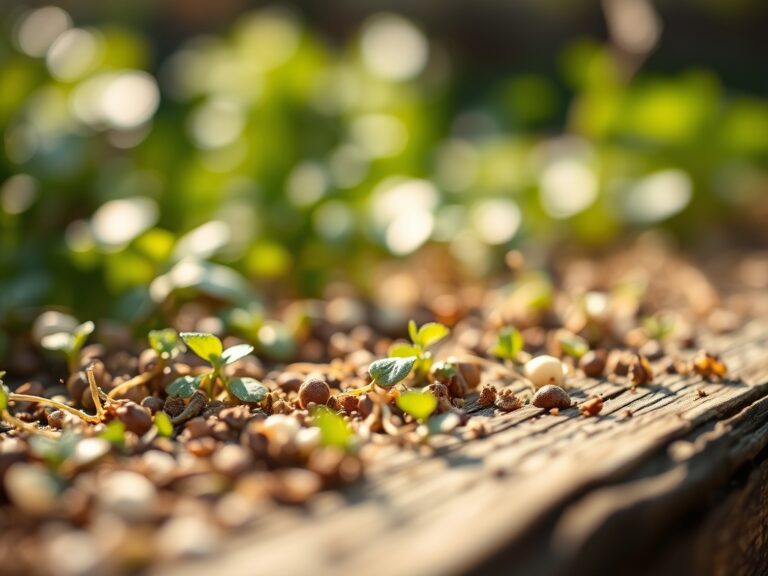
Sowing Preparation
The first phase involves mechanical grading and debris removal. Use a heavy-duty rake or a tractor-mounted Harley rake to remove stones larger than 0.5 inches in diameter. The surface must be leveled to prevent "puddling," which creates localized anaerobic zones where seeds will rot.
Pro-Tip: Ensure the soil is loose to a depth of 2 to 4 inches. This increases the porosity of the soil, allowing for better mycorrhizal symbiosis. These beneficial fungi colonize the roots and extend the reach of the root system, significantly increasing the plant's ability to absorb water and phosphorus.
Transplanting and Slurry Integration
While hydroseeding is a direct-sowing method, the "transplant" phase refers to the transition of the seed from the hydraulic tank to the soil surface. The slurry must contain a tackifier, a chemical bonding agent that prevents erosion on slopes. The application rate should be approximately 2,000 to 3,000 pounds of mulch per acre.
Pro-Tip: The mulch acts as a temporary greenhouse, regulating temperature and moisture. This environment suppresses auxin levels that would otherwise inhibit lateral bud growth, encouraging the seedling to tiller and fill in gaps more quickly.
Establishing the Stand
Once the slurry is applied, the "establishment" phase begins. The goal is to keep the mulch consistently moist without causing runoff. This requires light, frequent irrigation cycles; often 3 to 4 times daily for the first 14 days.
Pro-Tip: Maintaining high moisture levels facilitates phototropism, where the emerging blades grow vertically toward the light source. If the soil dries out, the delicate root hairs will desiccate and die, leading to a permanent reduction in the plant's ability to uptake nutrients.
The Clinic:
Physiological disorders in new hydroseeded lawns often stem from environmental stressors or chemical imbalances.
- Symptom: Yellowing of the oldest leaves (Chlorosis).
Solution: This indicates Nitrogen deficiency. Apply a stabilized nitrogen source to boost chlorophyll production. - Symptom: Purple or reddish tint on leaf blades.
Solution: This is a sign of Phosphorus deficiency, often caused by cold soil temperatures or low pH. Check soil pH and adjust with lime if necessary. - Symptom: "Damping off" or sudden seedling collapse.
Solution: This is caused by fungal pathogens in overly saturated, warm soil. Reduce irrigation frequency and improve airflow across the site. - Symptom: Leaf tip burn or marginal necrosis.
Solution: This often results from high salinity in the irrigation water or over-fertilization. Flush the soil with 2 inches of clean water to leach excess salts.
Fix-It: For Nitrogen chlorosis, use a liquid urea application at a rate of 0.1 to 0.2 pounds of N per 1,000 square feet for a rapid "green-up" without forcing excessive top growth that could weaken the roots.
Maintenance:
Precision is the hallmark of professional maintenance. Use a soil moisture meter to ensure the top 2 inches of soil stay between 20 and 30 percent volumetric water content. Once the grass reaches a height of 3 inches, reduce irrigation frequency but increase the volume to 1.5 inches of water per week. This encourages the roots to dive deeper into the soil profile to find moisture.
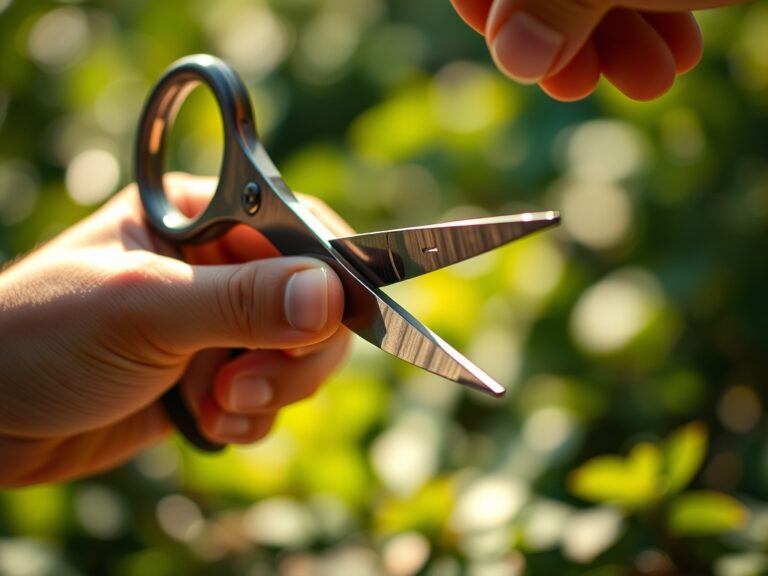
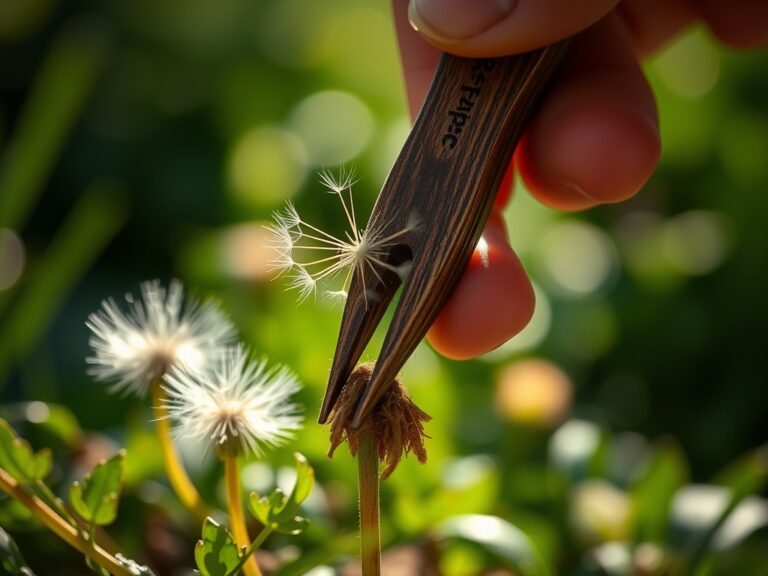
Mowing should begin when the grass reaches 3.5 to 4 inches. Use a mower with sharpened blades to prevent tearing the delicate tissue. Never remove more than one-third of the leaf blade in a single cutting. For precision edging or removing rogue weeds in the early stages, a hori-hori knife is the preferred tool for surgical extraction without disturbing the surrounding root matrix. If you must prune nearby ornamental shrubs to increase light penetration, use high-quality bypass pruners to ensure clean cuts that heal quickly.
The Yield:
In the context of turfgrass, the "yield" is a dense, uniform sod that can withstand foot traffic and environmental stress. The first "harvest" is essentially the first mow. To ensure "day-one" freshness and long-term health, perform this task when the soil is firm enough to support the weight of the mower without rutting. If the turf is being grown for sod harvesting, the root mat must be dense enough to hold the soil together when lifted. This typically requires 12 to 18 months of intensive management.
FAQ:
How long does it take for hydroseed to grow?
Visible germination typically occurs within 7 to 14 days under optimal conditions. Full establishment, where the lawn can handle light foot traffic, usually requires 6 to 8 weeks of consistent moisture and nutrient management.
What is the best time of year to hydroseed?
The best time is late summer or early fall. Soil temperatures are warm, and the cooling air reduces moisture loss through evaporation. This allows for robust root development before the plant enters winter dormancy.
Can I walk on hydroseed after it is applied?
Avoid all foot traffic for at least 3 to 4 weeks. The emerging seedlings are extremely fragile and susceptible to crown damage. Heavy traffic can also compact the soil, reducing the oxygen available to the roots.
How much should I water my new hydroseed?
Water 3 to 4 times daily for the first two weeks, keeping the mulch damp but not saturated. After germination, transition to deeper, less frequent watering, aiming for 1.5 inches per week to encourage deep root growth.