9 Simple Steps to Build a Timber Bed
The scent of damp humus and the tactile resistance of a turgid leaf indicate a garden in peak physiological health. Achieving this level of botanical success requires a structural foundation that manages drainage and soil temperature. Learning the steps to build a timber bed allows a grower to bypass poor native soil drainage and optimize the rhizosphere for maximum nutrient uptake. By elevating the planting surface, you gain total control over the substrate composition and the thermal mass surrounding sensitive root systems.
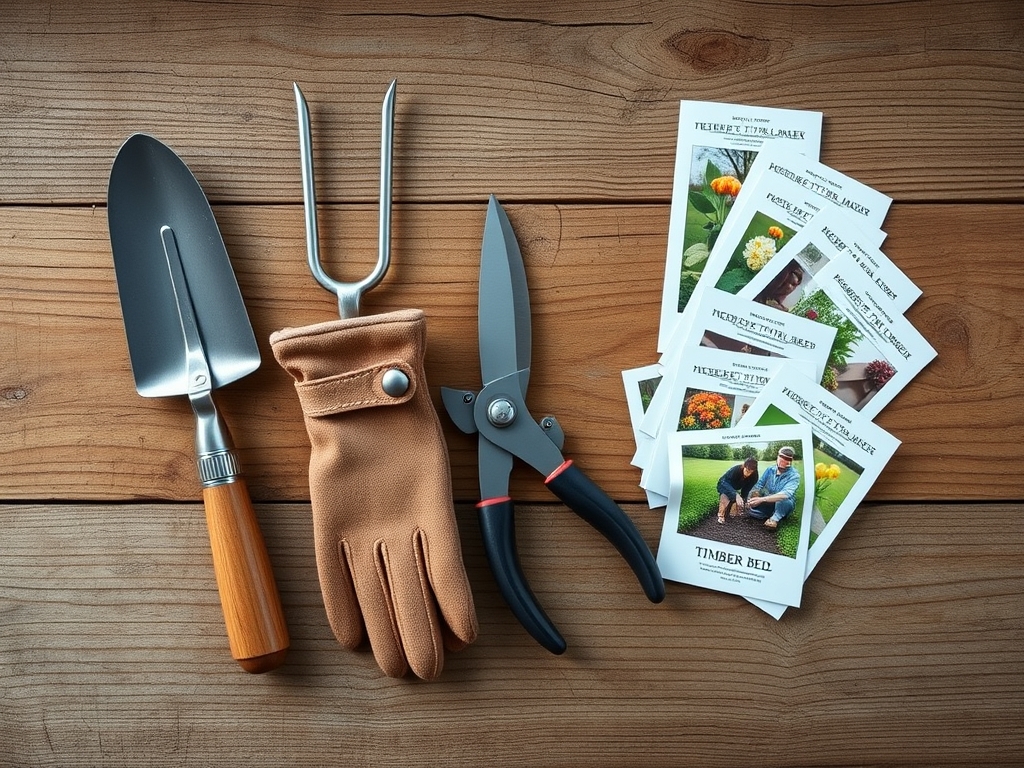
Materials:
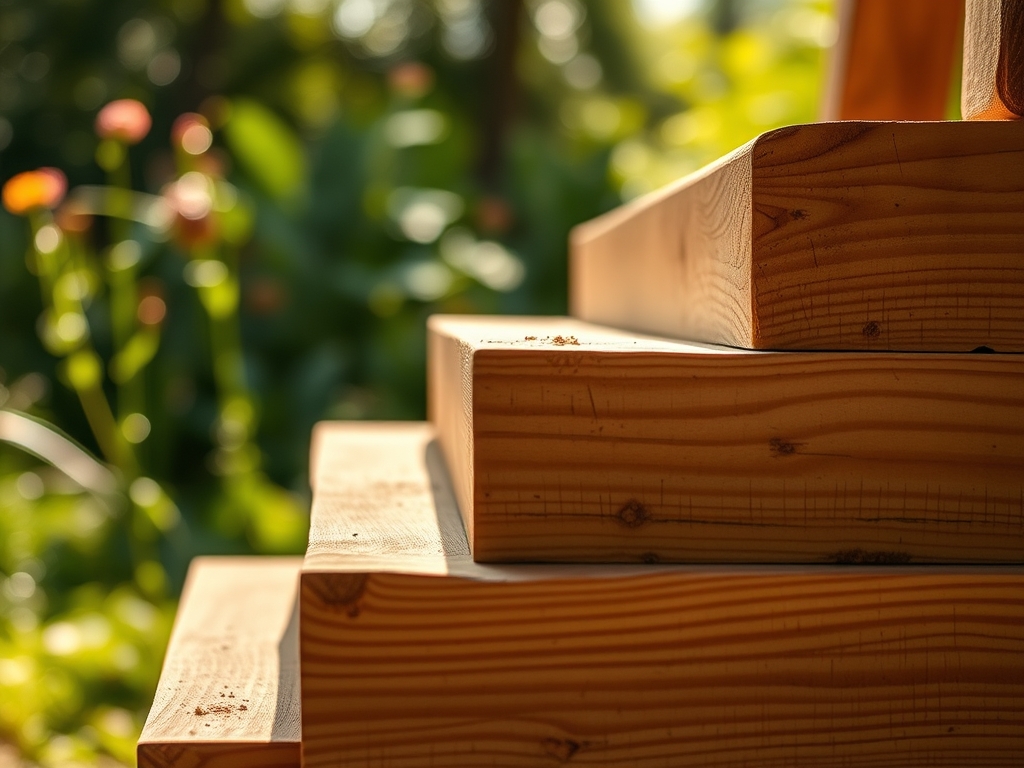
Construction requires rot resistant lumber such as cedar or heat treated sienna pine. Avoid older pressure treated woods containing arsenic. For the substrate, aim for a friable loam with a **pH between 6.2 and 6.8**. This range ensures that essential micronutrients remain bioavailable. The initial soil mix should follow a specific NPK ratio of **5-10-5** to encourage root establishment without overstimulating succulent vegetative growth that attracts sap sucking insects.
The physical texture must be granular enough to allow for a high Cation Exchange Capacity (CEC). A high CEC ensures the soil can hold onto positively charged ions like Calcium (Ca2+) and Magnesium (Mg2+). Incorporate 20 percent coarse perlite or sharp sand to maintain aerobic conditions. This prevents the compaction that leads to root hypoxia.
Timing:
Hardiness Zones 4 through 7 should initiate construction in late autumn or early spring, at least six weeks before the last predicted frost. This allows the soil to settle and the microbial life to stabilize. In warmer Zones 8 through 10, timber beds are best installed in late summer to prepare for the winter growing season.
Understanding the biological clock of your specific cultivars is essential. Most temperate vegetables require a photoperiod of at least 12 hours to transition from the vegetative stage to the reproductive stage. By building your timber bed in the shoulder seasons, you ensure the soil temperature reaches the 65 degree Fahrenheit threshold required for rapid seed germination and cellular expansion.
Phases:
Sowing
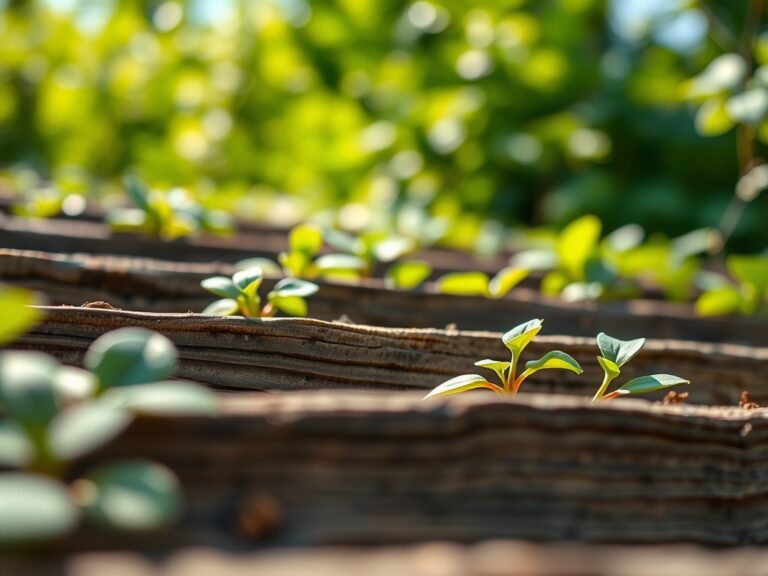
Direct sow seeds at a depth exactly three times the diameter of the seed. Ensure the soil is moist but not saturated to maintain turgor pressure within the germinating embryo. For small seeds like carrots, use a fine vermiculite dusting to prevent crusting.
Pro-Tip: Maintain consistent moisture to prevent "damping off," a fungal condition. The biological why involves protecting the hypocotyl from soil borne pathogens before the plant develops its first true leaves and a robust cuticle.
Transplanting
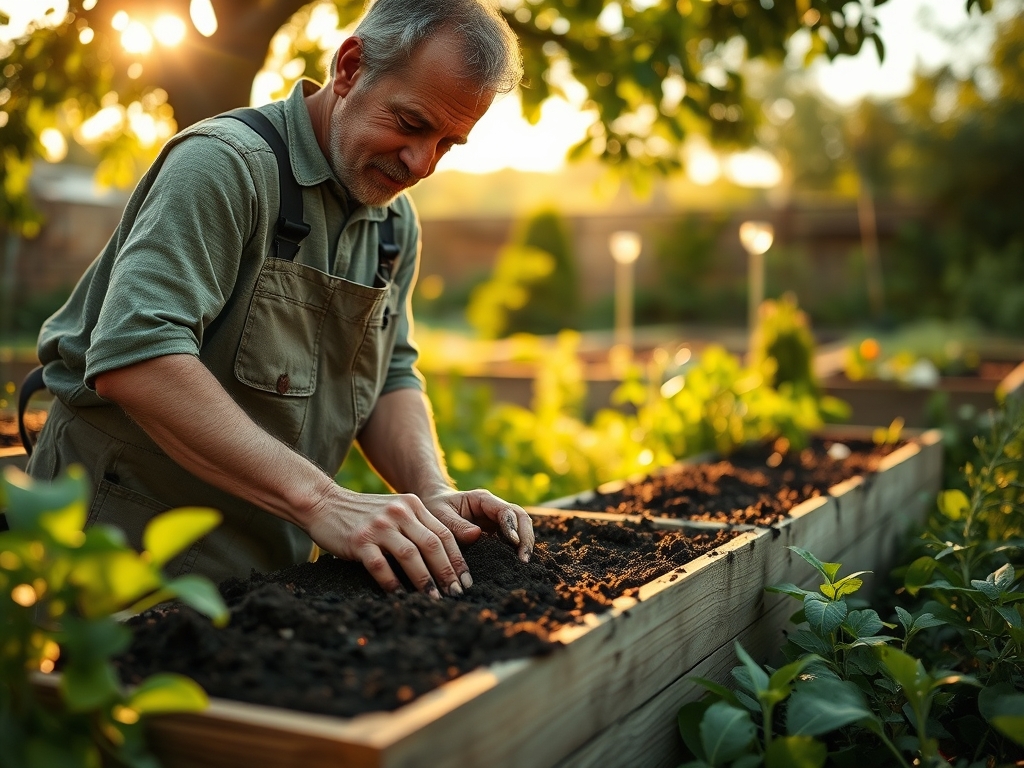
When moving seedlings into the timber bed, handle them by the cotyledons rather than the stem. Dig a hole twice the width of the root ball. If the plant is root bound, gently tease the roots outward to encourage lateral growth into the new substrate.
Pro-Tip: Apply a mycorrhizal inoculant to the planting hole. The biological why is mycorrhizal symbiosis; these fungi extend the reach of the root system by hundreds of times, significantly increasing the uptake of phosphorus and water.
Establishing
Once transplanted, the focus shifts to apical dominance and structural integrity. Monitor the plants for upright growth and provide support for vining species immediately to avoid disturbing the roots later.
Pro-Tip: Pinch off early flower buds on young transplants. The biological why is auxin suppression; by removing reproductive sinks, the plant redirects its hormonal energy toward root development and leaf biomass, leading to a higher total yield later in the season.
The Clinic:
Physiological disorders often mimic disease but are usually environmental or nutritional.
-
Symptom: Interveinal chlorosis on young leaves.
Solution: This indicates an Iron deficiency, often caused by a pH above 7.0.
Fix-It: Lower the pH using elemental sulfur or apply chelated iron foliar spray. -
Symptom: Blossom end rot on fruit.
Solution: This is a Calcium transport issue, often triggered by inconsistent watering rather than a lack of Calcium in the soil.
Fix-It: Maintain steady soil moisture levels to ensure a constant transpiration stream. -
Symptom: Purpling of older foliage.
Solution: Phosphorus deficiency, common in cold soils where microbial activity is low.
Fix-It: Apply a high phosphate liquid fertilizer or wait for soil temperatures to rise above 55 degrees Fahrenheit. -
Symptom: General yellowing of lower leaves (Nitrogen chlorosis).
Solution: The plant is scavenging Nitrogen from old growth to support new growth.
Fix-It: Side dress with blood meal or a high Nitrogen organic fertilizer.
Maintenance:
Precision is the difference between a surviving garden and a thriving one. Use a soil moisture meter to ensure the bed receives exactly 1.5 inches of water per week at the drip line. Overhead watering should be avoided to prevent foliar pathogens; use drip irrigation or a soaker hose instead.
Pruning should be performed with sharp bypass pruners to ensure clean cuts that callous over quickly. For weeding and planting, a hori-hori knife is the superior tool for cutting through stubborn roots without disturbing the surrounding soil structure. Check the soil compaction annually. If the soil feels dense, top dress with two inches of well rotted compost to encourage earthworm activity, which naturally aerates the profile.
The Yield:
Harvesting is a matter of cellular timing. For leafy greens, harvest in the early morning when turgor pressure is at its peak; this ensures the leaves are crisp and have a longer shelf life. For fruiting crops, wait for the "breaker stage" when color change is at least 30 percent.
Post harvest handling is critical for "day-one" freshness. Immediately submerge leafy crops in 40 degree Fahrenheit water to remove field heat and slow the rate of respiration. For woody herbs, use sharp snips to avoid tearing the vascular tissue, which leads to rapid wilting and senescence.
FAQ:
What is the best wood for a timber bed?
Cedar and redwood are the gold standards due to natural tannins that resist decay. If using pine, ensure it is heat treated (HT) rather than chemically treated with older CCA methods to prevent soil contamination.
How deep should a timber bed be?
A depth of 12 to 18 inches is ideal for most crops. This depth provides ample space for the majority of vegetable root systems while ensuring excellent drainage and easier access for the gardener.
How do I stop weeds from growing in the bed?
Line the bottom of the timber bed with a layer of corrugated cardboard before adding soil. This creates a light proof barrier that smothers existing vegetation while eventually decomposing to allow deep root penetration and worm migration.
Can I build a timber bed on concrete?
Yes, but you must increase the depth to at least 24 inches to compensate for the lack of natural subsoil drainage. Add a three inch layer of coarse gravel at the base to prevent the soil from becoming anaerobic.