10 Detailed Ways How to Build a Garden Waterfall
The smell of damp earth and the high turgor pressure of a healthy leaf define the success of a well-integrated aquatic system. Water movement is not merely aesthetic; it oxygenates the rhizosphere of surrounding flora and moderates localized humidity levels. Understanding how to build a garden waterfall requires a firm grasp of hydraulics and soil mechanics to ensure structural integrity. A poorly executed feature leads to anaerobic soil conditions and root rot. By following precise engineering standards, you can create a recirculating system that supports a diverse micro-ecosystem while maintaining the hydraulic head pressure necessary for consistent flow. This guide provides the technical data required to execute a professional-grade installation.
Materials:
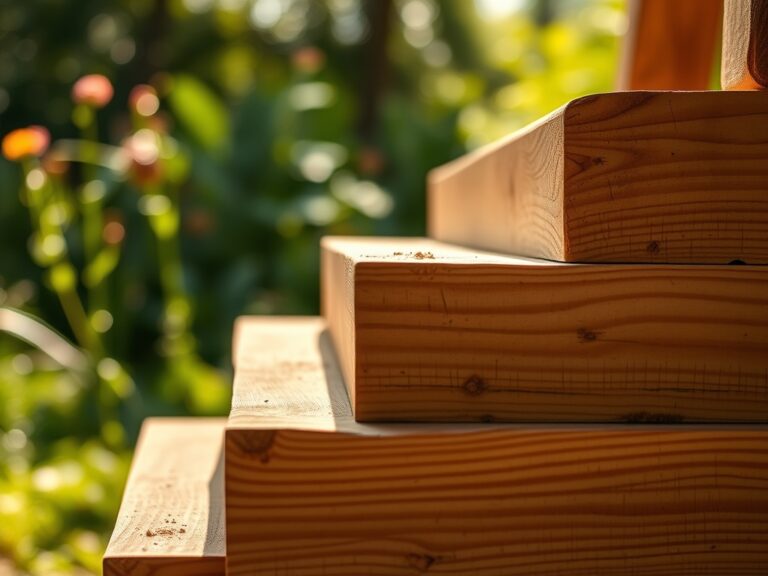
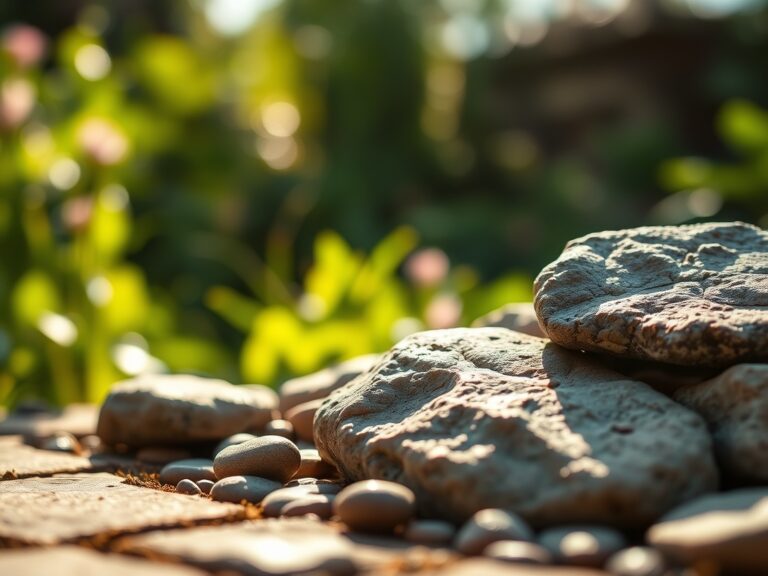
The surrounding soil must be a **friable loam** with a high **Cation Exchange Capacity (CEC)** to support the heavy nitrogen demands of marginal aquatic plants. Aim for a soil pH between **6.0 and 7.0**. The substrate should consist of **40 percent sand, 40 percent silt, and 20 percent clay** to ensure proper drainage around the basin. For the aquatic shelf, use a specialized planting medium with an NPK ratio of **10-14-8** to promote root development without over-stimulating algae-prone vegetative growth. You will need a **45-mil EPDM rubber liner**, a submersible pump rated for at least **1,500 gallons per hour (GPH)**, and non-toxic pond stone. Geotextile underlayment is mandatory to prevent sharp aggregate from puncturing the membrane under the weight of the water.
Timing:
Construction should commence during the dormant season for your specific Hardiness Zone. In Zones 5 through 7, the ideal window is late winter or early spring, specifically 3 to 4 weeks before the average last frost date. This timing allows the soil to settle before the biological clock of your plantings triggers the transition from the vegetative stage to the reproductive stage. Soil temperature must be at least 45 degrees Fahrenheit for excavation to prevent structural wall collapse caused by ice lenses. By finishing construction before the photoperiod reaches 12 hours of daylight, you allow the beneficial nitrifying bacteria to colonize the biological filter before the summer heat increases the risk of oxygen depletion.
Phases:

Sowing and Excavation
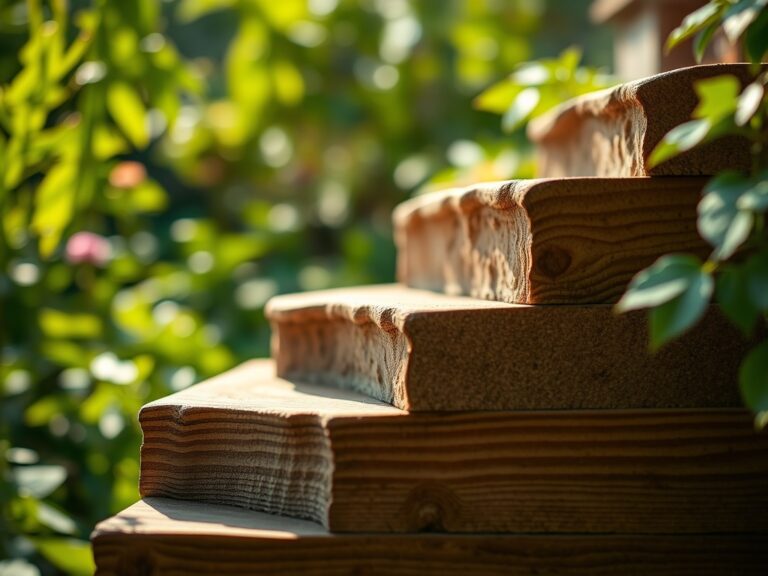
Begin by marking the perimeter and excavating the basin to a minimum depth of 24 inches to prevent total freezing in colder climates. Create a series of tiered shelves at 8-inch and 12-inch depths. These shelves serve as the foundation for marginal plants that filter excess nutrients. Ensure the waterfall weir is perfectly level using a transit level to prevent "channeling" where water bypasses the intended spillway.
Pro-Tip: Compact the soil in 4-inch lifts during backfilling. This prevents settling that can cause the liner to stretch; a phenomenon that disrupts the capillary action of the surrounding soil and leads to localized drought stress.
Transplanting Aquatic Flora
When placing plants like Iris pseudacorus or Caltha palustris into the waterfall margins, use aquatic baskets to prevent invasive spread. Submerge the pots so the crown sits 2 inches below the water surface. This depth ensures the plant can maintain turgor pressure even during high evaporation periods.
Pro-Tip: Use mycorrhizal inoculants on the root balls during transplanting. This mycorrhizal symbiosis expands the surface area of the roots; allowing the plants to more efficiently sequester phosphorus and nitrogen from the water column, which naturally limits algal blooms.
Establishing the Biological Filter
The waterfall itself acts as a massive aerator. Fill the upper spillway basin with volcanic rock or bio-balls to provide a high surface area for Nitrosomonas and Nitrobacter bacteria. These organisms convert toxic ammonia into nitrites and then into nitrates, which are then absorbed by the plants.
Pro-Tip: Avoid pruning the foliage of new plants for the first 30 days. Maintaining maximum leaf surface area encourages auxin production in the terminal buds; which signals the plant to prioritize deep root establishment over lateral spread.
The Clinic:
Physiological disorders in a waterfall environment often stem from water chemistry imbalances.
- Symptom: Interveinal Chlorosis. The leaves show yellowing between the veins while the veins remain green.
Solution: This is typically an Iron deficiency caused by a pH above 7.5. Lower the pH using sulfur-based buffers to a range of 6.5.
2. Symptom: Marginal Leaf Burn. The edges of the leaves turn brown and crispy despite the proximity to water.
Solution: This indicates high salinity or fertilizer salt buildup. Flush the system and replace 20 percent of the water to lower the electrical conductivity (EC).
3. Symptom: Stunted Growth and Purple Foliage.
Solution: This is a Phosphorus deficiency. Check the water temperature; if it is below 55 degrees Fahrenheit, the plant cannot effectively transport phosphorus. Add a water-soluble 5-15-5 fertilizer directly to the root zone.
Fix-It for Nitrogen Chlorosis: If the entire leaf turns pale yellow, the plant is nitrogen-starved. Apply a slow-release aquatic fertilizer spike with a 20-10-10 ratio into the planting basket.
Maintenance:
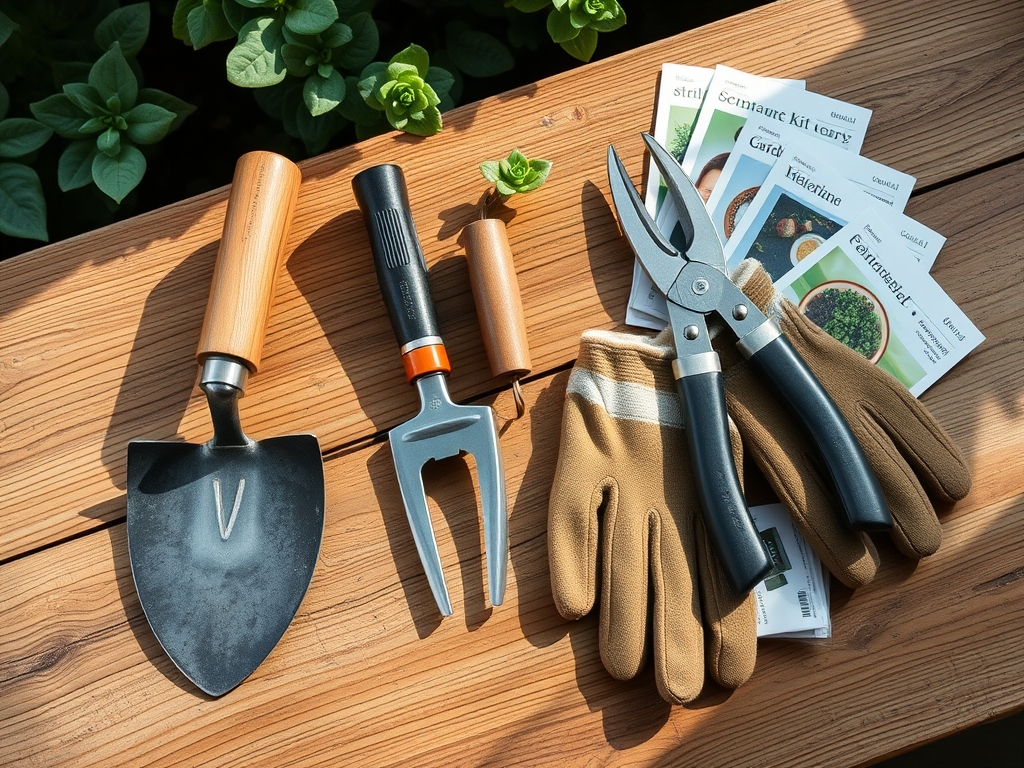
Precision maintenance is required to keep the system balanced. Use a soil moisture meter to ensure the terrestrial plants around the waterfall receive exactly 1.5 inches of water per week at the drip line. Use a hori-hori knife to remove invasive weeds from the rock crevices without damaging the EPDM liner. Every autumn, use bypass pruners to cut back aquatic foliage to 3 inches above the water line to prevent organic matter from decaying in the basin; which would lead to a spike in hydrogen sulfide. Monitor the pump intake weekly to ensure a flow rate of at least 1,200 GPH is maintained; any drop in flow reduces dissolved oxygen levels and can lead to plant senescence.
The Yield:
For those incorporating edible watercress or ornamental lotus, harvest timing is critical. Harvest watercress when the stems reach 6 inches in length but before flowering occurs. For lotus pods, wait until the seed head turns brown and the seeds rattle. To maintain "day-one" freshness for harvested aquatic greens, submerge the stems in 40-degree Fahrenheit water immediately after cutting. This rapid cooling halts metabolic activity and preserves the cellular structure.
FAQ:
How deep should the waterfall basin be?
The basin should be at least 24 inches deep. This depth prevents the water from overheating in summer and protects the pump from freezing in winter. Deep water also provides a thermal mass that stabilizes the surrounding soil temperature.
What is the best liner for a garden waterfall?
Use a 45-mil EPDM rubber liner. It is UV-resistant and flexible enough to conform to the irregular shapes of a rock waterfall. Avoid thin PVC liners as they become brittle and crack under hydrostatic pressure over time.
How do I stop my waterfall from leaking?
Leaks usually occur at the liner edges or the weir connection. Ensure the liner extends at least 6 inches above the water level behind the rocks. Use professional-grade black waterfall foam to seal gaps between stones and the liner.
How much water flow do I need?
Calculate 100 gallons per hour (GPH) for every inch of waterfall width. For a 12-inch wide spillway, you need a pump rated for at least 1,200 GPH to achieve a consistent, visually appealing "sheet" of water.