5 Best Spillways for Waterfalls
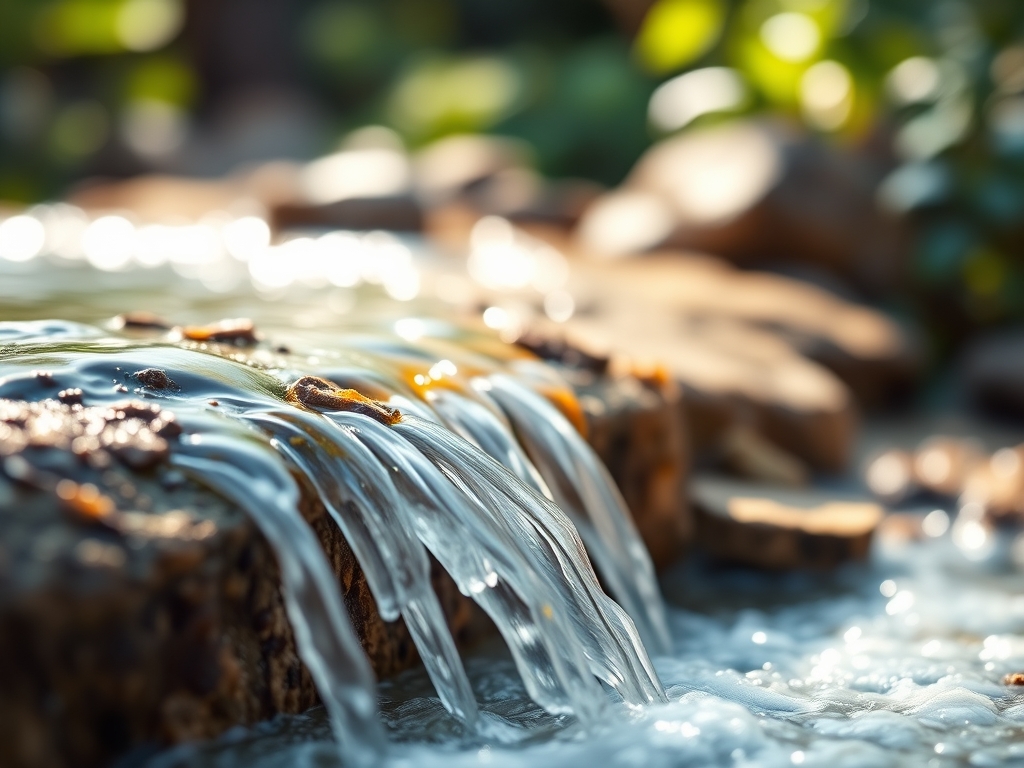
The scent of damp, anaerobic sediment indicates a pond system in distress; conversely, the crisp ozone of aerated water signifies a healthy aquatic rhizosphere. Installing the best spillways for waterfalls requires more than aesthetic placement. It demands an understanding of fluid dynamics and the structural integrity of the surrounding landscape. A properly engineered spillway manages the transition of water from a bio-filter or reservoir into the main basin, ensuring oxygenation levels remain high enough to support aerobic bacteria. Without this mechanical aeration, the water column loses turgor pressure in its aquatic flora, leading to cellular collapse and rapid senescence. Precision in spillway selection dictates the longevity of the entire ecosystem.
Materials:

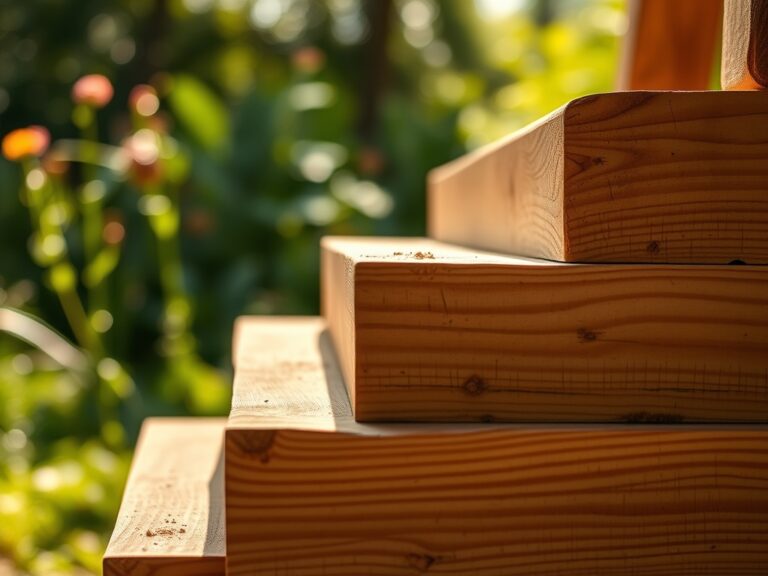
Substrate stability is the foundation of any hydraulic installation. The surrounding soil must be a **friable loam** with a high Cation Exchange Capacity (CEC) to support edge-dwelling vegetation that prevents erosion. Aim for a soil pH between **6.5 and 7.2** to ensure nutrient availability for marginal plants. If the soil is overly acidic, incorporate pelletized lime to raise the pH. For the biological filtration units often paired with spillways, maintain an NPK ratio of **10-30-20** for flowering aquatic plants or **20-10-10** for foliage-heavy species like Juncus effusus. The mechanical components must be constructed from UV-resistant high-density polyethylene (HDPE) or 304-grade stainless steel to resist mineral calcification and oxidative stress over decades of continuous saturation.
Timing:
Installation should occur during the dormant season for your specific Hardiness Zone, typically Zones 4 through 9. In cooler climates, the ideal window is late autumn after the first frost but before the ground freezes, or early spring before the "Biological Clock" triggers the transition from vegetative to reproductive stages in local flora. This timing minimizes the disruption of mycorrhizal networks in the soil. Avoid installation during peak summer heat when high evaporation rates can lead to salt accumulation in the newly disturbed soil. Monitoring the photoperiod is essential; as days lengthen, the increase in solar radiation accelerates algae colonization on new spillway surfaces.
Phases:

Sowing the Perimeter
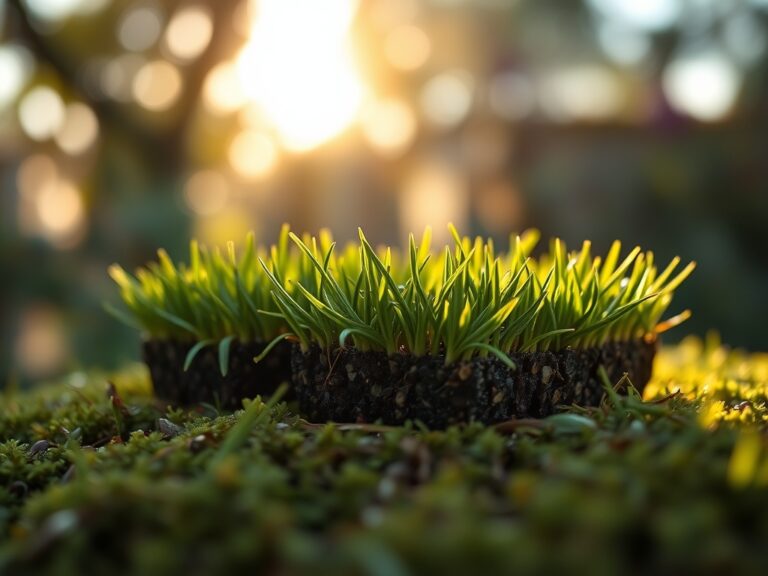
Before the spillway is set, establish ground-stabilizing plants. Use a mix of native sedges and rushes. Ensure the root balls are saturated before placement. Dig holes twice the width of the root mass to encourage lateral root expansion into the native soil.
Pro-Tip: Utilize mycorrhizal inoculants during planting. This symbiotic relationship between fungi and roots increases the surface area for water absorption by up to 1,000 percent, ensuring the plants can withstand the high-moisture environment near the spillway.
Transplanting and Leveling
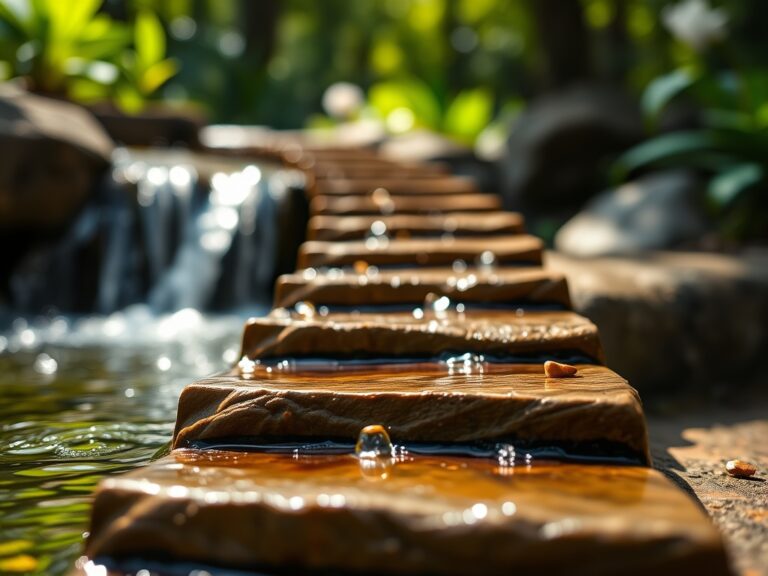
The spillway unit must be perfectly level to ensure an even "sheet" of water. Use a four-foot spirit level across the weir. If the unit is tilted by even 0.125 inches, the water will channel to one side, causing localized erosion and reducing the aeration efficiency of the fall.
Pro-Tip: Backfill the area around the spillway with crushed limestone or pea gravel. This increases the Cation Exchange Capacity of the immediate area and provides a mechanical anchor that prevents frost heaving during winter freeze-thaw cycles.
Establishing the Flow
Once the hardware is secured, initiate the pump at 50 percent capacity. Observe the water's path as it exits the weir. Adjust the rockwork to ensure the water clears the edge of the spillway, preventing "wicking" where water travels backward under the unit and undermines the soil structure.
Pro-Tip: Suppress apical dominance in surrounding shrubs by pruning terminal buds with bypass pruners. This redirects auxins to lateral buds, creating a denser root and foliage mat that physically reinforces the spillway's edges against hydraulic pressure.
The Clinic:
Physiological disorders in the pond perimeter often manifest as visual cues in the foliage.
Symptom: Interveinal chlorosis (yellowing between leaf veins) on marginal plants.
Solution: This typically indicates an iron deficiency common in high pH environments. Apply chelated iron directly to the rhizosphere.
Symptom: Marginal necrosis (browning of leaf edges).
Solution: Check for salt buildup or fertilizer runoff. Flush the soil with 2.0 inches of fresh water to leach excess salts.
Symptom: Stunted growth and purplish leaves.
Solution: This is a classic sign of Phosphorus deficiency. Check water temperatures; if they are below 55 degrees Fahrenheit, the plant cannot effectively uptake Phosphorus regardless of soil concentration.
Fix-It: For Nitrogen chlorosis (general paling of the entire leaf), apply a slow-release organic fertilizer with a 5-3-3 NPK ratio. Ensure the fertilizer does not enter the water column directly to avoid algae blooms.
Maintenance:
Consistency is the hallmark of a professional horticulturist. Use a soil moisture meter twice weekly to ensure the perimeter soil remains at 70 percent saturation. During the growing season, provide 1.5 inches of water per week at the drip line of surrounding shrubs if rainfall is insufficient.
Maintain the spillway weir by removing bio-film and mineral deposits every 30 days using a stiff-bristled brush. Use a hori-hori knife to extract invasive tap-rooted weeds that may attempt to penetrate the liner or spillway housing. Inspect the pump intake for debris twice a month; a restricted intake reduces the flow rate, which lowers the dissolved oxygen levels and can lead to fish stress or anaerobic conditions in the basin.
The Yield:
While a spillway itself is mechanical, the "yield" is the health of the aquatic ecosystem. If you are growing water-cress or edible aquatic mints near the spillway, harvest during the morning when turgor pressure is at its peak. Use sharp bypass pruners to make clean cuts above a node. To maintain "day-one" freshness, immediately submerge the stems in 40-degree Fahrenheit water and store in a pressurized container to prevent wilting. This preserves the essential oils and crisp texture of the harvest.
FAQ:
What is the best material for a long-lasting spillway?
Stainless steel and UV-stabilized HDPE are superior. These materials resist the corrosive effects of fluctuating pH levels and the physical stress of ice expansion during winter months in northern Hardiness Zones.
How wide should my spillway be for a 2,000 GPH pump?
For a 2,000 GPH flow, a spillway width of 12 to 16 inches is ideal. This width ensures a consistent water sheet approximately 0.5 inches thick, providing optimal aeration and visual impact.
Can I install a spillway on a steep slope?
Yes, but it requires a "stepped" approach. Use multiple spillways or large boulders to create a series of drops. This breaks the water's velocity, preventing soil erosion and maintaining the structural integrity of the slope.
Why is my waterfall water turning brown?
This usually indicates "wicking" or soil erosion. Water is likely traveling behind the spillway and pulling tannins or sediment from the soil. Re-level the weir and ensure the liner is tucked tightly under the spillway lip.
How do I prevent algae on the spillway weir?
Maintain a consistent flow to prevent stagnant films. If algae persists, ensure the pond has at least 50 percent surface coverage with floating plants like lilies to reduce the solar radiation reaching the spillway surface.