7 Secure Steps to Anchor a Metal Arch
Damp earth releases a sharp, geosmin-heavy scent as the spade breaks the surface tension of the soil. A healthy plant maintains high turgor pressure within its cellular walls; however, a heavy vine can quickly collapse a flimsy structure during a wind event. To prevent mechanical failure, you must master the steps to anchor a metal arch into the substrate. This process requires more than a cursory push into the dirt. It demands an understanding of soil physics and structural load. You are creating a permanent skeletal support for woody perennials that will eventually exert hundreds of pounds of downward and lateral force. Proper anchoring ensures the rhizosphere remains undisturbed by shifting metal feet. Without a deep, secure foundation, the wind acts as a lever, prying the arch from the ground and snapping the delicate vascular tissues of your climbing specimens.
Materials:
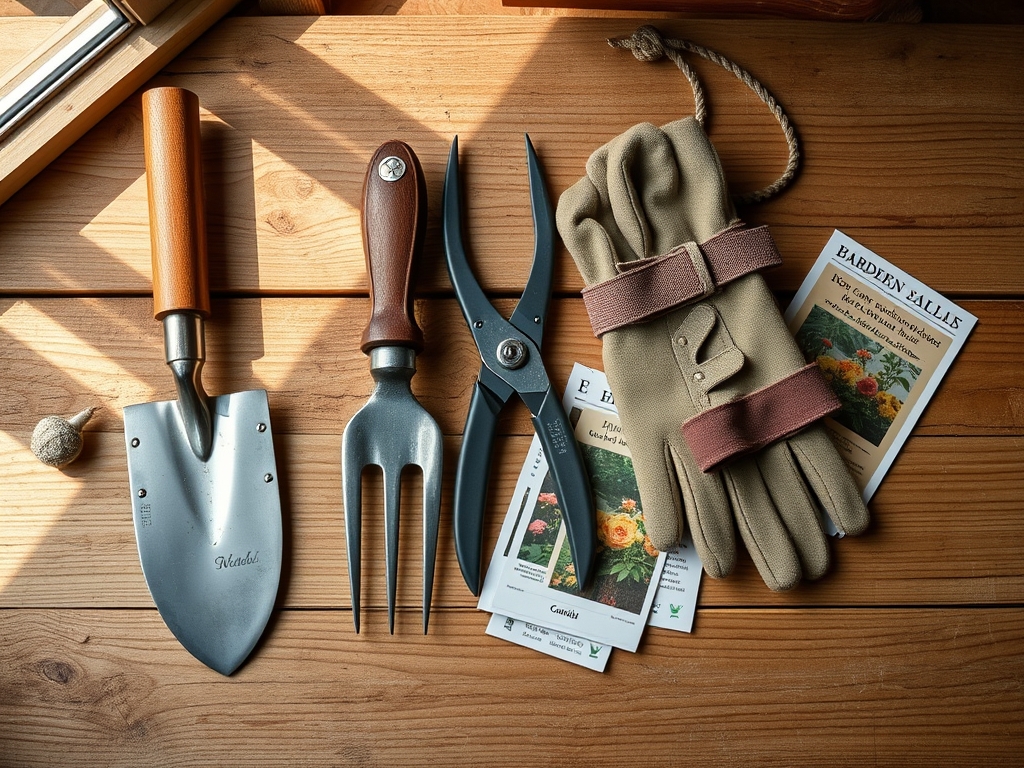
The success of your installation depends on the Cation Exchange Capacity (CEC) and the physical texture of your substrate. An ideal substrate is a friable loam with a pH between 6.0 and 7.0. High clay content increases stability but may lead to anaerobic conditions around the metal, accelerating oxidation. For the anchoring process, gather the following:
- Galvanized steel rebar stakes (18 to 24 inches): These provide the primary friction against the soil profile.
- Quick-setting concrete (80 lb bag): Necessary for high-wind zones or sandy soils with low cohesion.
- Crushed stone (3/4 inch minus): Used for drainage at the base of the anchor point.
- NPK 5-10-10 fertilizer: A low-nitrogen, high-phosphorus starter to encourage root development without over-stimulating succulent top growth.
- Spirit level and plumb bob: To ensure vertical alignment.
Timing:
Hardiness Zones 3 through 9 dictate the window for installation. You must complete the steps to anchor a metal arch at least four weeks before the first hard frost. This allows the soil to settle and any newly planted climbers to establish a root system before dormancy. The biological clock of the plant is critical; you want to anchor the arch during the transition from the vegetative stage to the early stages of senescence or during early spring before the "bud break" phase. Installing the arch while the plant is in a high-growth vegetative state risks damaging the auxin-producing apical meristems as you train the stems to the new structure.
Phases:

Sowing the Foundation
Before the arch is placed, the site must be excavated. Dig four holes, each 12 inches deep and 8 inches wide. In areas with high frost heave, you must dig below the local frost line, which can be 30 to 48 inches in northern latitudes. Line the bottom with 2 inches of crushed stone to prevent water from pooling against the metal.
Pro-Tip: Incorporating mycorrhizal fungi into the backfill promotes mycorrhizal symbiosis. This biological partnership extends the root system's reach, allowing the plant to better utilize phosphorus and stabilize the soil around the anchor.
Transplanting and Leveling
Position the arch feet into the holes. Use a spirit level to check both the X and Y axes. If the arch is not perfectly plumb, the weight of the mature plant will create an asymmetrical load, leading to structural fatigue. Drive the rebar stakes through the arch's mounting brackets at a 45-degree angle into the undisturbed subsoil.
Pro-Tip: Angle the stakes away from the center of the arch to counteract lateral wind shear. This mechanical resistance mimics how lateral roots provide stability to a primary taproot system.
Establishing the Anchor
Fill the holes with concrete or heavily compacted soil. If using soil, tamping must occur every 3 inches of lift to eliminate air pockets. Once the arch is secure, top-dress the area with the 5-10-10 NPK fertilizer to support the surrounding flora.
Pro-Tip: Avoid high-nitrogen fertilizers (such as 20-0-0) during this phase. Excessive nitrogen triggers auxin suppression in the roots while forcing rapid, weak cellular elongation in the stems, making the plant more susceptible to wind damage.
The Clinic:
Physiological disorders often manifest when the structural integrity of a support is compromised or the soil chemistry is altered by the anchoring materials.
- Symptom: Interveinal chlorosis (yellowing between leaf veins).
- Solution: This is often Nitrogen chlorosis or Iron deficiency. Check the soil pH. If the concrete leaching has raised the pH above 7.5, apply elemental sulfur to acidify the rhizosphere.
- Symptom: Wilting despite adequate soil moisture.
- Solution: Check for root mechanical damage. If the arch shifted during a storm, it may have severed the fine root hairs responsible for water uptake.
- Symptom: Stunted growth and purplish leaf undersides.
- Solution: Phosphorus deficiency. Apply a water-soluble 0-20-0 fertilizer to the drip line to support ATP production and cellular energy transfer.
Fix-It: If the arch begins to lean, do not simply push it back. Use a hori-hori knife to check for soil compaction. Re-drive longer stakes and use a soil moisture meter to ensure the anchoring site isn't becoming a "sump" that drowns the roots.
Maintenance:
A secured arch requires ongoing monitoring. Provide 1.5 inches of water per week at the drip line, ensuring the water penetrates to a depth of 8 inches. Use bypass pruners to remove any dead or crossing wood (the "3 Ds": dead, damaged, diseased) to reduce the "sail effect" during high winds. Inspect the anchor points every spring after the ground thaws. Use a soil moisture meter to verify that the drainage layer is functioning; saturated soil loses its shear strength, which can cause the anchors to pull free.
The Yield:
When harvesting flowers or fruits from your arch, timing is essential for post-harvest longevity. Harvest in the early morning when turgor pressure is at its peak. Use sharp, sterilized shears to make a clean cut at a 45-degree angle just above a node. For woody climbers, immediately submerge the cut stems in 100-degree Fahrenheit water to break any air embolisms in the xylem, ensuring "day-one" freshness for several days.
FAQ:
How deep should I bury the stakes for a metal arch?
Stakes should reach a minimum of 18 to 24 inches into the soil. In loose or sandy substrates, you must increase this depth or use concrete footings to ensure the friction against the soil outweighs the lateral wind force.
Can I anchor an arch directly into the grass?
It is not recommended. You should remove a 12-inch diameter circle of sod at each foot. This prevents competition for nutrients and allows you to install proper drainage and anchoring materials without the interference of turf-grass root mats.
What is the best material for anchoring in high winds?
Galvanized steel rebar combined with quick-setting concrete is the professional standard. The concrete provides mass and surface area, while the galvanized coating prevents the metal from oxidizing and weakening over time in the moist rhizosphere.
How do I prevent the arch from rusting underground?
Apply a zinc-rich cold galvanizing spray or a bitumen-based coating to any metal surface that will be below the soil line. This creates a physical barrier against moisture and the corrosive effects of acidic soil pH.