6 Best Cedar for Garden beds
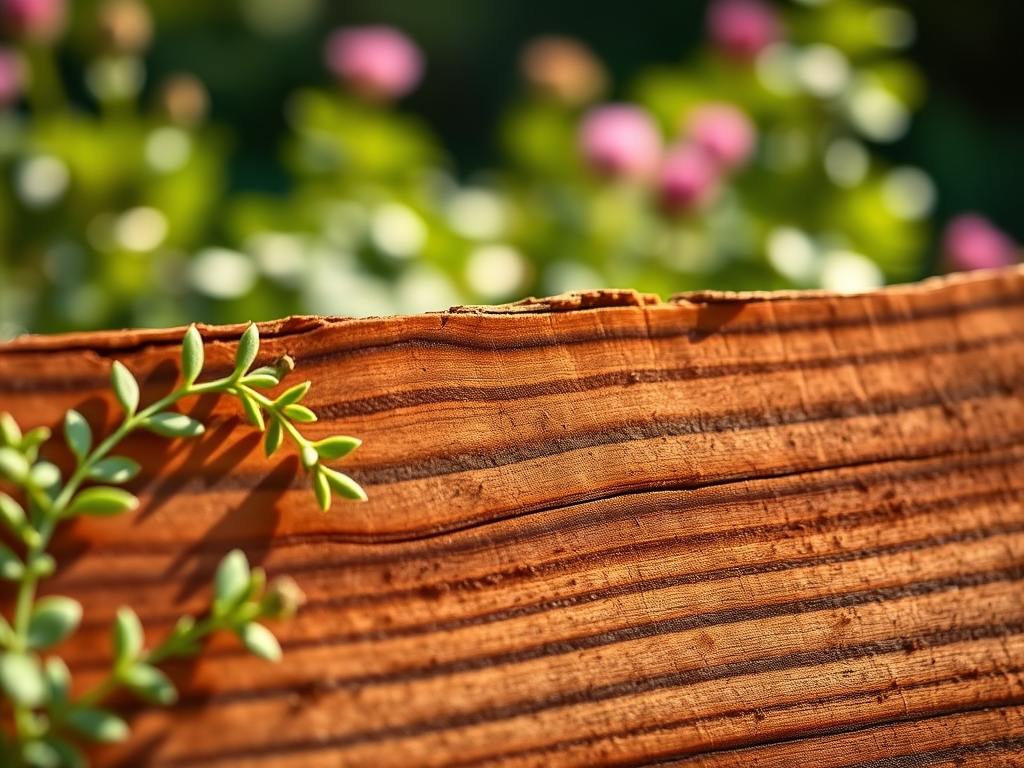
Damp earth yields to the pressure of a boot while the sharp, resinous scent of thujaplicin fills the air. This aromatic compound, found in the heartwood of certain conifers, acts as a natural fungicide and insecticide. Choosing the best cedar for garden beds requires more than an aesthetic preference; it is a calculation of rot resistance and structural integrity. Western Red Cedar and Eastern Red Cedar offer varying concentrations of extractives that prevent fungal colonization in the rhizosphere. When the wood is saturated, the turgor pressure of the surrounding soil exerts force against the grain. A high-quality cedar plank maintains its dimensional stability under these conditions. The goal is to create a containment system that facilitates optimal drainage while resisting the biological decay common in high-moisture environments. Using the best cedar for garden beds ensures that the soil temperature remains regulated and the wood does not leach harmful synthetic chemicals into the growing medium. Durability is measured in decades, not seasons, provided the species is matched to the local climate and soil acidity.
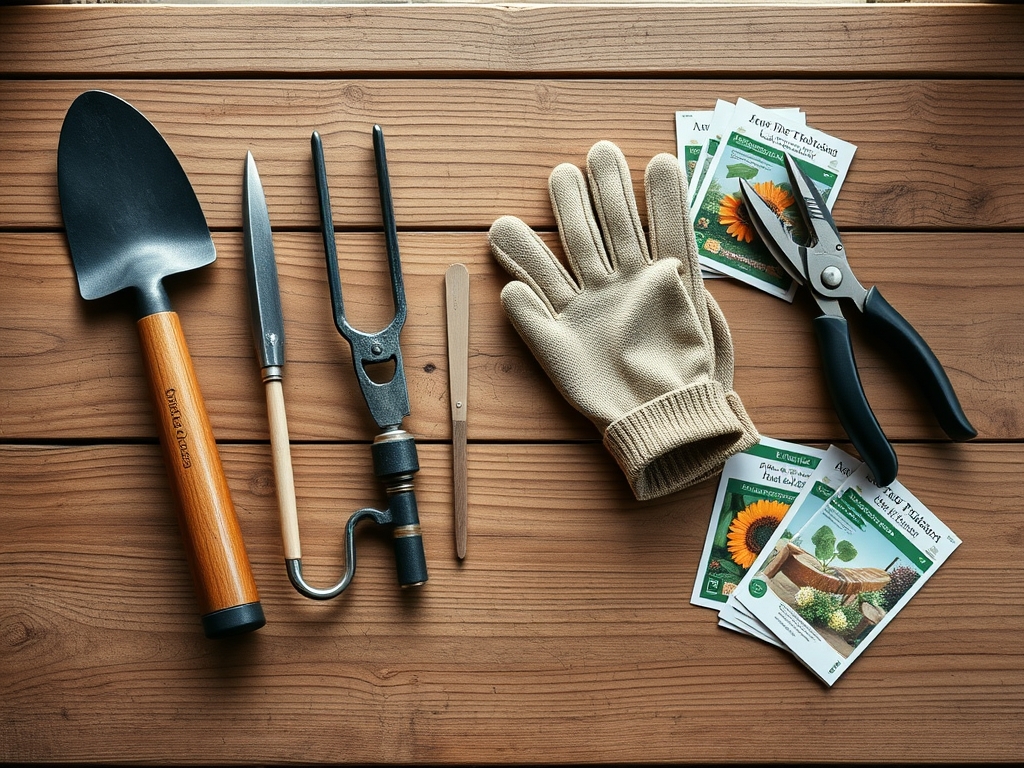
Materials:
The substrate within your cedar beds must be a **friable loam** with a high **Cation Exchange Capacity (CEC)** to hold onto essential nutrients. Aim for a soil pH between **6.0 and 7.0** for most vegetable crops. The ideal mix consists of **40% compost, 40% topsoil, and 20% coarse sand** to ensure aeration.
Nutrient management requires specific NPK ratios based on the growth stage. For initial bed preparation, incorporate a slow-release organic fertilizer with a 5-10-5 ratio. This lower nitrogen content prevents excessive leaf growth at the expense of root development. As plants enter the reproductive phase, transition to a 10-10-10 or 5-15-15 ratio to support fruit and flower production. The physical texture of the soil should allow for easy penetration of a hori-hori knife, indicating low bulk density and high porosity.
Timing:
Successful cultivation in cedar beds depends on local Hardiness Zones and the Biological Clock of the selected species. In Zones 4 through 7, the primary planting window opens 2 weeks after the last predicted frost when soil temperatures consistently reach 55 degrees Fahrenheit.
The biological clock of a plant is governed by the photoperiod; the relationship between light and dark hours. As days lengthen, plants move from the vegetative stage (biomass production) to the reproductive stage (flowering). For cool-season crops like kale or spinach, planting must occur early enough to avoid senescence triggered by high summer heat. Conversely, heat-loving crops like solanaceous vegetables require a minimum of 8 hours of direct solar radiation to maintain metabolic rates.
Phases:
Sowing
Direct sow seeds at a depth exactly three times the diameter of the seed. Maintain a consistent moisture level to ensure the seed coat softens, allowing the radical to emerge.
Pro-Tip: Ensure seed-to-soil contact to facilitate imbibition, the process where the seed absorbs water to activate enzymes. Without this hydraulic link, germination fails even in optimal temperatures.
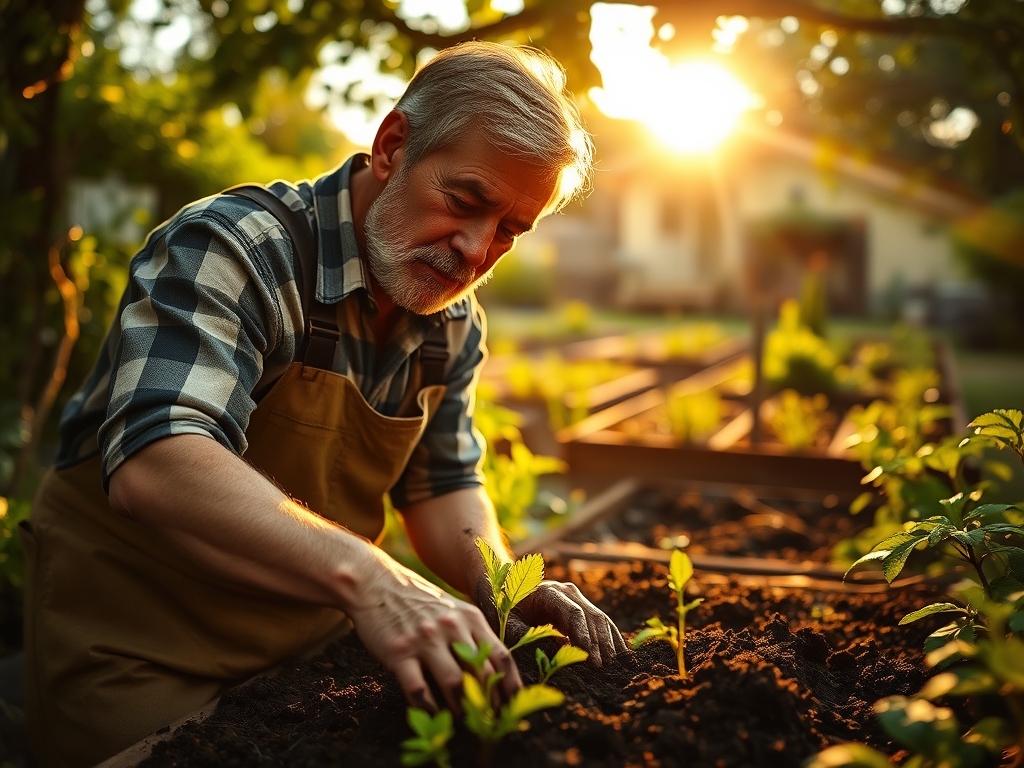
Transplanting
When moving seedlings into cedar beds, handle them by the cotyledons rather than the stem to avoid crushing vascular tissues. Dig a hole twice the width of the root ball.
Pro-Tip: Inoculate the planting hole with mycorrhizal fungi. This symbiotic relationship expands the root surface area, allowing the plant to scavenge phosphorus and micronutrients more efficiently from the soil matrix.
Establishing
During the first 14 to 21 days, the plant focuses on root expansion. Avoid heavy nitrogen applications during this window to prevent leggy growth.
Pro-Tip: Practice auxin suppression by pinching off early flower buds. This redirects the plant's hormonal energy away from reproduction and toward establishing a robust root system capable of supporting future yields.
The Clinic:
Physiological disorders often mimic infectious diseases but result from environmental stress or nutrient imbalances.
- Blossom End Rot: This appears as a sunken, leathery spot on the base of fruits. It is caused by a Calcium deficiency often triggered by inconsistent watering rather than a lack of calcium in the soil. Solution: Maintain uniform soil moisture to ensure steady calcium transport through the xylem.
- Nitrogen Chlorosis: The older, lower leaves turn a uniform pale yellow while the veins remain light. Fix-It: Apply a water-soluble fertilizer with a high Nitrogen (N) value to restore chlorophyll production.
- Interveinal Chlorosis: Leaves turn yellow between the veins, which remain dark green. This typically indicates a Magnesium or Iron deficiency. Fix-It: Check soil pH; if it is above 7.5, iron becomes insoluble. Lower the pH using elemental sulfur.
- Oedema: Small bumps or blisters appear on the undersides of leaves. This occurs when the plant takes up water faster than it can transpire it. Solution: Improve airflow and reduce watering frequency during humid periods.
Maintenance:
Precision is required for long-term bed productivity. Deliver 1.5 inches of water per week directly at the drip line of the plants. Use a soil moisture meter to verify that moisture has penetrated 6 to 8 inches deep. Surface watering encourages shallow root systems that are susceptible to drought.
Keep your bypass pruners sharp and disinfected with 70% isopropyl alcohol between cuts to prevent the mechanical transfer of pathogens. Use a hori-hori knife for precision weeding; the serrated edge allows you to sever taproots deep below the surface without disturbing the root zones of your primary crops. Monitor the cedar wood for signs of structural shifting; tighten stainless steel fasteners annually to compensate for the natural expansion and contraction of the timber.
The Yield:
Harvesting is the culmination of the plant's life cycle. For leafy greens, harvest in the early morning when turgor pressure is at its peak; this ensures the leaves are crisp and hydrated. For fruiting bodies, use the "ground color" test; the portion of the fruit touching the soil or shaded by leaves should transition from green to a creamy yellow or red.
Post-harvest handling is critical for maintaining "day-one" freshness. Immediately remove field heat by submerging harvested produce in cool water or placing it in a shaded, ventilated area. This slows the rate of respiration, preserving the sugars and acids that define flavor. For herbs, keep stems in a vessel of water at room temperature to maintain cellular hydration.
FAQ:
Which cedar species lasts longest for garden beds?
Western Red Cedar (Thuja plicata) is the gold standard. It contains high concentrations of thujaplicins and methyl thujate. These natural oils resist rot and insect infestation for 15 to 20 years in direct ground contact.
Should I seal the inside of my cedar garden beds?
No. Sealing the interior can trap moisture against the wood grain, accelerating rot. Cedar requires "breathability" to shed moisture. If you must use a liner, choose a food-safe, BPA-free plastic or permeable landscape fabric.
How thick should the cedar planks be for a raised bed?
Use planks that are at least 2 inches thick (nominal size). Thinner boards, such as 1-inch cedar fence pickets, will bow under the hydrostatic pressure of wet soil and typically fail within 3 to 5 years.
Does cedar wood acidify the soil in the garden bed?
The effect is negligible. While cedar sawdust is acidic, the slow decomposition of solid planks does not significantly alter the bulk soil pH. Monitor your pH levels annually and adjust with lime or sulfur as needed for specific crops.
Is Eastern Red Cedar the same as Western Red Cedar?
No. Eastern Red Cedar is actually a Juniper (Juniperus virginiana). It is highly rot-resistant and aromatic but typically available in smaller, more knotty dimensions. Western Red Cedar is a true cypress member and offers clearer, larger planks.