7 Simple Steps to Spray Soil Tackifier
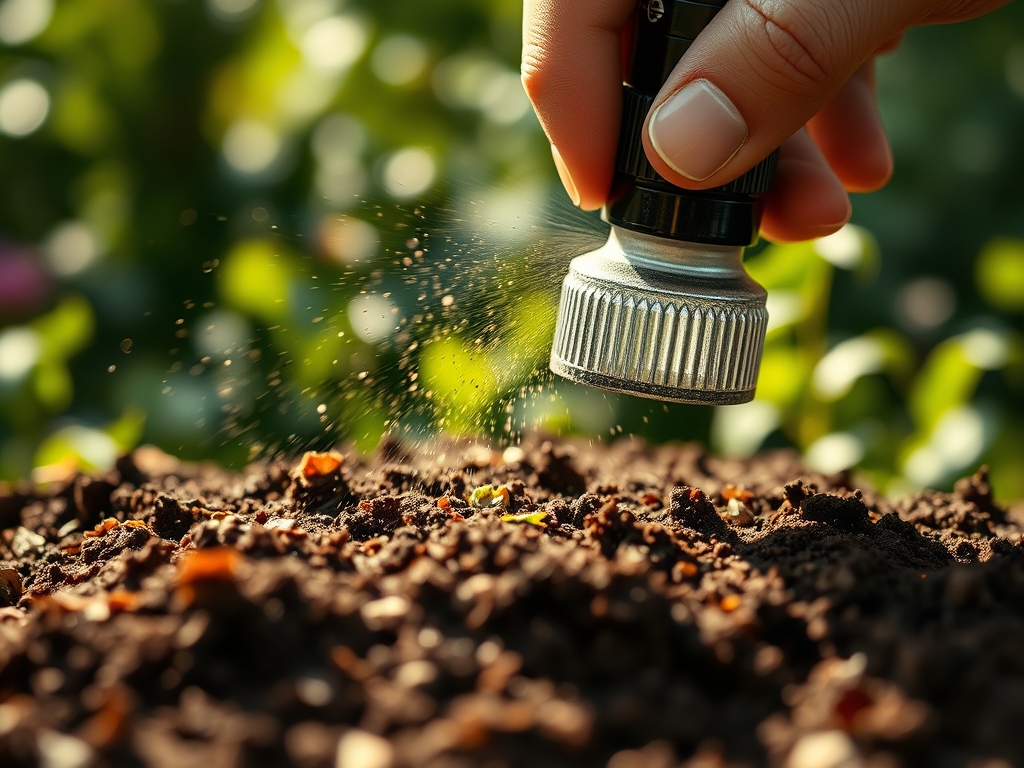
The scent of damp earth combined with the metallic tang of a pressurized sprayer signifies the start of a critical stabilization project. Successful erosion control depends on the turgor of the surrounding vegetation and the structural integrity of the topsoil. When you learn the steps to spray soil tackifier, you are not merely applying a sticky substance; you are manipulating the surface tension of the rhizosphere to prevent sediment transport. This process binds soil particles together through chemical or organic polymers, creating a crust that resists wind and water while allowing gas exchange. In high-slope environments or areas with high sand content, this application is the difference between a successful seeding and a total washout. A professional application ensures that your investment in seed and fertilizer remains exactly where you placed it.
Materials:
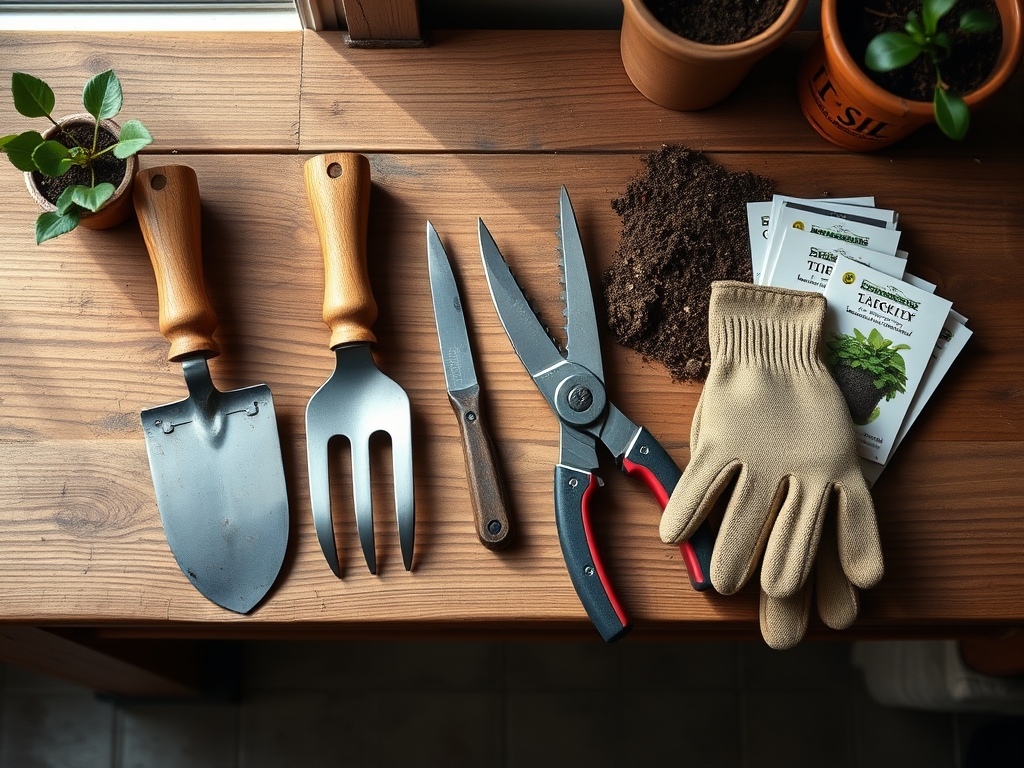
The foundation of any stabilization project is a friable loam with a pH between 6.0 and 7.5. If the soil is too acidic, the polymers in many synthetic tackifiers may fail to bond correctly with the soil cations. You must ensure your substrate has a high Cation Exchange Capacity (CEC) to facilitate nutrient retention. For the primary application, utilize a high-quality organic tackifier, such as guar gum or psyllium, or a synthetic polyacrylamide (PAM).
Prepare a nutrient base with an NPK ratio of 10-20-10 for initial root development. High phosphorus levels are essential for early ATP production in emerging seedlings. You will also require a hydro-sprayer or a high-volume backpack sprayer with a fan nozzle to ensure even distribution. The water source must be clean and free of heavy sediment to prevent nozzle occlusion.
Timing:
Hardiness zones dictate the window for application. In Zones 4 through 7, the ideal window is between the last spring frost and the onset of summer heat, typically when soil temperatures reach a consistent 55 degrees Fahrenheit. In Zones 8 through 10, autumn applications are often more successful to avoid the extreme evapotranspiration rates of the summer sun.
The biological clock of the plant is paramount. You must apply the tackifier during the transition from the dormant stage to the vegetative stage. Applying tackifier to a plant entering senescence (the aging process) is a wasted effort, as the plant will not produce the root mass needed to reinforce the stabilized soil. Monitor the photoperiod; most cool-season grasses require at least 12 hours of daylight to trigger the metabolic processes required for rapid establishment.
Phases:

Sowing
Begin by broadcasting your seed mix at a rate of 5 to 10 pounds per 1,000 square feet. Ensure the seed makes direct contact with the mineral soil. If you are using a hydro-seeder, the tackifier is mixed directly into the slurry. For dry sowing, the tackifier is the final "cap" placed over the seed.
Pro-Tip: Proper seed-to-soil contact facilitates mycorrhizal symbiosis. This fungal relationship extends the root system's reach, allowing the plant to access deep-well water and phosphorus that would otherwise be unavailable.
Transplanting
When moving established plugs into a stabilized area, use a hori-hori knife to cut a clean slit through the tackifier crust. Minimize disturbance to the surrounding stabilized surface. The hole should be twice the width of the root ball but no deeper.
Pro-Tip: Avoid burying the crown of the plant. This prevents moisture buildup at the stem base, which can lead to auxin suppression and stunted vertical growth.
Establishing
Once the tackifier is sprayed, the area must remain undisturbed for 24 to 48 hours to allow the polymers to cure. This period of desiccation creates the lattice structure required to hold the soil in place against a 2-inch-per-hour rain event.
Pro-Tip: The curing process is a chemical reaction. If the temperature drops below 40 degrees Fahrenheit during the first 12 hours, the bond strength may be reduced by up to 40 percent.
The Clinic:
Physiological disorders often mimic mechanical failures in the tackifier. Observe the following symptoms to diagnose issues:
- Nitrogen Chlorosis: If seedlings appear pale yellow, the soil lacks sufficient nitrogen. This often happens in high-carbon mulches where microbes consume nitrogen to break down organic matter. Fix it with a liquid application of 21-0-0 ammonium sulfate.
- Anthocyanin Accumulation: Purple-tinted leaves indicate a phosphorus deficiency or cold soil temperatures. Ensure your starter fertilizer has a high middle NPK number.
- Crust Heaving: If the tackifier layer lifts in large sheets, the soil was likely too dry during application. The tackifier failed to penetrate the interstitial spaces between soil particles.
- Damping Off: This fungal collapse of seedlings occurs if the tackifier holds too much moisture at the surface. Increase airflow and reduce irrigation frequency.
Maintenance:
Precision irrigation is the key to maintaining the integrity of the tackifier. Provide 1.5 inches of water per week delivered at the drip line. Avoid high-pressure overhead irrigation that could physically shatter the tackifier bond. Use a soil moisture meter to ensure the moisture has penetrated 6 inches deep into the profile.
Pruning should be minimal during the first season. Use bypass pruners to remove only dead or diseased tissue. The goal is to maximize the leaf surface area to drive photosynthesis and carbon sequestration into the roots. If weeds penetrate the crust, use a hori-hori knife to extract the root without disrupting the surrounding stabilized soil.
The Yield:
If the stabilized area includes wildflowers or cover crops, harvest timing depends on seed maturation. For "day-one" freshness in cut flowers, harvest in the early morning when turgor pressure is at its peak. Use a sharp blade to make a 45-degree cut and immediately submerge the stems in 40-degree Fahrenheit water. This prevents air embolisms in the xylem, ensuring the plant continues to transport water effectively after it is severed from the root system.
FAQ:
How long does soil tackifier last?
Most organic tackifiers like guar gum persist for 3 to 6 months. Synthetic polymers can last up to 12 to 24 months depending on UV exposure and rainfall intensity. They eventually biodegrade into the soil profile.
Can I spray tackifier in the rain?
No. Tackifiers require a dry curing window of at least 12 to 24 hours. Rainfall during application will dilute the polymers and prevent them from bonding to the soil particles, resulting in total product failure.
Does tackifier prevent seed germination?
Tackifiers are formulated to be porous. They allow for gas exchange and water infiltration. As long as you follow the manufacturer's recommended application rate, the seeds will germinate and penetrate the crust without difficulty.
What is the best NPK for stabilized soil?
A 10-20-10 ratio is ideal. The high phosphorus content supports rapid root elongation, which is necessary to anchor the soil once the chemical tackifier begins to break down after the first season.
How much tackifier do I need per acre?
Standard rates for guar-based tackifiers range from 30 to 50 pounds per acre. For synthetic PAM, the rate is significantly lower, often between 3 and 10 pounds per acre, depending on the slope and soil type.