7 Best Holsters for Weeding Tools
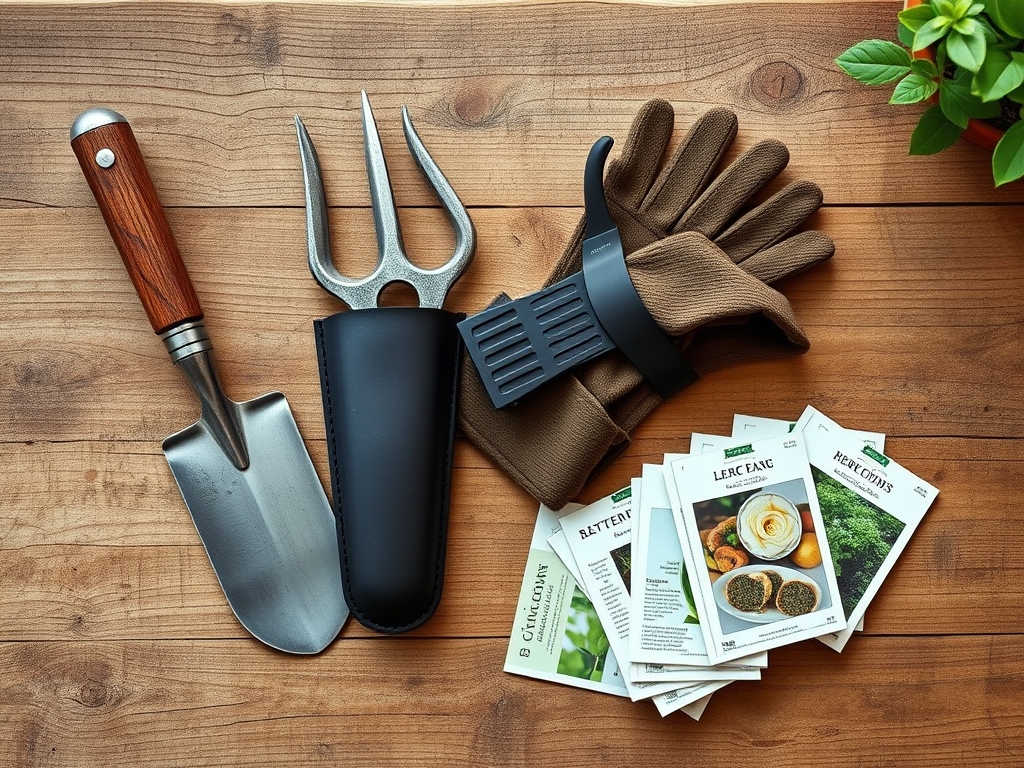
The scent of damp earth and decomposing organic matter signals the peak of the growing season. When the soil reaches a consistent temperature of 65 degrees Fahrenheit, weed seeds germinate with aggressive vigor; their turgor pressure allows them to pierce through compacted substrates. Managing this competition requires immediate access to specialized implements. Efficiency in the field depends on the best holsters for weeding tools to prevent the constant bending that disrupts the gardener's ergonomic flow. A high quality leather or synthetic holster keeps a hori hori knife or bypass pruners at the hip; this ensures that invasive species are extracted before they can establish deep taproots or compete for limited nitrogen in the rhizosphere. Maintaining a steady pace during the morning hours, when plant cells are most turgid, allows for cleaner cuts and less stress on the primary crop. Professional grade holsters must withstand the abrasive nature of soil particles and the acidic pH of plant saps. By securing your gear, you maintain focus on the physiological needs of the garden rather than searching for misplaced steel in the mulch.
Materials:
Successful cultivation begins with a friable loam characterized by a **Cation Exchange Capacity (CEC) of 15 to 25**. This measurement indicates the soil’s ability to hold onto essential nutrients like Potassium (K) and Magnesium (Mg). For heavy feeders, maintain an **NPK ratio of 10-10-10** during the initial growth phase. If the soil pH drops below **6.0**, availability of Phosphorus (P) decreases; conversely, a pH above **7.5** can lead to iron chlorosis. The ideal substrate texture should be **40 percent sand, 40 percent silt, and 20 percent clay**. This balance ensures adequate pore space for oxygen to reach the root zone while retaining enough moisture to prevent permanent wilting point. When selecting a holster material, choose oil-tanned leather for its resistance to the **5.5 to 7.0 pH range** found in most productive garden soils. Synthetic ballistic nylon is an alternative for high humidity environments where mold spores might colonize organic fibers.
Timing:
Vegetative success is dictated by the USDA Hardiness Zones. In Zones 5 through 7, the window for spring planting opens when the threat of frost passes; usually between April 15 and May 15. The biological clock of a plant is governed by the photoperiod. As daylight exceeds 12 hours, many species transition from vegetative growth to reproductive stages. Weeding must be completed before the "bolting" phase, where the plant redirects energy from leaf production to seed head formation. Monitoring the Growing Degree Days (GDD) provides a data driven approach to timing. For example, many brassicas require a cumulative GDD of 600 to 800 to reach maturity. If weeding is neglected during the first 30 days of establishment, the resulting nutrient competition can reduce final yields by up to 40 percent.
Phases:
Sowing
Direct sow seeds at a depth exactly three times the width of the seed. Ensure the soil is moist but not saturated to avoid "damping off," a fungal condition caused by Pythium species.
Pro-Tip: Maintain consistent soil contact to trigger imbibition; the biological process where the seed coat absorbs water to activate metabolic enzymes.
Transplanting
Move seedlings when they have developed at least two sets of true leaves. Dig a hole twice as wide as the root ball to encourage lateral root expansion into the surrounding soil.
Pro-Tip: Inoculate the planting hole with mycorrhizal fungi. This symbiotic relationship extends the root system's reach; the fungi trade phosphorus for plant sugars, increasing drought resistance.
Establishing
During the first 21 days, the plant focuses on root architecture. Provide consistent moisture to prevent the stomata from closing, which halts photosynthesis.
Pro-Tip: Avoid excessive nitrogen application during this phase to prevent auxin suppression. High nitrogen can lead to rapid top growth that outpaces the root system's ability to provide structural support.
The Clinic:
Physiological disorders often mimic infectious diseases. Observe the foliage for specific markers.
Symptom: Interveinal chlorosis on young leaves.
Solution: This indicates a Manganese deficiency. Apply a chelated micronutrient spray to restore the photosynthetic capacity of the chloroplasts.
Symptom: Blossom end rot on fruit.
Solution: This is a Calcium transport issue, often caused by inconsistent watering rather than a lack of Calcium in the soil. Maintain steady soil moisture to ensure the xylem can move ions to the fruit.
Symptom: Purpling of older foliage.
Solution: Phosphorus deficiency. This often occurs in cold soils where microbial activity is low. Use a high phosphorus starter fertilizer (e.g., 5-15-5) to stimulate root development.
Fix-It: Nitrogen Chlorosis
If the entire plant appears pale green or yellow, it lacks Nitrogen. Apply a quick release blood meal or urea at a rate of 1 pound per 100 square feet. Nitrogen is mobile in the plant, so symptoms appear on older leaves first as the plant "cannibalizes" itself to support new growth.
Maintenance:
Precision is the hallmark of a master horticulturist. Deliver 1.5 inches of water per week directly at the drip line; this is the area directly under the outer circumference of the plant canopy. Use a soil moisture meter to verify that the root zone at a 6 inch depth is adequately hydrated. Keep your hori-hori knife sharpened to a 20 degree angle for clean root slicing. Clean bypass pruners with a 10 percent bleach solution or isopropyl alcohol between plants to prevent the mechanical transmission of viral pathogens. If using a leather holster, treat it with neatsfoot oil every 90 days to maintain flexibility and prevent cracking under UV exposure.
The Yield:
Harvesting is a race against senescence, the biological aging process. For leafy greens, harvest in the pre-dawn hours when turgor pressure is at its peak. This ensures the cell walls are fully distended, providing a crisp texture. Use a sharp blade to make a clean, diagonal cut; this minimizes the surface area of the wound and reduces the rate of respiration. For fruiting crops, monitor the Brix level using a refractometer to ensure peak sugar content. Post harvest, immediately move the produce to a cool environment to remove "field heat." Reducing the temperature by 10 degrees Celsius can double the shelf life by slowing down the metabolic enzymes that break down starches into sugars.
FAQ:
What is the best material for a weeding holster?
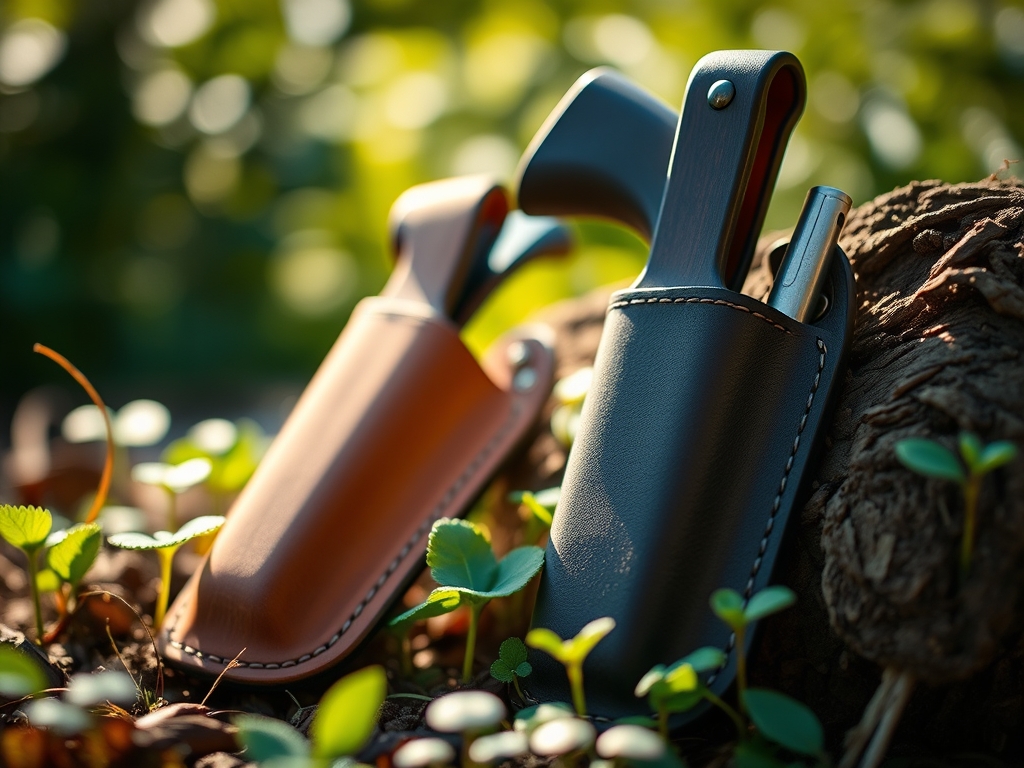
Vegetable tanned leather is the professional standard. It conforms to the tool's shape over time and resists the abrasive minerals found in sandy or silty soils. Synthetic options like 1680D ballistic nylon offer superior moisture resistance in humid climates.
How do I prevent my weeding tools from rusting in the holster?
Moisture trapped against steel causes oxidation. Wipe tools clean of soil and organic matter before holstering. Apply a thin layer of mineral oil to the blade. Ensure the holster has a drainage hole at the bottom to prevent water accumulation.
Can a holster fit both a hori-hori and pruners?
Dual compartment holsters are designed specifically for this. Look for models with reinforced stitching and a width of at least 3 inches for the hori-hori slot. This prevents the serrated edge from compromising the structural integrity of the holster.
Why should I wear a tool holster instead of using a garden cart?
A holster provides immediate access and improves ergonomic efficiency. It eliminates the need for repetitive bending and reaching, which reduces physical fatigue. Carrying tools on the hip ensures they are available the moment a weed is identified in the rhizosphere.