8 Simple Steps to Plant Hosta Beds
Damp earth yields a heavy, metallic scent as the spade cuts through the upper horizon; this is the smell of geosmin and active microbial life. A healthy Hosta leaf exhibits high turgor pressure, feeling cool and rigid to the touch because the vacuoles are fully distended with water. Success in the shade garden requires more than casual placement. Following the correct steps to plant hosta beds ensures these perennials transition from container to soil without the physiological shock that leads to leaf scorch or stunted crown development. You must prioritize the rhizosphere, the narrow region of soil influenced by root secretions and soil microorganisms, to establish a colony that will persist for decades. Hostas are not merely decorative; they are long lived botanical investments that require precise structural preparation and an understanding of soil chemistry to reach their full genetic potential.
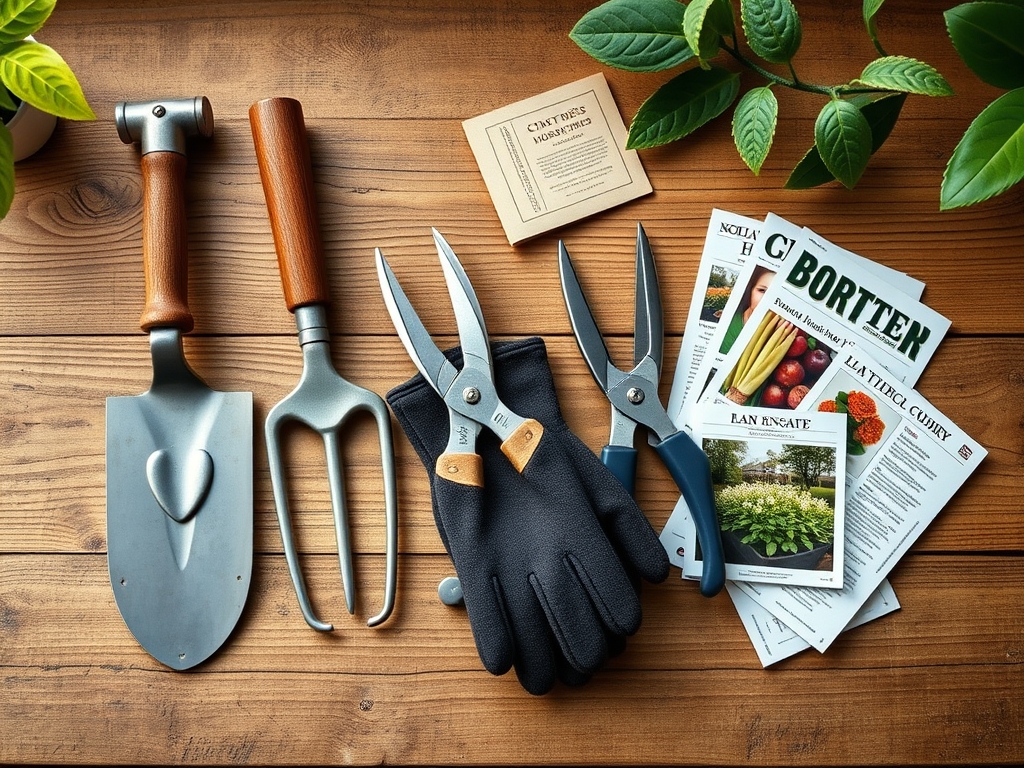
Materials:
The ideal substrate for Hosta species is a **friable loam** with high organic matter content. Aim for a **soil pH between 6.5 and 7.5**, as this range maximizes nutrient availability. You will need a **slow-release 10-10-10 NPK fertilizer** to provide a balanced ratio of nitrogen for foliage, phosphorus for root development, and potassium for cellular health.
Incorporate organic amendments like leaf mold or well rotted compost to increase the Cation Exchange Capacity (CEC). A high CEC ensures the soil can hold onto essential positively charged ions like calcium, magnesium, and potassium, preventing them from leaching away during heavy irrigation. The physical texture should be crumbly; if you squeeze a handful of soil, it should form a ball that breaks apart easily when poked. Avoid heavy clays that restrict oxygen flow to the roots and cause anaerobic conditions.
Timing:
Hostas are resilient across USDA Hardiness Zones 3 through 9. The biological clock of the Hosta is dictated by soil temperature and photoperiod. The optimal window for planting is early spring, just as the "pips" or dormant buds begin to emerge from the soil surface. This allows the root system to establish before the plant enters its high-transpiration vegetative stage in mid summer.
Alternatively, late summer planting is effective once the heat of August wanes but at least four to six weeks before the first hard frost. This timing allows the plant to focus energy on root expansion rather than foliage production. During the transition to the senescence phase in autumn, the plant moves carbohydrates from the leaves down into the crown for winter storage. Planting during this window utilizes the plant's natural drive to fortify its underground structures.
Phases:

Sowing and Preparation
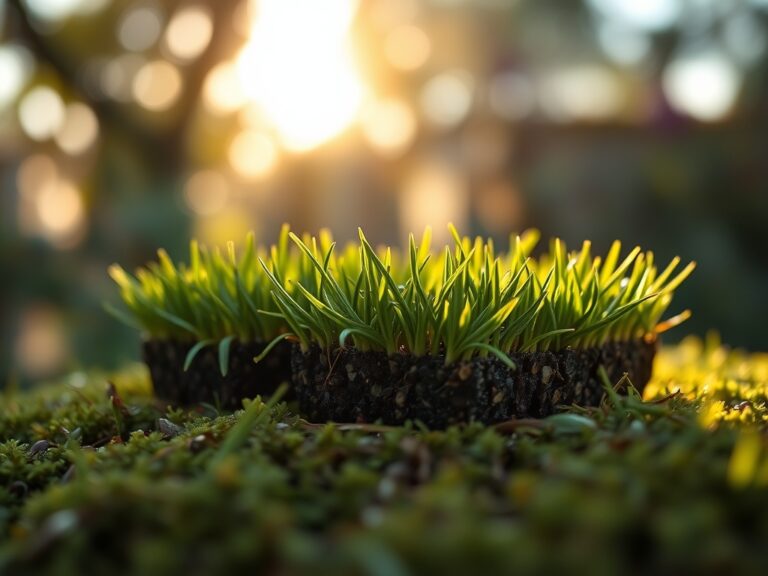
While most gardeners use transplants, preparing the site is the first of the steps to plant hosta beds. Dig a hole twice as wide as the root ball but no deeper. Loosening the surrounding soil reduces mechanical resistance for emerging secondary roots.
Pro-Tip: Focus on the rhizosphere. Inoculating the planting hole with mycorrhizal fungi creates a symbiotic relationship where the fungi extend the reach of the root system, increasing water and phosphorus uptake efficiency.
Transplanting
Remove the Hosta from its container and inspect the roots. If the plant is root bound, use a hori-hori knife to make several vertical incisions in the root mass. This breaks apical dominance in the roots and encourages lateral branching into the new soil. Place the crown so it sits at the same level as the surrounding soil line. Burying the crown too deep leads to crown rot; planting too shallow causes desiccation.
Pro-Tip: Manage auxin suppression. By lightly pruning the tips of the roots during transplanting, you signal the plant to release auxins that stimulate the growth of new, vigorous feeder roots.
Establishing
Fill the hole with your amended soil and firm it gently with your hands to remove large air pockets. Water the site immediately to settle the soil around the roots. Apply a 2 to 3 inch layer of organic mulch, such as shredded bark, keeping it away from the immediate base of the stems to prevent fungal infection.
Pro-Tip: Utilize phototropism awareness. Position the largest leaves toward the primary light source. Hostas will naturally adjust their petioles to maximize light interception, but proper initial orientation reduces the energy the plant spends on mechanical movement.
The Clinic:
Symptom: Interveinal chlorosis (yellowing between green veins) on new leaves.
Solution: This indicates an Iron or Manganese deficiency, often caused by high soil pH. Apply a chelated iron supplement and check the pH to ensure it has not climbed above 7.5.
Symptom: Marginal leaf burn or browning edges.
Solution: This is a sign of desiccation or potassium deficiency. Increase irrigation frequency and apply a fertilizer with a higher K-value to improve the plant's ability to regulate stomatal closure.
Symptom: Small, distorted leaves with stunted growth.
Solution: Check for root knot nematodes or soil compaction. If the soil is compacted, use a garden fork to aerate the perimeter of the root zone without damaging the main crown.
Fix-It: Nitrogen Chlorosis
If the entire leaf turns a pale lime green, the plant lacks Nitrogen. Apply a quick release liquid fertilizer with a 20-10-10 NPK ratio for an immediate boost, followed by a top dressing of compost for long term nitrogen mineralization.
Maintenance:
Precision irrigation is mandatory for Hosta health. Provide 1.5 inches of water per week, delivered at the drip line rather than over the foliage. Wet leaves in shaded environments are a primary vector for fungal pathogens. Use a soil moisture meter to verify that the soil is damp at a depth of 4 to 6 inches.
Equip yourself with bypass pruners for removing spent flower scapes. Cutting the scape at the base after flowering prevents the plant from diverting energy into seed production, allowing those resources to be returned to the crown. Use a hori-hori knife for annual edging to prevent turf grass from encroaching on the Hosta bed and competing for nutrients.
The Yield:
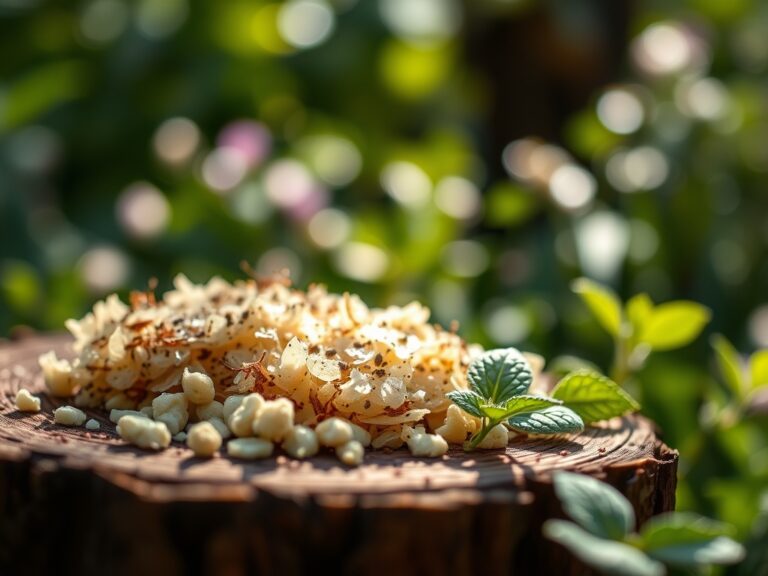
While Hostas are primarily grown for foliage, many varieties produce edible young shoots known as "hostons." Harvest these in early spring when they are still tightly furled pips, no more than 2 to 4 inches tall. Use a sharp knife to cut the shoot just below the soil line. To maintain "day-one" freshness, submerge the harvested shoots in an ice water bath immediately to reduce field heat and preserve cellular turgor. Only harvest one third of the shoots from a single mature clump to ensure the plant has enough photosynthetic surface area to recover for the season.
FAQ:
How deep should I plant Hostas?
Plant the crown exactly at the soil surface level. Planting deeper than the original nursery container depth restricts oxygen to the roots and increases the risk of crown rot and fungal pathogens in the rhizosphere.
What is the best fertilizer for Hostas?
Use a balanced 10-10-10 NPK slow release granular fertilizer in early spring. This provides consistent nitrogen for leaf expansion, phosphorus for root strength, and potassium for cellular water regulation throughout the growing season.
Can Hostas grow in full sun?
Most Hostas require filtered shade. While some yellow leaved varieties tolerate more sun, excessive UV exposure leads to transpiration rates exceeding the roots' uptake capacity, resulting in leaf scorch and permanent tissue damage.
How often should I divide Hostas?
Divide Hostas every 3 to 5 years or when the center of the clump begins to die out. Spring is the best time for division, as the plant is entering a high growth phase with maximum auxin activity.