7 Vital Steps to Seal a Pond Waterfall
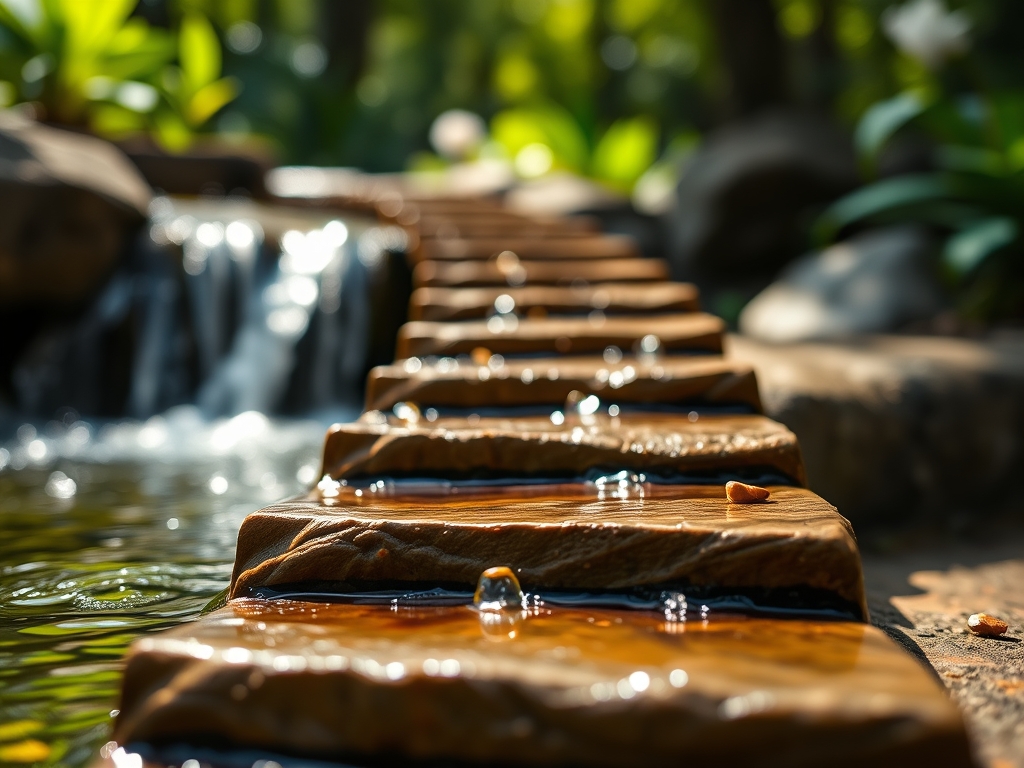
The scent of anaerobic decomposition in stagnant mud indicates a failure in hydraulic integrity. When a waterfall leaks, the surrounding soil loses its structural stability through saturation; this leads to a drop in turgor pressure for nearby riparian plants as the water table fluctuates unpredictably. To maintain the hydrostatic equilibrium of your aquatic system, you must master the steps to seal a pond waterfall. A leak of just one quarter inch per day can evacuate hundreds of gallons of treated water, disrupting the delicate chemical balance of the nitrogen cycle. Successful sealing requires a surgical approach to the interface between stone, liner, and biological filtration. You are not merely fixing a leak; you are re-establishing a closed-loop hydraulic circuit that supports the entire rhizosphere of your garden.
Materials:

The substrate surrounding the waterfall must be a **friable loam** with a high **Cation Exchange Capacity (CEC)** to support marginal plantings once the seal is complete. Before sealing, test the soil pH; a range of **6.5 to 7.2** is optimal for the microbial activity required to break down organic matter near the fall. You will need high-density **EPDM (Ethylene Propylene Diene Monomer) liner** patches, black closed-cell polyurethane waterfall foam, and aquatic-safe silicone sealant. For the terrestrial margins, prepare a nutrient-dense backfill with an **NPK ratio of 5-10-5**. This low-nitrogen start prevents excessive vegetative growth while encouraging the robust root systems necessary to anchor the rocks in place. Ensure you have a stiff wire brush to remove calcium carbonate deposits and biofilm from the rock surfaces before application.
Timing:
The biological clock of your pond dictates the repair window. Perform these steps during the late spring or early autumn when the pond's inhabitants are not in a state of high metabolic activity or winter dormancy. In Hardiness Zones 5 through 7, the ideal window occurs between the last spring frost and the summer solstice, when daytime temperatures remain consistently between 65 and 75 degrees Fahrenheit. This temperature range is critical for the chemical curing of sealants and the rapid re-establishment of beneficial bacteria. Avoid sealing during the reproductive stages of aquatic plants (flowering) to prevent physiological stress. If the repair requires draining the header pool, monitor the dissolved oxygen levels to ensure they do not drop below 5 mg/L for any fish moved to temporary holding tanks.
Phases:

Sowing the Foundation
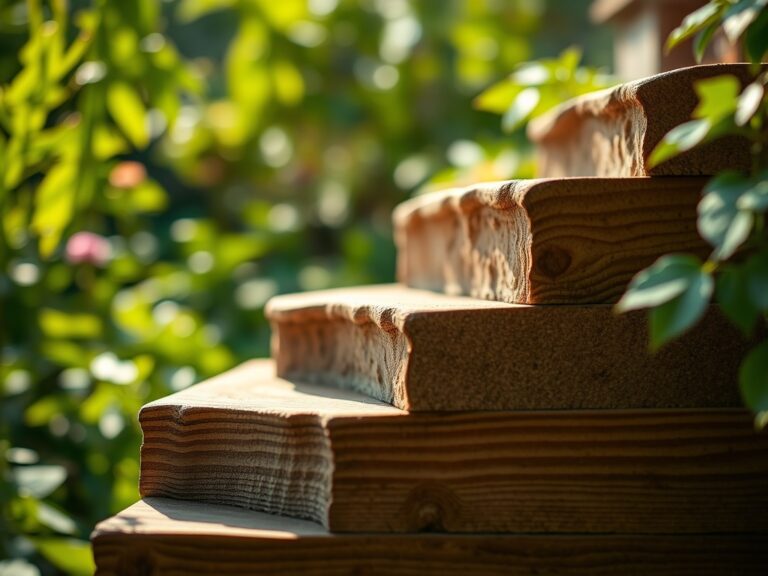
The first phase involves cleaning the rock-to-liner interface. Use a wire brush to scrub the EPDM liner until the surface is free of algae. This ensures a molecular bond between the sealant and the membrane. If you are integrating new mosses or marginals like Acorus calamus into the rockwork, ensure the "soil pockets" are lined with geotextile fabric to prevent sediment runoff into the pond.
Pro-Tip: Proper cleaning prevents "biofilm interference." Bacteria create a slimy extracellular matrix that acts as a physical barrier; removing this allows for adhesion at the microscopic level, ensuring the sealant does not delaminate under hydraulic pressure.
Transplanting and Structural Grouting
Apply the polyurethane foam in the gaps between the waterfall weir and the primary boulders. The foam expands to fill voids where water might divert behind the liner. As the foam sets, press small gravel into the visible surfaces to provide a substrate for future periphyton growth. This mimics the natural geomorphology of a stream bed.
Pro-Tip: Use the principle of capillary action to your advantage. By sealing the underside of rocks, you prevent water from being "wicked" out of the pond and into the surrounding dry soil via the porous stone surfaces.
Establishing the Biological Seal
Once the structural sealants have cured for 24 hours, reintroduce water flow at a low volume. Observe the "wetting front" on the surrounding soil. If the soil remains dry, the seal is successful. Now, plant your marginals. Ensure the root crowns are positioned at the specific water depth required for their species to maintain proper gas exchange within the root zone.
Pro-Tip: Encourage mycorrhizal symbiosis by inoculating the backfill. These fungi extend the root system's reach, allowing plants to stabilize the waterfall's edges more effectively through increased nutrient uptake and soil aggregation.
The Clinic:
Symptom: Marginal Leaf Chlorosis
Solution: This yellowing of the foliage often indicates a Nitrogen deficiency caused by water leaching nutrients away from the roots.
Fix-It: Apply a slow-release aquatic fertilizer tab with a 10-6-4 NPK ratio directly into the root zone to restore chlorophyll production.
Symptom: Epinasty (Downward Curling)
Solution: This is a sign of ethylene buildup or waterlogged roots in non-aquatic soil.
Fix-It: Improve drainage in the surrounding "splash zone" by incorporating coarse sand to increase the macropore space in the soil.
Symptom: Algal Bloom Post-Seal
Solution: High phosphate levels from new stone or soil runoff.
Fix-It: Introduce submerged oxygenators like Ceratophyllum demersum to compete for excess nutrients and lower the phosphate concentration below 0.05 mg/L.
Maintenance:
Consistency is the hallmark of a stable ecosystem. Use a soil moisture meter twice weekly to check the margins of the waterfall; a reading of "Moist" (level 5-7) is ideal for most riparian species. Prune any encroaching roots that threaten to puncture the liner using sharp bypass pruners to ensure clean cuts that heal quickly. If you notice a drop in water level, use a hori-hori knife to gently probe the soil behind the waterfall to locate soft, saturated spots that indicate a new leak. Maintain a consistent water level to prevent the "wet-dry" cycle that can cause EPDM liners to become brittle over time due to UV exposure and thermal expansion.
The Yield:
While a waterfall is primarily aesthetic, the "yield" is the biomass of the surrounding plants and the clarity of the water. For harvesting ornamental flowers like Iris pseudacorus, cut the stems when the first bud shows color. Use a sharp knife to avoid crushing the xylem vessels, ensuring the plant can continue to transport water post-harvest. Place the stems immediately in 40-degree Fahrenheit water to slow senescence and maintain "day-one" turgidity. For the pond itself, the yield is a stable biological oxygen demand (BOD), indicating a healthy, self-sustaining aquatic environment.
FAQ:
How long does waterfall foam take to cure?
Most professional-grade polyurethane foams require 20 to 60 minutes to become tack-free. However, a full structural cure for high-flow areas takes 24 hours. Do not introduce full water pressure until the chemical reaction is complete to prevent seal failure.
Can I seal a waterfall while the pump is running?
No. The surfaces must be completely dry for sealants to adhere. Water flow creates a film that prevents molecular bonding between the silicone or foam and the liner. Turn off the pump and towel-dry the area before application.
Why is my waterfall still losing water after sealing?
Check for capillary wicking. If a piece of liner or a porous rock is touching the dry soil outside the pond, it can pull water out of the system like a sponge. Ensure all liner edges are turned upward and tucked.
What is the best sealant for EPDM liners?
Use a lap sealant or an aquatic-safe silicone specifically designed for EPDM. These materials maintain flexibility during thermal expansion. Avoid standard hardware store caulks, as they often contain fungicides that are toxic to fish and beneficial nitrifying bacteria.