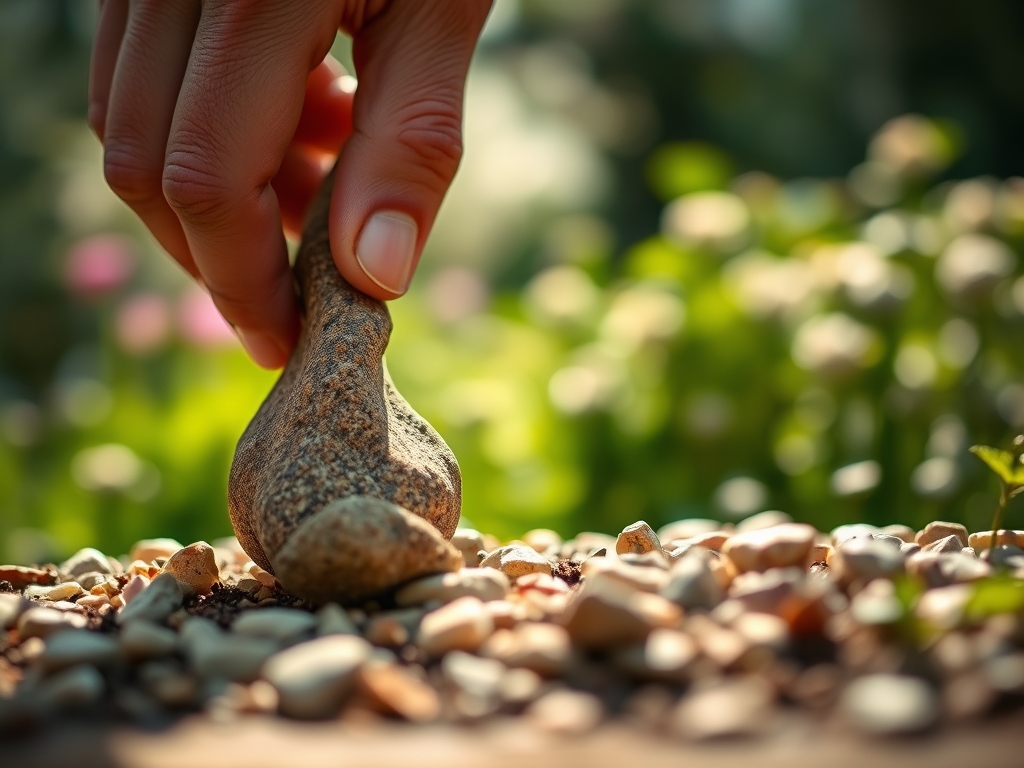
8 Simple Steps to Remove Stones from Beds
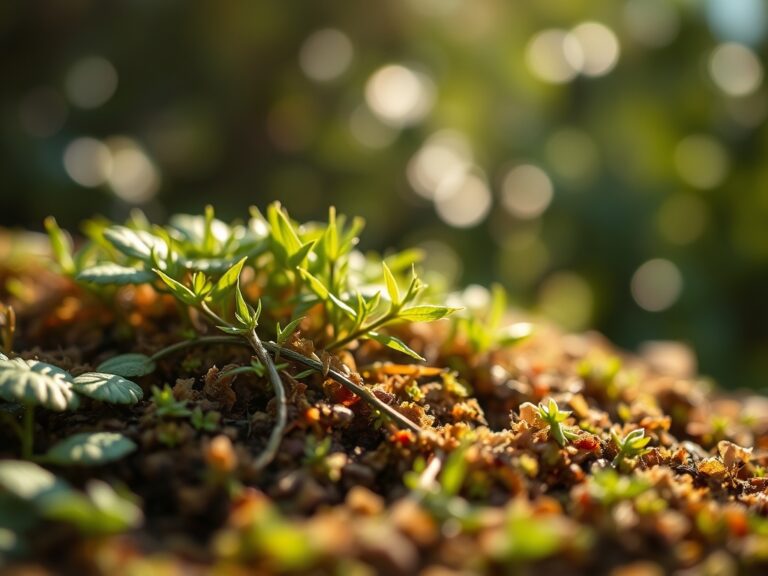
Damp earth carries the scent of geosmin; this organic compound signals a healthy microbial population ready for cultivation. When a gardener grips a turgid leaf, the internal water pressure confirms the plant is hydrating efficiently through its vascular system. However, buried aggregate disrupts this process by obstructing root expansion and creating pockets of uneven drainage. Executing the correct steps to remove stones from beds ensures the rhizosphere remains unobstructed for maximum nutrient uptake. Effective stone removal requires physical labor combined with an understanding of soil physics. Large stones impede the downward trajectory of taproots, while smaller gravel can increase bulk density and reduce the soil's water-holding capacity. By clearing these obstructions, you allow for a uniform Cation Exchange Capacity (CEC) across the entire planting area. This process is not merely aesthetic; it is a foundational requirement for maintaining the structural integrity of the soil profile. Failure to remove debris results in stunted growth and mechanical damage to root tissues during the critical early stages of development.
Materials:
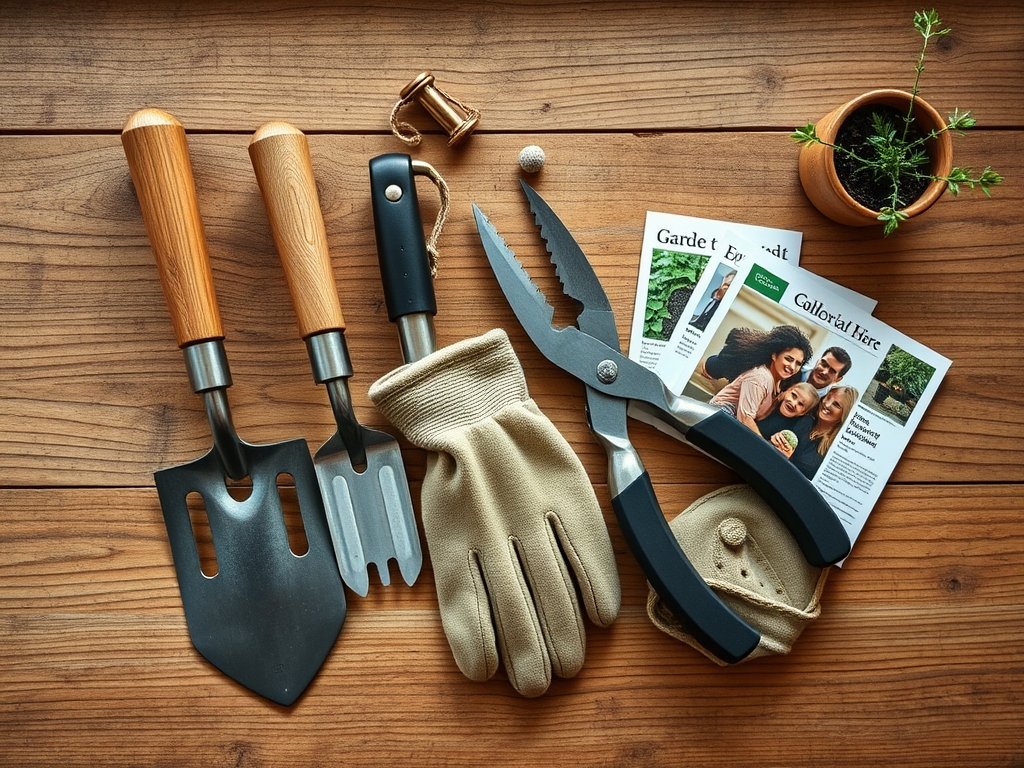
The ideal substrate for most garden crops is a friable loam with a pH range between 6.0 and 7.0. Achieving this requires specific amendments after stone removal is complete. You will need a high-quality sifting screen with a **0.25-inch mesh** to separate fine particulates from larger debris. To balance the soil chemistry, maintain a standard NPK ratio of **10-10-10** for general establishment or a **5-10-5** ratio for root-heavy crops like carrots. The soil texture should feel crumbly; it must hold its shape when squeezed but shatter easily under light pressure. If the soil is too sandy, the CEC will be low, meaning nutrients leach out before the plant can utilize them. Conversely, heavy clay with high stone content leads to anaerobic conditions. Keep a **soil moisture meter** on hand to ensure the bed maintains a **25 percent air-to-water ratio** within the pore spaces.
Timing:
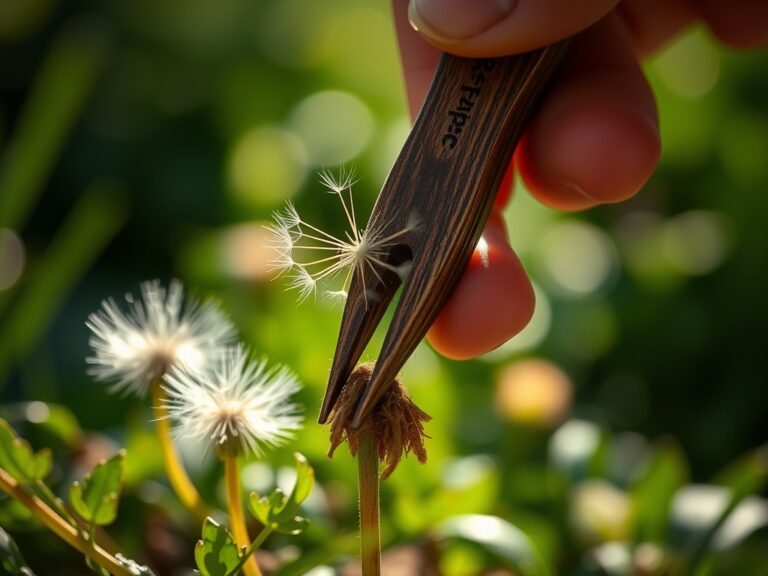
Timing is dictated by the thermal properties of the soil and the Hardiness Zone of the region. In Zones 5 through 7, stone removal should occur in early spring, at least three weeks before the last frost date. Attempting to sift frozen or saturated soil destroys soil structure through compaction. The "Biological Clock" of the plant begins the moment a seed imbibes water; this triggers the transition from a dormant state to the vegetative stage. If stones are present during this transition, the emerging radicle may hit an obstruction, causing permanent root deformation. Aim for a soil temperature of at least 50 degrees Fahrenheit (10 degrees Celsius) before beginning the extraction process. This ensures the soil is workable and that the beneficial mycorrhizal fungi are beginning to colonize the area as you prepare the bed.
Phases:

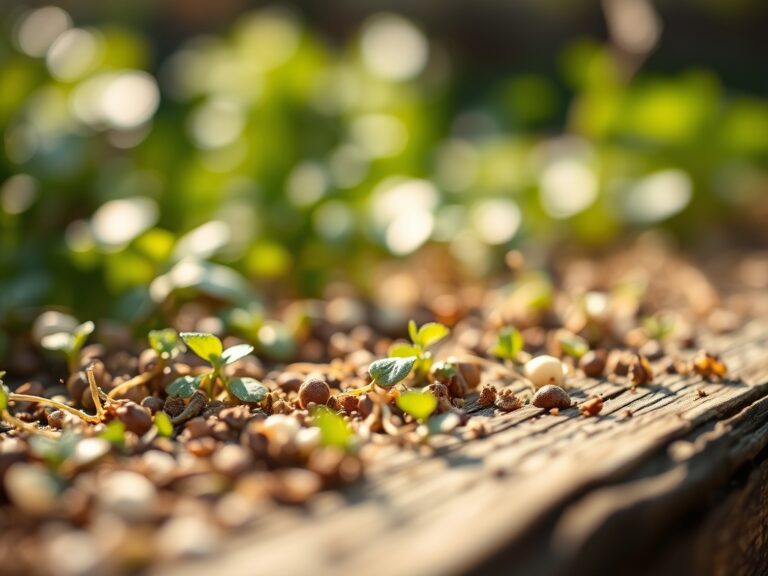
Sowing
Begin by clearing the top 8 to 12 inches of soil. This depth represents the primary root zone for most annuals. Use a garden fork to loosen the earth, then pass the soil through a mechanical or manual sieve. This step ensures that the emerging hypocotyl does not encounter physical resistance.
Pro-Tip: Removing stones facilitates phototropism by ensuring the plant can anchor itself deeply and quickly. A stable root system allows the plant to focus its energy on upward growth toward light sources rather than navigating around subterranean obstacles.
Transplanting
When moving seedlings from trays to the bed, the hole must be twice the width of the root ball. Ensure the surrounding soil is free of stones larger than 0.5 inches. If a stone is left at the base of the transplant hole, it can create a "perched water table" where moisture sits against the roots, leading to rot.
Pro-Tip: Mycorrhizal symbiosis is enhanced in stone-free soil. Fungal hyphae can travel more efficiently through a consistent soil matrix, increasing the surface area for phosphorus absorption by up to 10 times.
Establishing
As the plant moves into its rapid vegetative phase, the soil must remain loose. Use a hori-hori knife to check for missed stones near the drip line. Stones can conduct heat and cause localized "hot spots" in the soil, which might stress sensitive root hairs.
Pro-Tip: Removing stones prevents auxin suppression. When a root tip hits a hard object, it sends signals to the rest of the plant to slow growth. A clear path allows for the uninterrupted flow of growth hormones.
The Clinic:
Physiological disorders often stem from poor soil structure or nutrient imbalances caused by high stone volume.
Symptom: Forked or stunted taproots (common in Apiaceae).
Solution: Sift soil to a depth of 14 inches to remove all obstructions.
Symptom: Interveinal chlorosis (yellowing between leaf veins).
Solution: This indicates Magnesium deficiency. Apply Epsom salts (Magnesium Sulfate) at a rate of 1 tablespoon per gallon of water.
Symptom: Blossom end rot in Solanaceous crops.
Solution: This is caused by localized Calcium deficiency. Ensure consistent moisture levels of 1.5 inches per week to facilitate Calcium transport through the xylem.
Fix-It: Nitrogen Chlorosis
If leaves are pale green or yellow across the entire surface, the plant lacks Nitrogen. Apply a high-Nitrogen fertilizer with an NPK of 21-0-0 (Ammonium Sulfate) to rapidly restore chlorophyll production.
Maintenance:
Precision is required for long-term bed health. Deliver exactly 1.5 inches of water per week at the drip line using a soaker hose to avoid wetting the foliage. Use bypass pruners to remove any necrotic tissue or suckers that divert energy from the main terminal bud. Check the soil every 14 days with a soil moisture meter to ensure the moisture has penetrated at least 6 inches deep. If the soil surface crusts over, use a hand cultivator to break the tension without disturbing the shallow feeder roots. Maintaining a 3-inch layer of organic mulch will prevent new stones from working their way to the surface through frost heave.
The Yield:
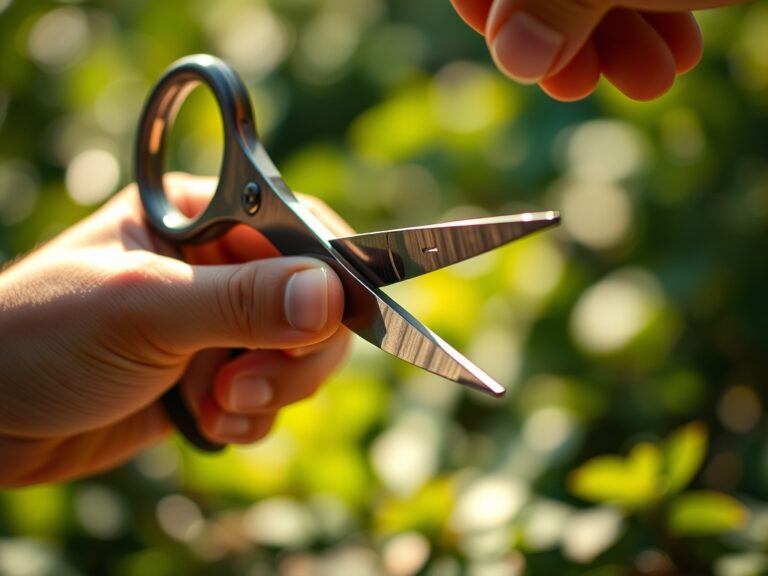
Harvesting should occur when the plant reaches peak physiological maturity but before senescence begins. For leafy greens, harvest in the early morning when turgor pressure is at its highest; this ensures the leaves are crisp. For fruiting bodies, use a sharp blade to make a clean cut, leaving a small portion of the pedicel attached. To maintain "day-one" freshness, immediately move the harvest to a cool environment between 35 and 40 degrees Fahrenheit. This slows the respiration rate and preserves the sugars and nutrients within the plant tissues.
FAQ:
How deep should I remove stones for a vegetable bed?
Remove stones to a minimum depth of 12 inches. For deep-rooted crops like carrots or parsnips, extend this to 18 inches. This ensures the primary root zone is clear for expansion and nutrient uptake.
Can I leave small pebbles in the soil?
Pebbles smaller than 0.25 inches are generally acceptable. They can assist with drainage in heavy clay soils. However, larger stones increase bulk density and can physically damage developing root tissues or cause root branching.
What is the fastest way to sift large garden beds?
Construct a standing sifter using a wooden frame and hardware cloth. Shovel soil onto the screen at a 45-degree angle. The fine soil passes through while stones slide down the front for easy collection and disposal.
Why do stones keep appearing in my cleared beds?
This is caused by frost heave. In cold climates, the freezing and thawing of soil moisture creates upward pressure that pushes buried rocks to the surface. Annual maintenance is required to keep the root zone clear.