10 Pro Tips How to Use Orchid Fertilizer Spikes
Healthy orchid leaves possess a rigid, waxen turgor that signals optimal hydration and cellular integrity. When you press a finger against the underside of a Phalaenopsis leaf, it should resist with a firm, snapping tension rather than a limp, leathery yield. Achieving this structural vigor requires a precise nutritional regimen. Understanding how to use orchid fertilizer spikes allows a grower to bypass the feast and famine cycle of liquid feeding; providing a slow-release delivery system directly into the rhizosphere. This method ensures that the plant maintains a steady metabolic rate without the osmotic shock often associated with over-concentrated soluble salts.
Successful orchid cultivation relies on managing the delicate balance between moisture and aeration. Most epiphytic orchids grow in bark-based media with a high porosity and low Cation Exchange Capacity (CEC). Because the substrate cannot hold onto nutrients effectively, a compressed spike serves as a localized reservoir. As the medium is moistened, the binder in the spike slowly degrades, releasing nitrogen, phosphorus, and potassium in controlled increments. This steady supply supports the development of thick, silver-velamen roots and the eventual emergence of a robust flower spike.
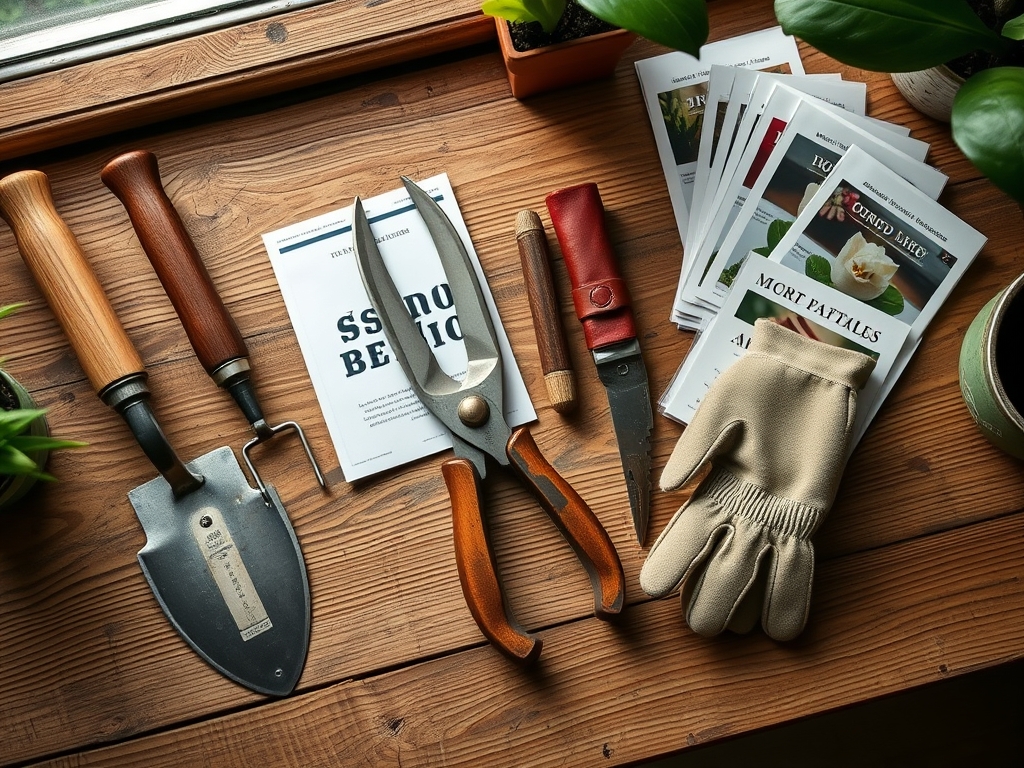
Materials:
The selection of a fertilizer spike depends heavily on the specific NPK ratio required for the current growth phase. For general maintenance and vegetative growth, an NPK ratio of 10-10-10 or 20-20-20 is standard. However, to induce flowering, a spike with a higher phosphorus content, such as 10-30-20, is necessary to stimulate reproductive development.
The substrate must be friable and well-aerated. Epiphytes require a medium consisting of fir bark, perlite, and charcoal with a pH range between 5.5 and 6.5. If the pH climbs above 7.0, micronutrients like iron and manganese become chemically locked, leading to interveinal chlorosis. Before inserting a spike, ensure the medium is damp. Dry bark can wick moisture away from the spike too quickly, causing a localized salt burn that can desiccate sensitive root tips.
Timing:
Orchid growth cycles are governed by a biological clock sensitive to light duration and temperature fluctuations. In Hardiness Zones 9 through 11, where orchids may reside outdoors, the primary feeding window aligns with the spring and summer months. For indoor growers, the "Vegetative Stage" typically begins after the last flower drops and the plant initiates new leaf or lead growth.
Avoid inserting spikes during the winter dormancy period or when the plant is under heat stress. The transition from the vegetative to the reproductive stage is often triggered by a 10 to 15 degree Fahrenheit drop in nighttime temperatures. Once the inflorescence (flower spike) begins to emerge, the plant's demand for potassium increases to support the turgor pressure required to open the blooms. Do not add new spikes once the buds have reached the "balloon" stage; excessive nitrogen at this point can cause bud blast or premature senescence.
Phases:
Sowing and Seedling Establishment
Orchid seeds are microscopic and lack endosperm, requiring a symbiotic relationship with mycorrhizal fungi to germinate. Because of this, spikes are never used for seedlings. Instead, wait until the plant has been "deflasked" and established in a community pot for at least six months.
Pro-Tip: Young plants require lower concentrations of nutrients to prevent root cauterization. Cut a standard spike into quarters to reduce the total dissolved solids (TDS) in the small root zone. This prevents the inhibition of auxin, the hormone responsible for root elongation.
Transplanting and Repotting
When moving an orchid into a larger vessel, usually every 18 to 24 months, examine the root system for necrosis. Use bypass pruners sterilized with 70 percent isopropyl alcohol to remove dead tissue. Place the plant in the center of the pot and pack the medium firmly but allow for air pockets.
Pro-Tip: Do not insert a fertilizer spike immediately after transplanting. Wait 30 days for the roots to heal from microscopic abrasions. This delay prevents salts from entering open wounds and causing systemic tissue collapse through osmotic stress.
Establishing the Mature Plant
For a mature orchid in a 6-inch pot, insert two spikes on opposite sides of the container. Position them midway between the plant stem and the pot rim to avoid direct contact with the primary root mass.
Pro-Tip: Push the spike 1 inch below the surface of the bark. This depth ensures that the moisture level remains consistent, facilitating a steady rate of diffusion. Placing the spike too shallowly results in uneven nutrient release as the top layer of bark dries out faster than the core.
The Clinic:
Physiological disorders in orchids often mimic pathogenic infections. Accurate diagnosis is required before adjusting the nutritional load.
- Symptom: Yellowing of lower leaves while veins remain green (Nitrogen Chlorosis).
- Solution: Check the age of the fertilizer spike. Most spikes deplete after 60 days. Replace the spike and ensure the water pH is below 7.0 to facilitate nitrogen uptake.
- Symptom: Black, shriveled root tips (Salt Toxicity).
- Solution: This occurs when fertilizer salts accumulate in the medium. Remove the spike and flush the pot with distilled water equal to five times the volume of the pot.
- Symptom: Purple or reddish tint on leaves (Phosphorus Deficiency).
- Fix-It: This is common in cooler temperatures. Switch to a high-phosphorus "Bloom Booster" spike and ensure the ambient temperature remains above 65 degrees Fahrenheit.
Maintenance:
Precision is the hallmark of a master horticulturist. Use a soil moisture meter to verify that the medium is at a "level 4" before inserting spikes. Orchids typically require the equivalent of 1 inch of water per week, delivered in a way that denches the bark thoroughly.
Every third watering, skip the fertilizer and flush the substrate with plain water to prevent the buildup of mineral crusts. Use a hori-hori knife to gently probe the medium for compaction; if the bark has broken down into a fine silt, the spikes will not dissolve correctly due to a lack of oxygen in the rhizosphere. Maintain humidity levels between 50 and 70 percent to ensure the stomata remain open, allowing for the transpiration stream to move nutrients from the roots to the leaf tips.
The Yield:
While most orchids are grown for aesthetic value rather than consumption, the "yield" is measured in the longevity and quantity of the blooms. To maximize the display, once the first flower opens, move the plant to a location with slightly cooler temperatures and lower light. This slows the plant's metabolism and extends the life of the flower.
When the spike eventually dies back, use bypass pruners to cut the stalk. If the stalk is still green, cut one inch above the second node from the base to encourage a secondary flush. If the stalk has turned brown and woody, cut it flush with the base of the plant. To maintain "day-one" freshness in cut orchids, sear the end of the stem with a flame or dip it in boiling water for 10 seconds to seal the latex ducts before placing it in a pH-balanced floral solution.
FAQ:
How often should I replace orchid fertilizer spikes?
Most spikes are engineered to last 60 days. In high-humidity environments or frequent watering schedules, the binder may dissolve faster. Replace them every two months during the active growing season for consistent nutrient delivery.
Can I use regular houseplant spikes for my orchids?
No. Standard spikes often contain high urea content which orchids cannot process efficiently without specific soil microbes. Use spikes specifically formulated for orchids with ammoniacal and nitrate nitrogen sources to avoid root burn.
Where exactly should I place the spike in the pot?
Insert the spike near the inner rim of the pot, away from the base of the plant. This prevents concentrated salts from touching the sensitive crown and allows the roots to grow toward the nutrient source naturally.
Why are my orchid leaves turning dark green but not blooming?
This is often a sign of excessive nitrogen. High nitrogen levels promote vegetative growth at the expense of reproduction. Switch to a spike with a higher phosphorus and potassium ratio to trigger the flowering phase.