6 Simple Steps to Install Artificial Turf
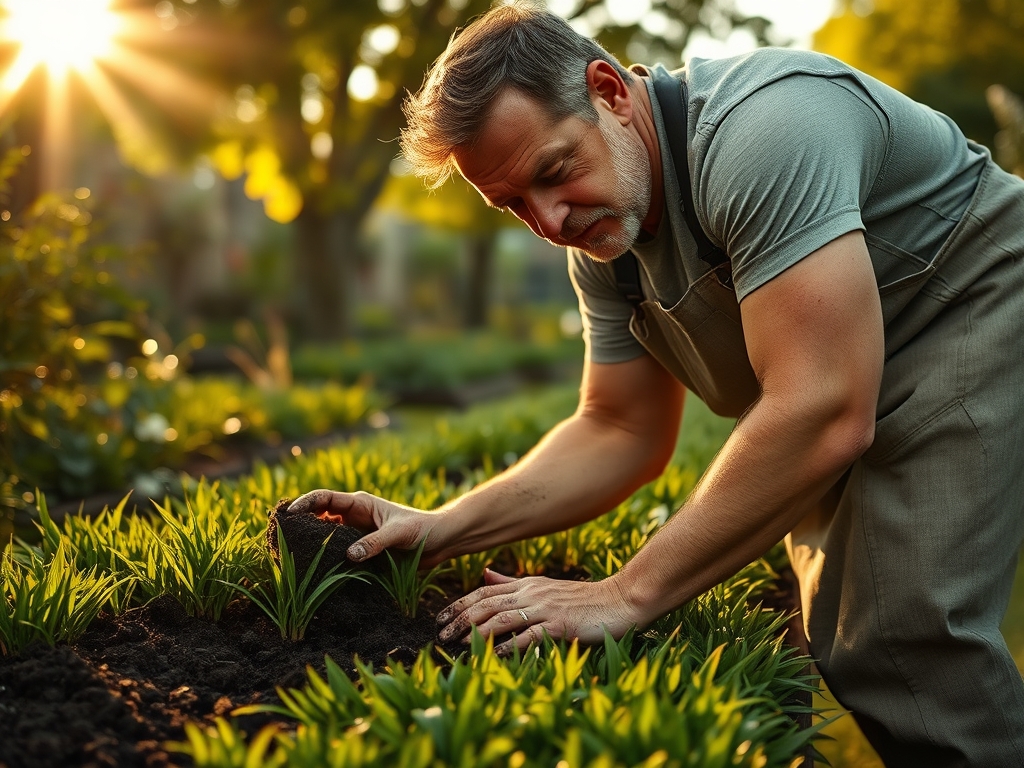
The smell of damp earth and the turgor of a healthy leaf define the traditional landscape; however, maintaining a monoculture of high-maintenance fescue often leads to soil exhaustion and excessive water consumption. Transitioning to synthetic ground cover requires a rigorous understanding of site preparation and soil mechanics. To ensure a professional finish, you must master the specific steps to install artificial turf. This process replaces the living rhizosphere with a stable, permeable drainage system designed to withstand heavy foot traffic while mimicking the aesthetics of a healthy, nitrogen-rich lawn without the chemical inputs.
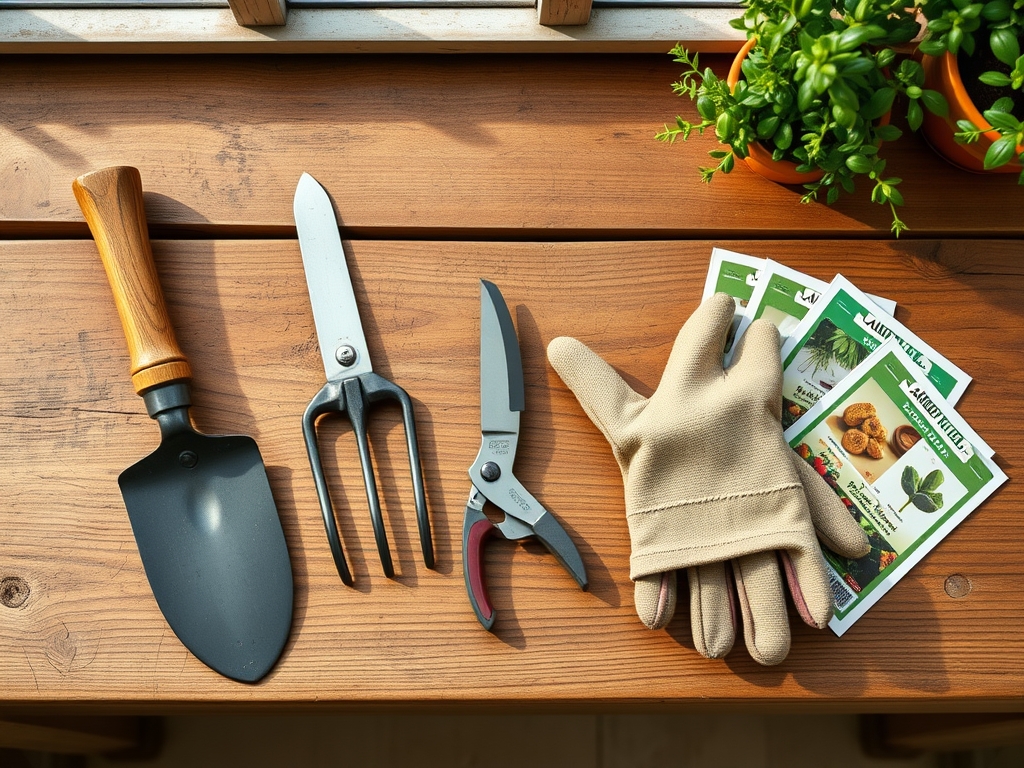
Materials:
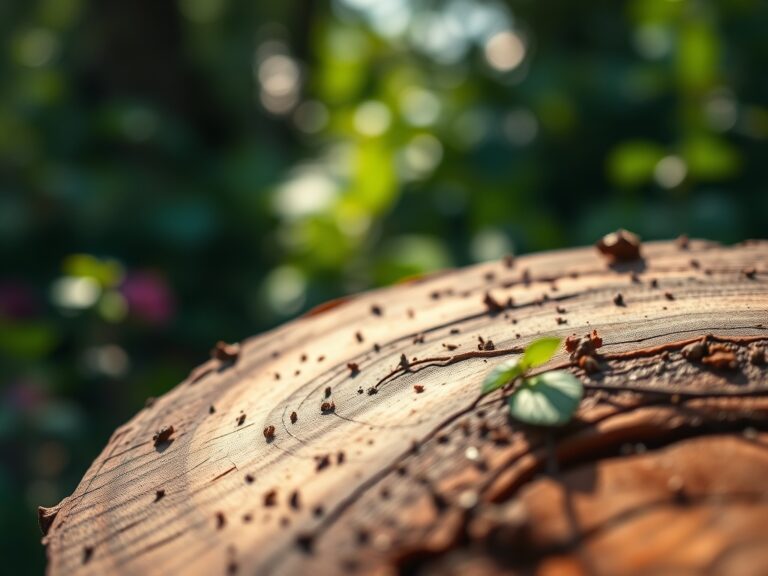
While artificial turf does not require active nutrient cycling, the underlying soil chemistry dictates the longevity of the installation. Before laying the sub-base, test the soil pH. A neutral range between **6.0 and 7.0** is ideal to prevent acidic degradation of the geotextile fabric. If the native soil is a heavy clay with a high Cation Exchange Capacity (CEC), it will retain moisture and potentially cause “heaving” during freeze-thaw cycles.
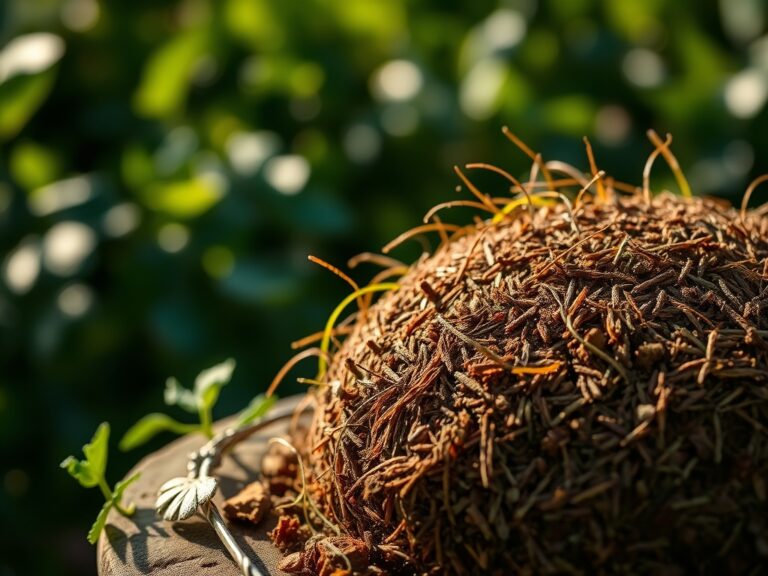
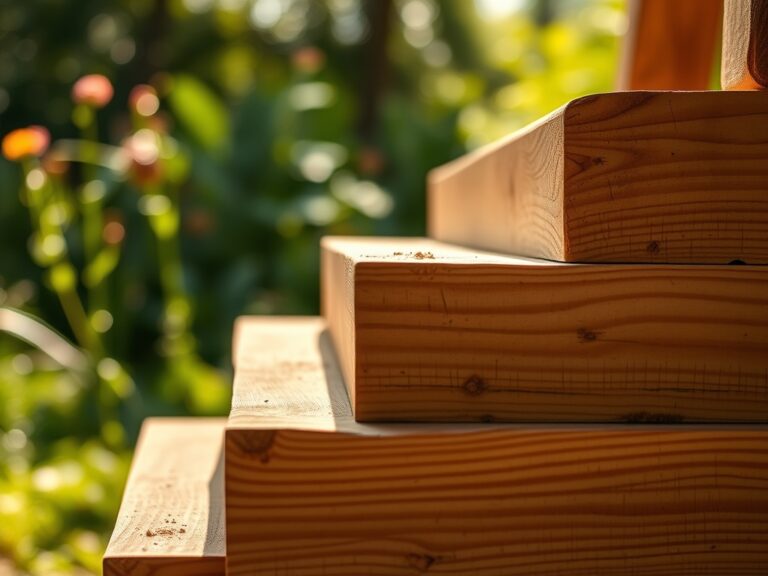
You must replace the top 3 to 4 inches of organic matter with a friable, inorganic substrate. The ideal base consists of Class 2 road base or decomposed granite. This material provides the structural integrity that a "friable loam" cannot offer under synthetic layers. You will also need silica sand infill, which provides ballast and protects the primary backing from UV-induced senescence. Ensure you have a non-woven geotextile weed barrier with a high flow rate to prevent anaerobic conditions in the subsoil.
Timing:
The biological clock of the surrounding flora must be considered during installation. In Hardiness Zones 4 through 7, the ideal window for installation is during the dormant season or early spring before the "bud break" of adjacent ornamental species. Avoid installation when the ground is frozen; the soil must be workable to achieve a 90 percent compaction rate.
Installing during the vegetative stage of nearby trees ensures that you can identify and protect critical root zones. If you excavate during the reproductive stage of surrounding plants, you risk stressing the specimens during their peak energy expenditure. Monitor the frost-date windows; a soil temperature of at least 50 degrees Fahrenheit is necessary for the turf adhesive to cure properly if you are joining seams on a hardscape perimeter.
Phases:
Sowing the Foundation
Excavate the area to a depth of 100 millimeters. This removes the existing biomass and prevents the decomposition of organic matter from creating localized depressions. Grade the area to a 2 percent slope away from permanent structures to facilitate gravitational drainage.
Pro-Tip: Proper grading prevents "hydrostatic pressure" buildup. By managing the slope, you ensure that the downward movement of water through the turf's perforated backing does not saturate the subsoil and cause shifting.
Transplanting the Sub-base
Distribute the crushed stone in 2-inch lifts. Use a plate compactor to achieve maximum density. Lightly mist the aggregate during compaction to reduce friction between the particles; this allows them to lock together more effectively.
Pro-Tip: Moisture acts as a lubricant during compaction. This physical principle ensures the base achieves a high "bulk density," providing a stable platform that resists the "thixotropic" properties of wet clay soils.
Establishing the Surface
Roll out the turf and allow it to acclimate to the ambient temperature for at least 4 hours. This allows the polyethylene fibers to recover from their compressed state. Trim the edges using a sharp utility knife, ensuring the blades are angled toward the perimeter for a flush fit.
Pro-Tip: Allowing the turf to "relax" prevents future ripples caused by thermal expansion and contraction. This accounts for the material's "coefficient of linear thermal expansion," ensuring the seams remain invisible as temperatures fluctuate.
The Clinic:
Even inorganic systems face physiological-like failures if the environment is not managed.
-
Symptom: Surface ponding or localized flooding.
-
Solution: Check for "fines" migration. If the sub-base was not properly screened, small particles can clog the geotextile fabric.
-
Fix-It: Use a soil moisture meter to identify the saturation point. If the drainage is compromised, you may need to install a French drain or increase the depth of the aggregate layer.
-
Symptom: Fiber matting or premature wear in high-traffic zones.
-
Solution: Inadequate infill levels. The silica sand must support the lower one-third of the blade height.
-
Fix-It: Apply 2 pounds of infill per square foot. Use a power broom to work the granules deep into the thatch layer.
-
Symptom: Perimeter lifting or curling.
-
Solution: Improper anchoring. In areas with high clay content, "frost heave" can push 6-inch nails out of the ground.
-
Fix-It: Replace standard nails with 8-inch non-galvanized spiral spikes. The oxidation of the steel creates a mechanical bond with the soil.
Maintenance:
Synthetic turf is not "maintenance-free" but rather "low-input." To maintain the integrity of the fibers, use a power broom twice a year to counteract the effects of gravity and foot traffic. If the turf is located under deciduous trees, remove organic debris immediately. Decomposing leaves can create a thin layer of "humus" on top of the turf, which allows weed seeds to germinate in the thatch.
For hygiene, rinse the turf with water if you have pets. While you do not need to apply 1.5 inches of water per week as you would for live grass, an occasional deep rinse prevents salt buildup from pet waste. Use a hori-hori knife to carefully extract any opportunistic weeds that take root in the perimeter seams. Periodically check the infill levels; if the backing is visible, the UV rays will accelerate the "brittleness" of the polymer.
The Yield:
The "yield" of an artificial turf installation is measured in longevity and aesthetic consistency. A high-quality installation should provide a 15 to 20-year lifespan. To maintain "day-one" freshness, avoid using metal rakes which can tear the primary backing. Instead, use specialized synthetic turf rakes with plastic tines. If you must perform repairs, use a bypass pruner to trim any loose fibers or stray yarns from the seams to prevent further unraveling.
FAQ:
How deep should I excavate for artificial turf?
Excavate to a depth of 3 to 4 inches. This allows for a stable base layer of crushed stone or decomposed granite, ensuring proper drainage and preventing the turf from sitting above the surrounding grade.
Does artificial turf require a weed barrier?
Yes. Install a non-woven geotextile fabric between the native soil and the aggregate base. This prevents weeds from migrating upward while allowing water to pass through into the subsoil at a consistent rate.
What is the best infill for synthetic grass?
Silica sand is the standard for residential use. It provides necessary weight to prevent shifting and supports the blades to ensure they remain upright, which protects the backing from direct UV exposure and thermal degradation.
Can I install artificial turf over existing grass?
No. Existing biomass must be removed. Decomposing grass creates voids and unstable soil, leading to an uneven surface and potential mold growth. Always strip the sod and compact a mineral base before installation.