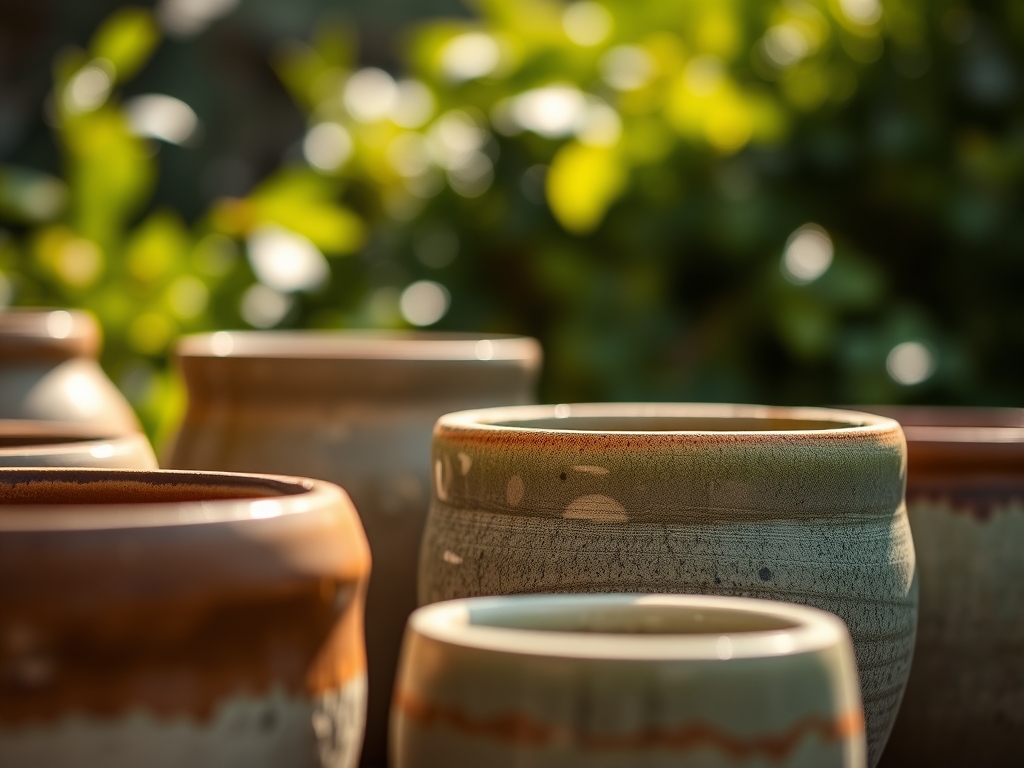
6 Simple Steps to Choose Glazed Ceramic Planters
Damp earth releases a sharp, geosmin-rich scent as the root ball slides into its new vessel. A healthy plant maintains high turgor pressure; its cell walls are rigid and hydrated. To sustain this physiological state, the container must provide thermal stability and moisture retention. Mastering the steps to choose glazed ceramic planters requires an understanding of how kiln-fired silica and lead-free glazes interact with the rhizosphere. These vessels are not merely aesthetic choices. They are non-porous barriers that prevent rapid evaporation, making them ideal for high-transpiration species. Selecting the wrong weight or drainage capacity can lead to anaerobic conditions and root senescence. A disciplined approach to container selection ensures that the soil volume remains consistent with the plant's biomass and growth rate. By analyzing the thermal mass of the ceramic and the interior surface area, a grower can regulate the internal temperature of the substrate, protecting delicate microbial colonies from sudden fluctuations in the ambient environment.
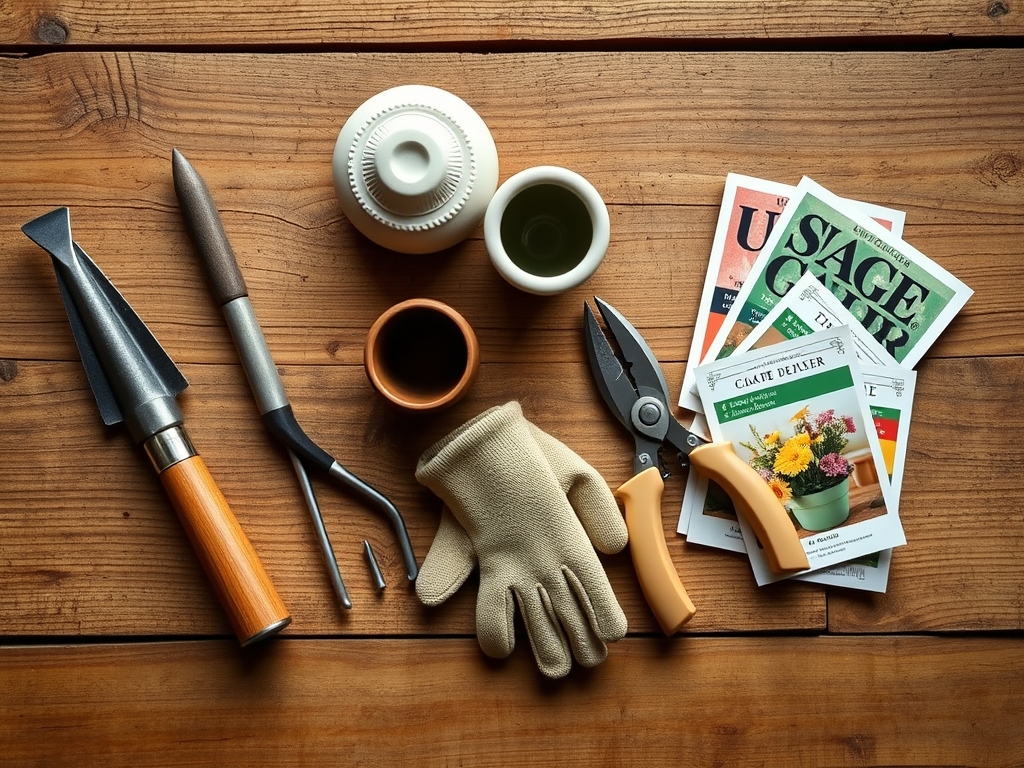
Materials:
The substrate used within a glazed planter must account for the material’s low permeability. A **friable loam** consisting of 40 percent peat or coco coir, 30 percent perlite, and 30 percent composted organic matter is standard. For heavy feeders, the **NPK ratio** should be targeted at **10-10-10** for general maintenance or **5-10-10** for root development. The soil pH must be calibrated between **6.2 and 6.8** to optimize the **Cation Exchange Capacity (CEC)**. This range ensures that essential cations like calcium (Ca2+) and magnesium (Mg2+) remain available to the root hairs rather than leaching out during irrigation cycles. High-fired ceramic provides a stable environment for these chemical exchanges because the glazed interior prevents mineral salts from accumulating in the walls of the pot, a common issue with unglazed terracotta.
Timing:
Hardiness Zones 3 through 11 dictate the utility of glazed ceramics. In zones with frequent freeze-thaw cycles (Zones 3 to 6), these planters must be high-fired to vitrification to prevent water expansion from cracking the ceramic body. The "Biological Clock" of the plant determines the transplanting window. Move plants during their vegetative stage, typically 14 to 21 days before the first frost or after the last frost of spring. This allows the root system to establish before the plant enters its reproductive stage or winter dormancy. Transitioning a plant during its peak flowering period causes an immediate drop in auxin levels; this leads to bud abscission and stunted growth. Monitor the photoperiod; as day length exceeds 12 hours, the metabolic rate of the plant increases, requiring the superior moisture retention that only a glazed surface can provide.
Phases:

Sowing
Direct sowing in glazed ceramic requires a precision-drained substrate. Ensure the seed depth is exactly three times the diameter of the seed. Maintain a consistent temperature of 65 to 75 degrees Fahrenheit for optimal germination.
Pro-Tip: Glazed planters facilitate hydrotropism, where roots grow toward moisture gradients. Because the glaze prevents side-wall evaporation, roots are less likely to become "pot-bound" against the edges compared to porous materials.
Transplanting
When moving a specimen, ensure the new glazed planter is 2 inches wider in diameter than the current root mass. Use a hori-hori knife to slice any circling roots, which stimulates the production of lateral roots through the suppression of apical dominance.
Pro-Tip: The smooth interior of a glazed pot reduces friction during future transplants. This minimizes damage to the mycorrhizal symbiosis established between the fungi and the root cortex, ensuring the plant continues to absorb phosphorus efficiently.
Establishing
During the first 14 days, the plant must recover from transplant shock. Maintain the soil at a consistent moisture level of level 3 on a soil moisture meter. Avoid heavy fertilization during this phase to prevent osmotic stress on new root hairs.
Pro-Tip: Glazed ceramics provide high thermal mass. This stabilizes the rhizosphere temperature, preventing the "heat-sink" effect. Stable temperatures encourage the steady flow of nutrients via the xylem, maintaining the plant's structural integrity.
The Clinic:
Physiological disorders in glazed containers often stem from improper drainage or salt buildup.
- Symptom: Edema. Small bumps or blisters on the underside of leaves. Solution: This is caused by high turgor pressure when roots take up more water than the leaves can transpire. Reduce irrigation frequency and increase airflow.
- Symptom: Nitrogen Chlorosis. Uniform yellowing of older leaves. Solution: Apply a liquid fertilizer with a high N value (e.g., 20-10-10) to restore chlorophyll production.
- Symptom: Root Rot (Phytophthora). Soft, brown roots and a foul odor. Solution: Remove the plant, prune affected roots with bypass pruners, and repot in a glazed planter with a larger drainage hole using a more porous substrate.
- Fix-It: Magnesium Deficiency. Interveinal chlorosis on older leaves. Solution: Dissolve 1 tablespoon of Epsom salts per gallon of water and apply to the soil to restore the central atom of the chlorophyll molecule.
Maintenance:
Precision is the hallmark of professional maintenance. Deliver exactly 1.5 inches of water per week at the drip line. Use a soil moisture meter to verify that the moisture has reached the bottom third of the glazed pot. Because glazed ceramic does not breathe, over-watering is the primary cause of failure. Every 90 days, flush the soil with clear water to remove accumulated mineral salts that the glaze has prevented from leaching through the sides. Use bypass pruners to remove any necrotic tissue, making cuts at a 45-degree angle to prevent water from pooling on the wound. In autumn, if you reside in a zone with hard freezes, move heavy glazed pots onto "pot feet" to prevent them from sealing to the ground; this allows for continued drainage and prevents the base from shattering.
The Yield:
When harvesting from glazed planters, timing is governed by the peak concentration of essential oils or sugars. For herbs, harvest in the morning after the dew has evaporated but before the sun reaches its zenith; this preserves the volatile terpene profiles. Use a sharp blade to ensure a clean cell-wall break. For ornamental flowers, cut when the buds are in the "tight-furl" stage. Immediately submerge the stems in 110-degree Fahrenheit water to break any air embolisms in the xylem. This technique, known as "conditioning," ensures day-one freshness and maximum vase life by maintaining the hydraulic pressure within the plant's vascular system.
FAQ:
Why choose glazed ceramic over terracotta?
Glazed ceramic is non-porous; it prevents water from evaporating through the walls. This maintains consistent moisture levels and prevents salt buildup. It is ideal for plants requiring stable hydration and high thermal mass to protect the rhizosphere from temperature swings.
How do I ensure proper drainage in a glazed pot?
Select a planter with at least one 0.5-inch drainage hole. Use a mesh screen over the hole to prevent substrate loss. Avoid adding gravel to the bottom; this creates a "perched water table" that can lead to anaerobic root rot.
Can glazed ceramic planters stay outside in winter?
Only if they are high-fired and vitrified. Check for "frost-proof" ratings. To prevent damage, elevate the pot with "pot feet" to ensure the drainage hole does not freeze shut; this allows expanding ice a path of least resistance.
How do I clean mineral deposits from glazed pots?
Mix a solution of one part white vinegar to four parts water. Scrub the glaze with a soft brush to remove calcium carbonate buildup. Unlike terracotta, the smooth surface of the glaze allows for easy removal without damaging the integrity of the vessel.