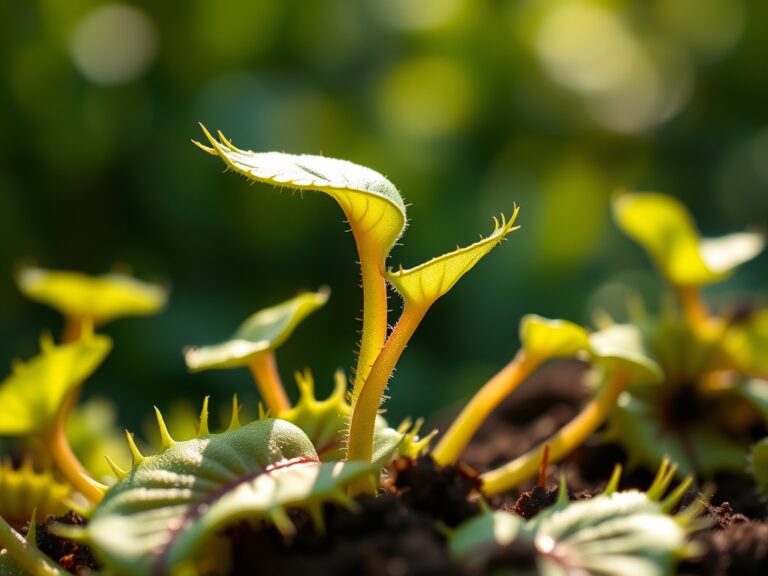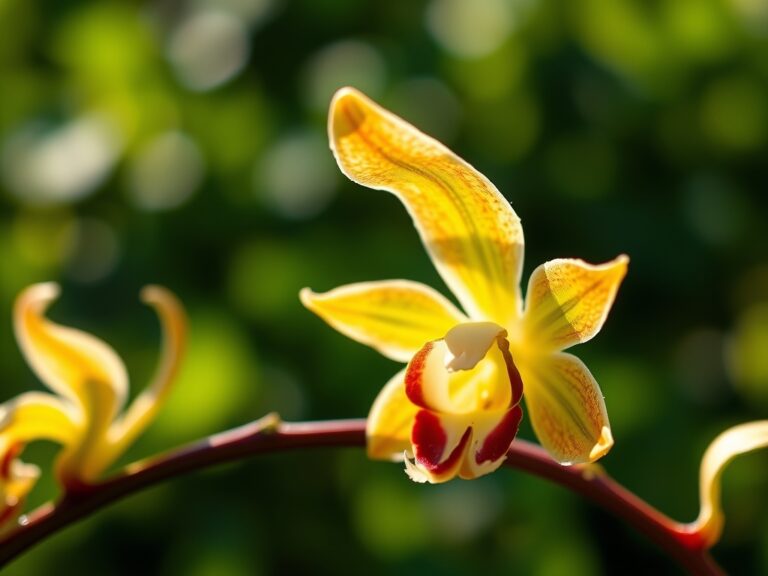
9 Vital Steps to Vanda Orchid Basket Care
The snap of a turgid, hydrated Vanda leaf indicates high internal water pressure and cellular health. These epiphytes do not tolerate the suffocating constraints of traditional potting media; they require the constant gas exchange provided by open wooden slats. Mastering the steps to vanda orchid basket care requires a shift from terrestrial thinking to atmospheric management. You are managing a root system that functions as a biological sponge, absorbing moisture directly from the humid air and rapid drenching cycles.
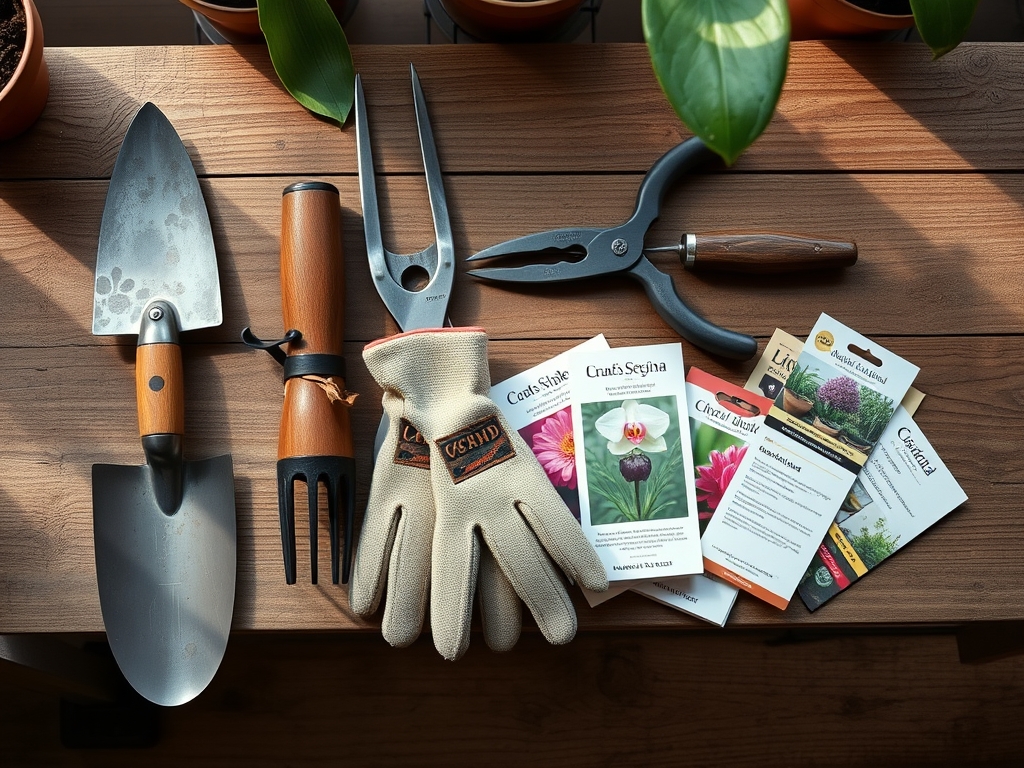
Materials:
Vanda orchids require a specialized nutritional regimen because they lack a soil reservoir to buffer nutrient delivery. The ideal fertilizer is a water soluble **20-20-20 NPK ratio** for vegetative growth, switching to a **10-30-20 NPK ratio** to induce flowering during the reproductive phase. Because these plants are grown in baskets, the substrate is often nonexistent or consists of large chunks of **charcoal and coarse fir bark**. This creates a physical texture that is exceptionally airy rather than a friable loam. The irrigation water must be maintained at a **pH of 5.5 to 6.5** to ensure maximum bioavailability of micronutrients like iron and manganese. High Cation Exchange Capacity (CEC) is not provided by the basket itself, so the gardener must provide consistent, dilute mineral salts to prevent tissue senescence.
Timing:
Vandas are tropical perennials suited for USDA Hardiness Zones 10 through 12. They thrive in temperatures between 65 and 95 degrees Fahrenheit. If ambient temperatures drop below 50 degrees Fahrenheit, metabolic processes slow significantly, and the plant may enter a state of dormancy or suffer chill-induced necrosis. The biological clock of a Vanda is driven by light intensity and photoperiod. To transition from the vegetative stage to the reproductive stage, the plant typically requires a minimum of 12 to 14 hours of high intensity light. In temperate zones, this window usually aligns with the summer solstice, though supplemental lighting can trigger blooming year round if thermal requirements are met.
Phases:
Sowing and Seedling Development
Vanda seeds are microscopic and lack endosperm, requiring a symbiotic relationship with mycorrhizal fungi or a sterile agar medium in a laboratory setting. For the home horticulturist, "sowing" usually refers to the deflasking of agar grown seedlings. These young plants must be transitioned into a high humidity environment of 80 percent relative humidity to prevent rapid desiccation of their thin cuticles.
Pro-Tip: Maintain high humidity to support turgor pressure. Without a developed velamen layer (the silvery sheath on roots), seedlings cannot regulate water loss effectively through their stomata.
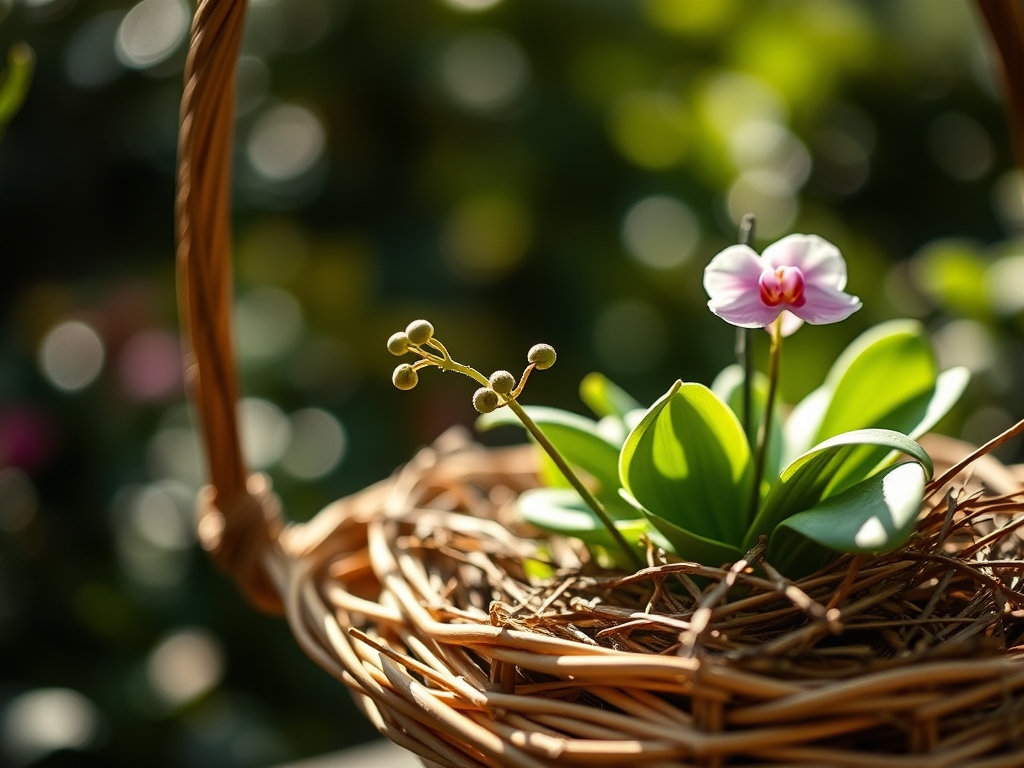
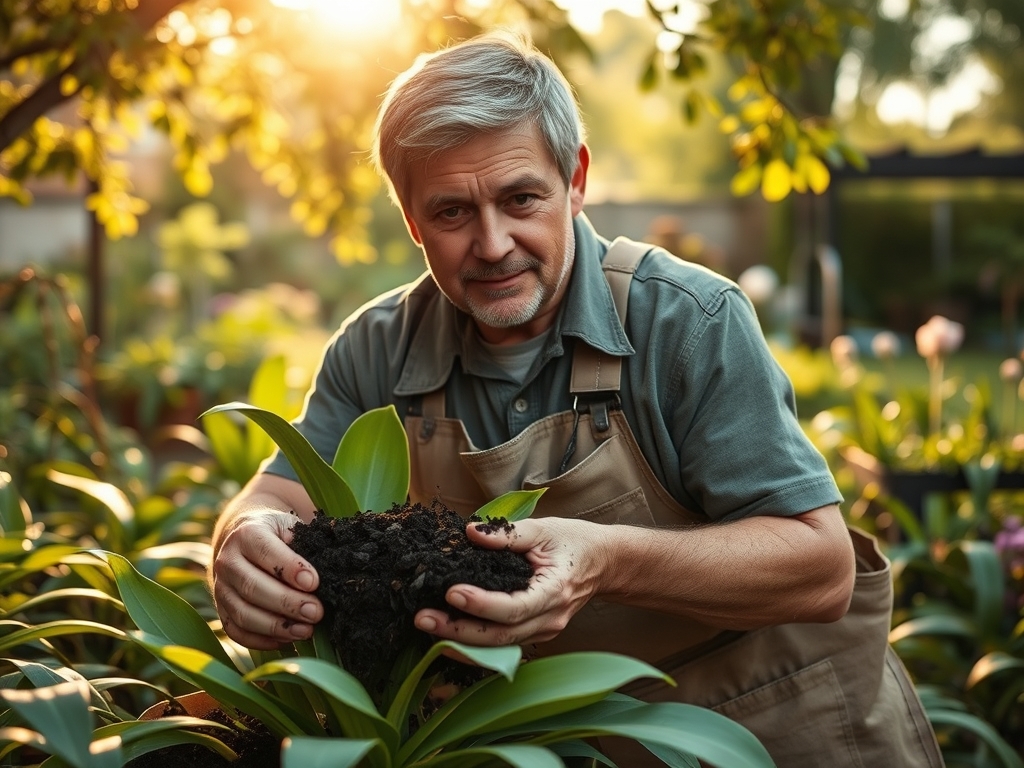
Transplanting into Baskets
When moving a Vanda into a teak or plastic basket, the roots must be pliable. Soak the root mass in lukewarm water for 15 to 20 minutes until they turn from silver to a deep emerald green. This increases elasticity and prevents mechanical fracturing of the vascular tissue. Center the plant and thread the roots through the slats, securing the stem with plastic coated wire.
Pro-Tip: Use a firm anchor to prevent "wobble." If the plant moves, emerging root tips will rub against the basket and abort. This is a result of thigmotropism, where the plant redirects energy away from damaged tactile points.
Establishing the Root System
During the first 30 to 60 days, the focus is on developing the velamen. This specialized epidermis consists of dead cells that act as a capillary wick. Irrigate the roots daily until they saturate. Observe the root structure in the step-by-step photos below to identify the active green growing tips.
Pro-Tip: Avoid over fertilizing during establishment to prevent osmotic shock. Excessive salts in the rhizosphere can pull water out of the roots via osmosis, leading to dehydration despite frequent watering.
The Clinic:
Physiological disorders in Vandas often manifest in the foliage and root tips before the plant suffers total collapse.
- Symptom: Horizontal purple spotting or darkening of leaves.
- Solution: This is often a sign of high light stress. While Vandas need sun, excessive UV can lead to anthocyanin buildup. Increase shading by 10 to 20 percent.
- Symptom: Soft, black lesions at the leaf base (Crown Rot).
- Solution: Water has stagnated in the leaf axils. Increase airflow using a circulation fan and ensure the plant is hung at an angle to allow gravity to drain the crown.
- Symptom: Brittle, shriveled roots that do not turn green when wet.
- Solution: This indicates low ambient humidity or chemical burn from hard water. Flush the system with deionized or rainwater for three consecutive days.
Fix-It: Nitrogen Chlorosis
If older leaves turn a uniform pale yellow while new growth remains small, the plant is scavenging nitrogen. Apply a 30-10-10 NPK foliar spray at half strength every five days until the deep green color returns to the midrib.
Maintenance:
Precision is the hallmark of professional Vanda care. These plants require a daily drenching rather than a weekly soaking. Use a soil moisture meter to check any supplemental bark, but rely primarily on visual cues of the roots. In peak summer, apply water until the roots remain green for at least five minutes. This usually equates to a heavy misting for 3 to 5 minutes twice a day.
When pruning dead flower spikes or desiccated roots, use bypass pruners sterilized with 70 percent isopropyl alcohol to prevent the transmission of Orchid Fleck Virus. Use a hori-hori knife only if you need to pry a plant away from an old wooden basket for upsizing. Always cut into dead tissue, leaving a 0.25 inch margin from the live green tissue to prevent pathogens from entering the vascular system.
The Yield:
While Vandas are not edible, their "yield" is the long lasting floral display. A healthy Vanda can produce blooms that last 6 to 8 weeks. To maximize vase life or display duration, do not move the plant once the buds begin to swell. Rapid changes in temperature or ethylene gas exposure (from ripening fruit nearby) can trigger bud abscission, where the plant prematurely drops its flowers. After the final bloom has wilted, cut the spike 1 inch from the stem and increase the nitrogen ratio in your fertilizer to support the next vegetative growth cycle.
FAQ:
How often should I water a Vanda in a basket?
Water daily, or twice daily during heat waves. The roots must turn from silver to green. In environments with less than 60 percent humidity, a 20 minute soak in a bucket twice weekly is necessary to maintain hydration.
Why are my Vanda leaves yellowing and falling off?
Yellowing at the base often indicates Nitrogen deficiency or root rot. If the leaf drop is sudden and the tissue is mushy, it is a fungal pathogen caused by poor airflow. Increase ventilation and check for stagnant water.
What is the best light for a Vanda orchid?
Vandas require 3,000 to 5,000 foot-candles of light. This is equivalent to bright, dappled sunlight. In northern latitudes, a south facing window or high output LED grow lights are required to prevent the plant from becoming leggy and non-productive.
Does my Vanda need a potting mix?
No. Vandas are strictly epiphytic. Placing them in dense potting soil will lead to root asphyxiation and death within weeks. Use an empty wooden basket or a few large pieces of charcoal to provide an anchor point for the roots.
When should I fertilize my orchid?
Use the "weakly, weekly" method. Apply a balanced fertilizer at one quarter strength every time you water. Once a month, flush the roots with plain water to remove accumulated mineral salts that can cause root tip burn.