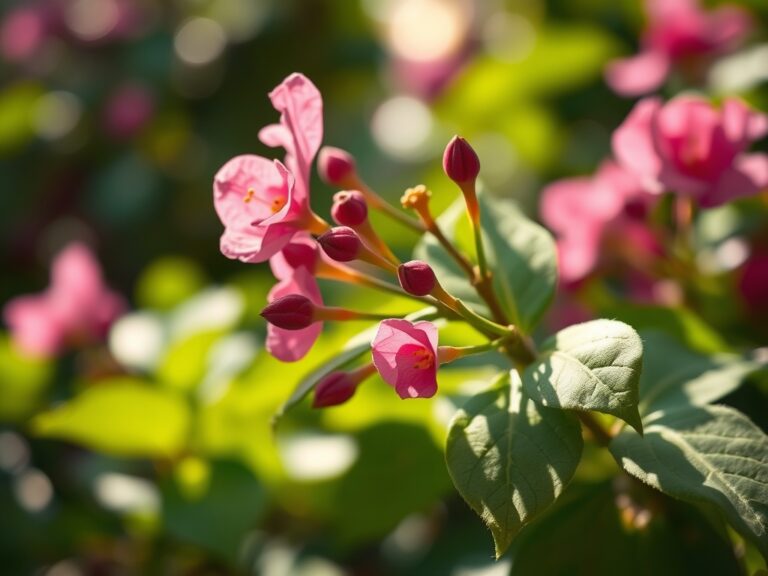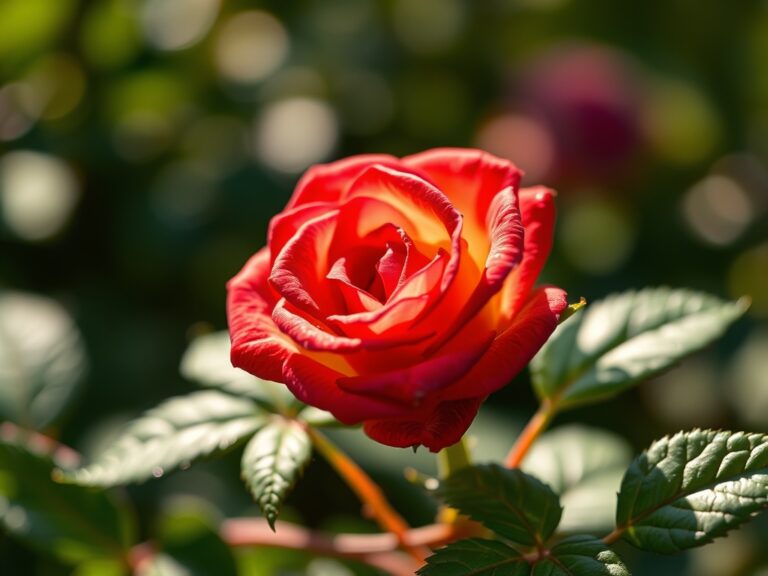
9 Vital Steps to Grow Hibiscus Indoor Trees
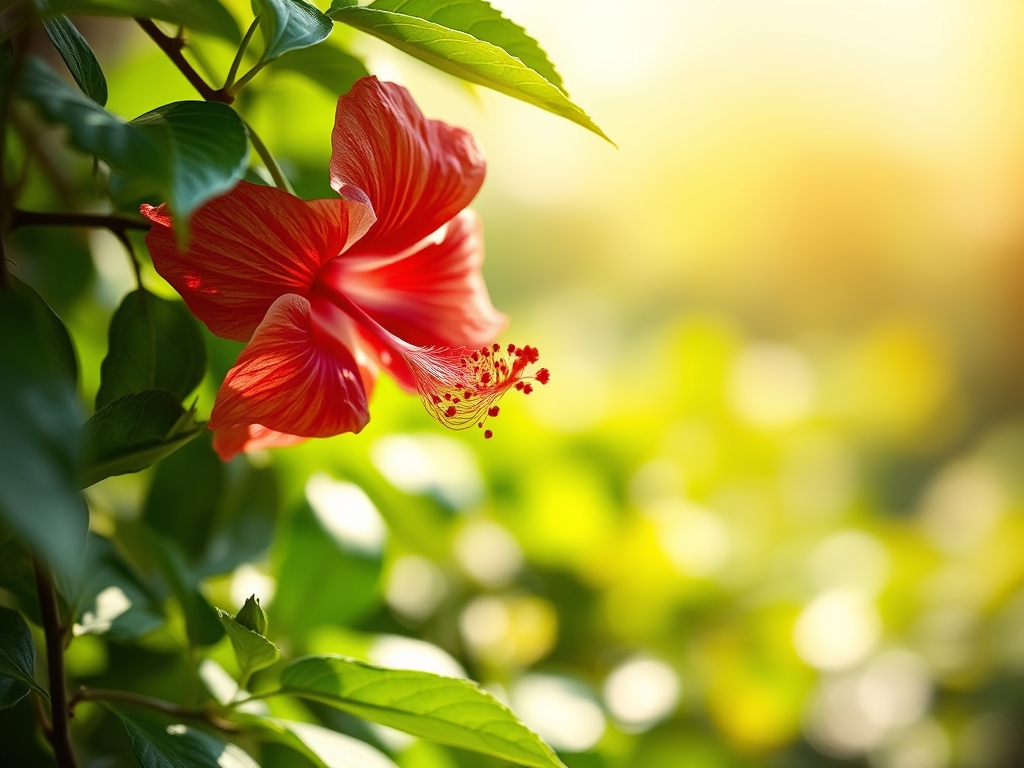
Growing tropical flowering shrubs indoors requires precise environmental control and substrate chemistry. The steps to grow hibiscus indoor trees begin with understanding that Hibiscus rosa-sinensis demands stable temperatures between 65-75°F, consistent moisture at the root zone, and substrate pH between 6.0-6.5. These woody perennials can reach 6-8 feet in container culture when provided adequate phosphorus for bud initiation and controlled auxin distribution through strategic pruning.
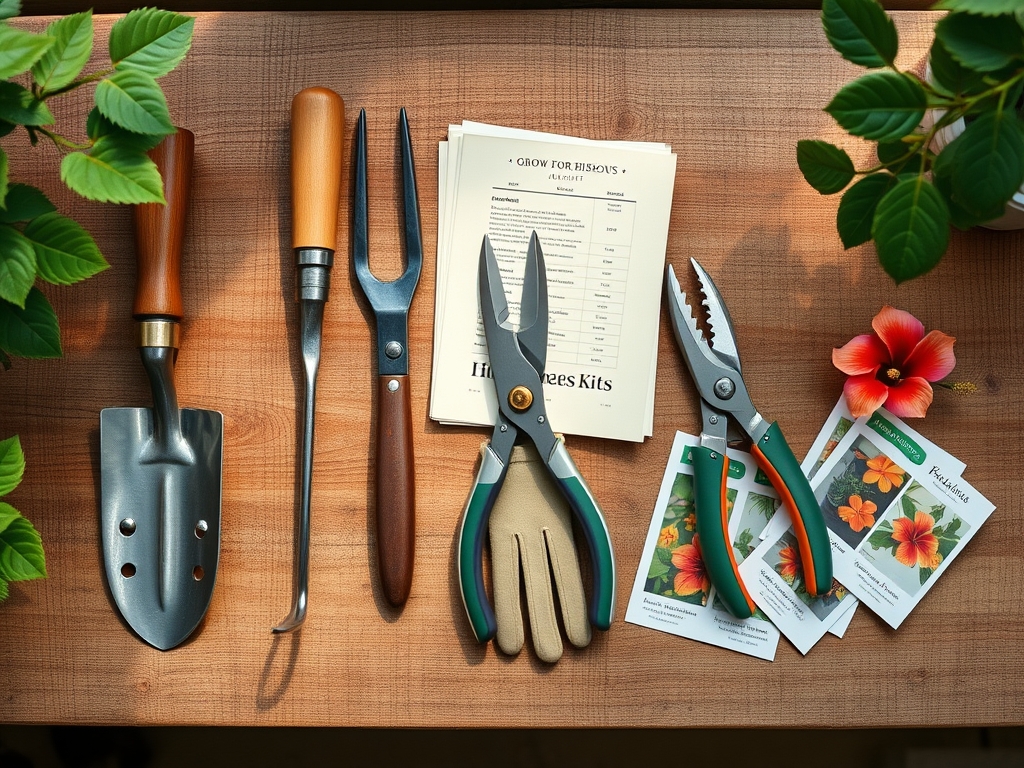
Materials
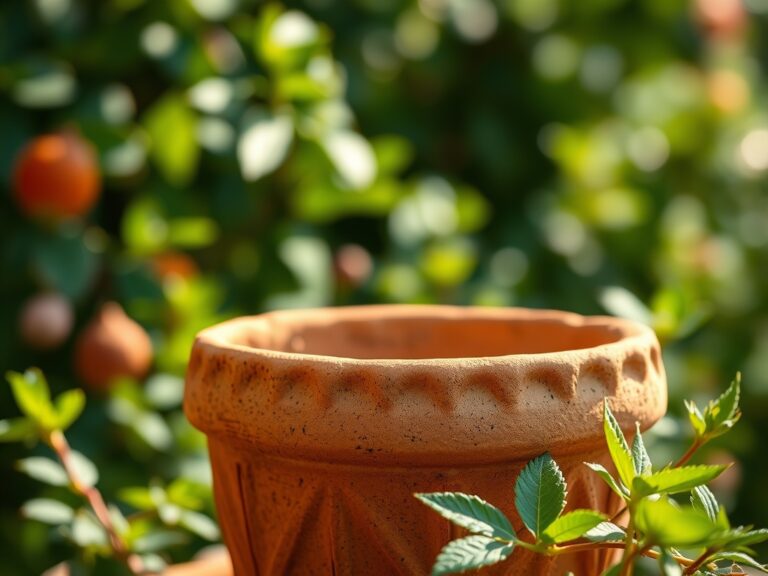
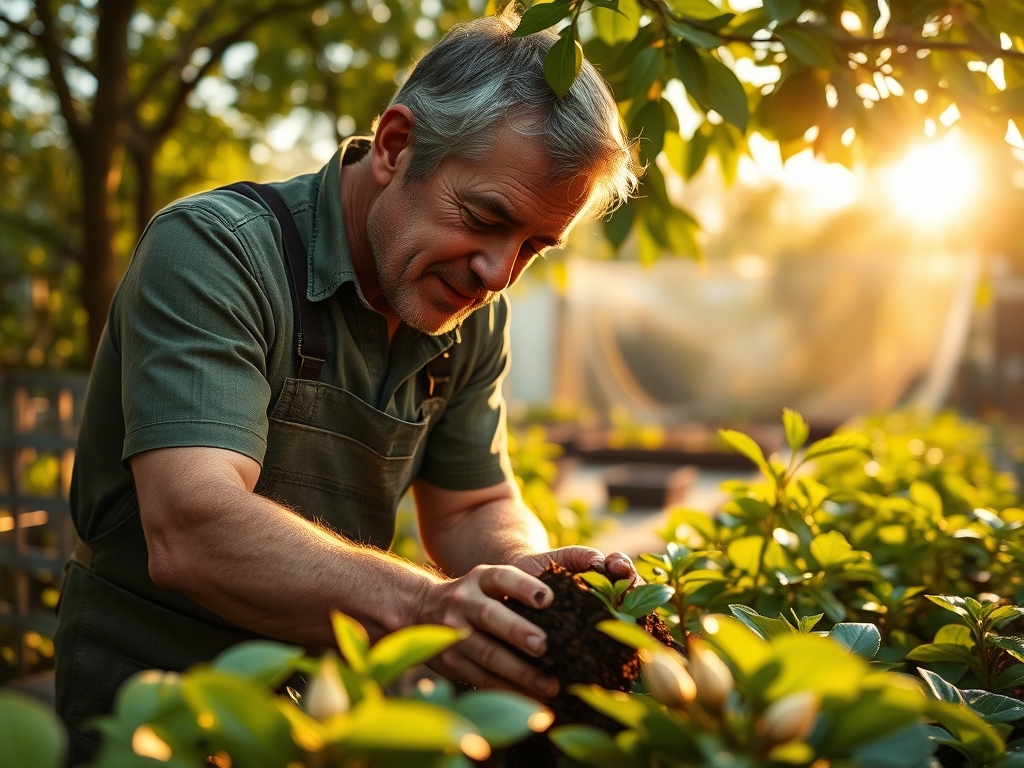
Select containers with drainage holes measuring 12-16 inches in diameter for mature specimens. The substrate must exhibit high cation exchange capacity while maintaining porosity. Combine 40% composted pine bark, 30% Canadian sphagnum peat moss, 20% perlite, and 10% worm castings. This blend achieves pH 6.2 naturally.
Fertilizer selection dictates bloom frequency. Use a complete organic formulation at 3-4-5 NPK ratio during active growth from March through September. Granular formulas containing blood meal, bone meal, and kelp provide slow-release nitrogen at 1.2-1.5 pounds per 100 square feet monthly. Increase phosphorus to 4-12-4 ratio six weeks before desired bloom period to stimulate flower bud differentiation.
Additional materials include full-spectrum grow lights delivering 5,000-7,000 lumens for 12-14 hours daily, mycorrhizal inoculant powder containing Glomus intraradices, and chelated iron supplements for chlorosis prevention.
Timing
Indoor cultivation eliminates frost concerns but circadian rhythms remain critical. Tropical hibiscus originates from USDA Hardiness Zones 9-11 where photoperiod variation stays minimal. Replicate 12-hour day length year-round using supplemental lighting.
Begin propagation from semi-hardwood cuttings in late spring when parent plants exhibit vigorous apical growth. Rooting occurs in 21-28 days at soil temperatures of 72-75°F. Transplant rooted cuttings when root systems measure 3-4 inches in length, typically 6-8 weeks post-cutting.
Prune established specimens in late February before spring flush. This timing maximizes auxin redistribution to lateral buds while minimizing stress during peak bloom season.
Phases
Sowing Phase
Take 6-inch cuttings from current season growth showing no flower buds. Remove bottom leaves, leaving only 2-3 leaf pairs at the apex. Apply rooting hormone containing 0.3% indole-3-butyric acid to the cut surface. Insert cuttings 2 inches deep into sterile propagation mix of 50% perlite and 50% vermiculite.
Maintain substrate moisture at 70% field capacity using bottom heat mats set to 74°F. Enclose propagation trays in clear plastic to sustain 80-90% relative humidity. Root development begins at nodes within 14 days.
Pro-Tip: Dip cutting stems in mycorrhizal inoculant before hormone application. The fungal colonization increases phosphorus uptake by 40% during establishment.
Transplanting Phase
Transfer rooted cuttings when white root tips emerge from drainage holes. Handle root balls carefully to preserve mycorrhizal associations. Position the root crown level with soil surface in prepared containers.
Water transplants with diluted fish emulsion at 5-1-1 NPK ratio, applying 8 ounces per gallon of substrate. This nitrogen boost counters transplant shock by supporting rapid cell division in root tips.
Pro-Tip: Prune the apical meristem at 8 inches height using 45-degree cuts. This forces lateral branching at 3-4 nodes below the cut, establishing tree structure rather than shrub form.
Establishing Phase
Monitor soil moisture using a probe, maintaining readings of 4-5 on a 1-10 scale. Apply 1 inch of water weekly, adjusted for container size and ambient humidity. Fertilize every 14 days with liquid formula at half-strength.
Rotate containers 90 degrees weekly to ensure uniform light distribution. Begin training by removing lower branches below 18 inches to develop clear trunk structure. Allow 5-7 main scaffold branches to develop at 60-degree angles from the central leader.
Pro-Tip: Apply foliar spray of 1 tablespoon Epsom salt per gallon monthly. Magnesium sulfate enhances chlorophyll production in chloroplasts, intensifying foliage color and supporting photosynthetic efficiency.
Troubleshooting
Symptom: Yellow leaves with green veins (interveinal chlorosis).
Solution: Iron deficiency caused by pH above 6.8. Apply chelated iron at 1 tablespoon per gallon as soil drench. Amend substrate with sulfur at 0.5 ounces per cubic foot to lower pH.
Symptom: Bud drop before opening.
Solution: Inconsistent moisture or temperature fluctuation exceeding 10°F daily. Stabilize irrigation schedule and relocate away from heating vents.
Symptom: Sticky honeydew on leaves with sooty mold.
Solution: Aphid or whitefly infestation. Apply insecticidal soap at 5 tablespoons per gallon, spraying leaf undersides at 7-day intervals for three applications.
Symptom: Wilting despite moist soil.
Solution: Root rot from Pythium species. Reduce irrigation frequency to allow top 2 inches of substrate to dry. Drench with biological fungicide containing Trichoderma harzianum.
Symptom: Leaf edges turning brown and crispy.
Solution: Soluble salt accumulation from over-fertilization. Leach containers with distilled water at 3x container volume. Resume feeding at quarter-strength for 4 weeks.
Maintenance
Water when substrate moisture probe reads 4. Apply 1 inch of water per session for 12-inch containers, 1.5 inches for 16-inch containers. Empty catch saucers within 30 minutes to prevent root hypoxia.
Prune selectively during active growth, removing no more than 20% of canopy per session. Cut branches at 45-degree angles 1/4 inch above outward-facing nodes. Remove spent flowers at the base of flower stems to redirect energy toward new bud formation.
Feed established trees every 21 days from March through September using 3-4-5 granular organic fertilizer at 2 tablespoons per gallon of container volume. Supplement with liquid kelp at 1 tablespoon per gallon monthly for trace elements.
Repot root-bound specimens every 24-36 months in spring. Move to containers 2-4 inches larger in diameter. Prune circling roots and refresh substrate completely.
FAQ
How long until indoor hibiscus blooms?
Plants grown from cuttings flower in 6-9 months when provided adequate phosphorus and 12-hour photoperiods.
Can I use tap water?
Yes, if total dissolved solids measure below 300 ppm. Higher concentrations require reverse osmosis filtration to prevent salt accumulation.
Why do leaves drop in winter?
Reduced light intensity below 3,000 lumens triggers dormancy signals. Maintain supplemental lighting at 5,000+ lumens for 12 hours daily.
What temperature kills hibiscus?
Sustained exposure below 50°F causes cellular damage. Protect from cold drafts and maintain minimum temperatures of 60°F.
How often should I prune?
Conduct structural pruning in late February. Perform maintenance pruning monthly during active growth, removing dead wood and crossing branches.