9 Simple Steps to Plant Mini Seeds
Miniature seeds demand precision from the moment they leave your palm. The steps to plant mini seeds begin with understanding their scale: lettuce, carrot, and petunia seeds measure between 0.5 and 2 millimeters, requiring different handling than larger legumes or squash. Success hinges on moisture control, shallow depth, and maintaining soil temperatures between 65 and 75 degrees Fahrenheit during germination.
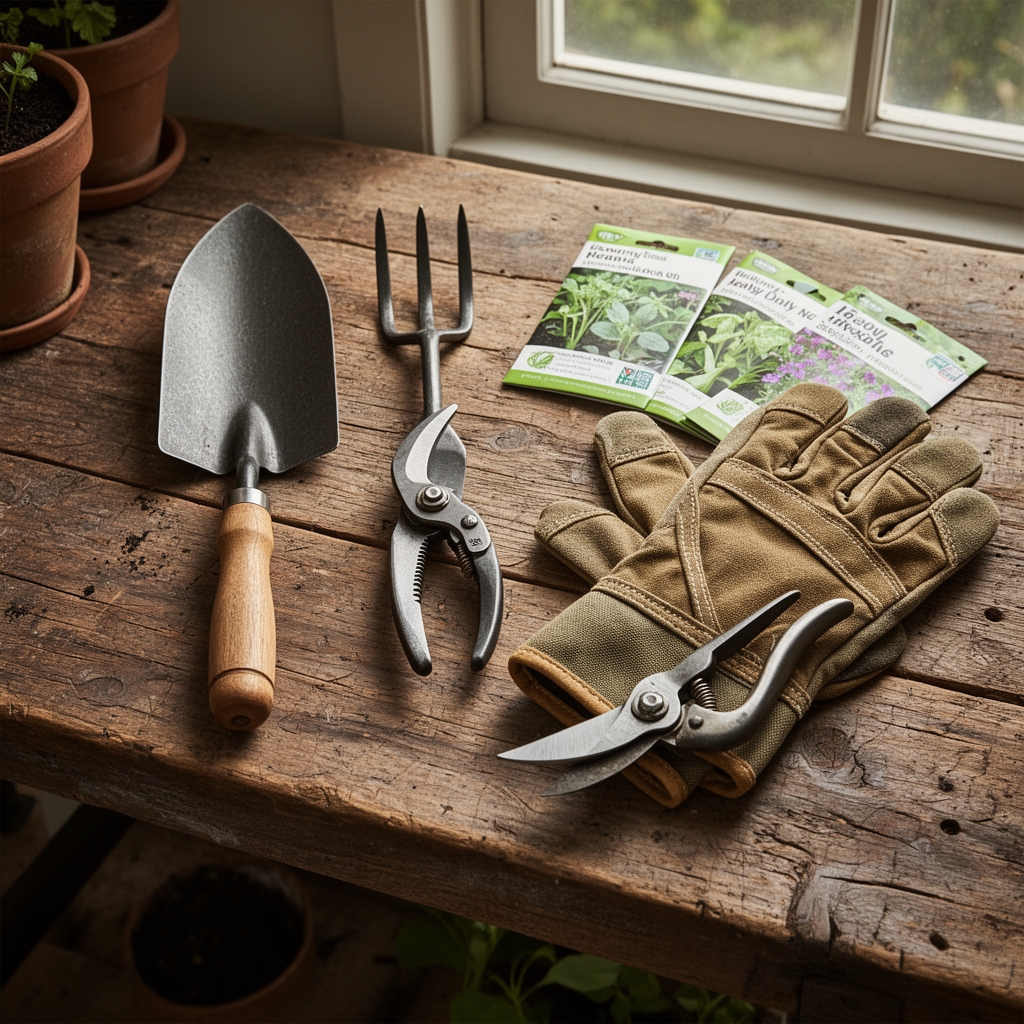
Materials
Seed-starting medium should test between 5.8 and 6.5 pH. Use a blend of 40 percent sphagnum peat, 30 percent perlite, 20 percent vermiculite, and 10 percent compost screened through 1/8-inch mesh. Add 4-4-4 organic granular fertilizer at 1 tablespoon per gallon of mix to ensure balanced macronutrient availability. The cation exchange capacity of this blend reaches 12-15 meq/100g, adequate for seedling establishment without burning tender roots.
Containers require drainage holes spaced every 2 inches. Cell trays with 72 or 128 cells work best for individual seedling management. Sterilize all tools and trays with 10 percent bleach solution for 5 minutes, then rinse thoroughly.
Supplemental lighting needs 14-16 hours daily at 4,000-6,000 lumens. Position T5 fluorescent or LED grow lights 3 inches above soil surface during germination, raising them as seedlings elongate.
Timing
Plant mini seeds indoors 6-8 weeks before your last spring frost date. Hardiness Zones 3-5 should start lettuce and brassicas by mid-March. Zones 6-7 can begin late February. Zones 8-10 benefit from fall sowings in September when soil temperatures drop below 80 degrees Fahrenheit.
Outdoor direct-sowing depends on soil workability. Clay soils in cool climates may not drain adequately until late April. Sandy loams in Zone 7 and warmer often accept seeds by early March. Use a soil thermometer to confirm sustained temperatures above 50 degrees at 2-inch depth for cool-season crops, 60 degrees for warm-season varieties.
Succession planting at 10-day intervals extends harvests. Lettuce, radishes, and carrots tolerate this approach through spring and fall windows.
Phases

Sowing
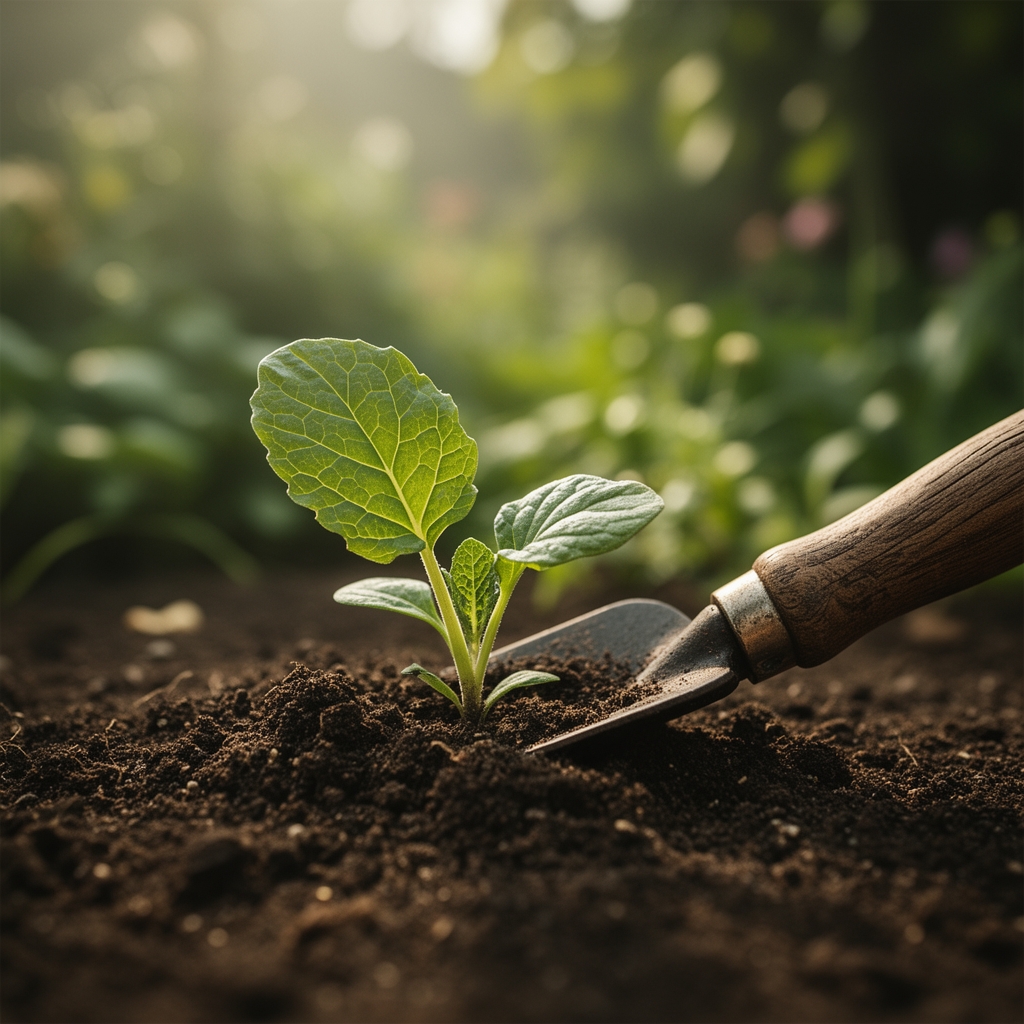
Press seeds onto moistened medium without burying them deeper than twice their diameter. Lettuce and petunia require light for germination and should remain surface-sown with only a dusting of vermiculite. Carrot seeds tolerate 1/8-inch depth. Space seeds 1/2 inch apart to reduce damping-off risk.
Cover trays with humidity domes or clear plastic wrap until 60 percent of seeds show radicle emergence, typically 3-7 days. Maintain 70-degree bottom heat using seedling mats calibrated with thermostats. Check moisture twice daily; medium should feel like a wrung-out sponge.
Pro-Tip: Inoculate medium with Trichoderma harzianum at 1 gram per gallon before sowing. This fungal strain colonizes root zones and suppresses Pythium and Rhizoctonia, reducing damping-off by 40-60 percent in university trials.
Transplanting
Move seedlings to 3-inch pots when the first true leaves fully expand, usually 10-14 days post-germination. Handle seedlings by leaves, never stems. The apical meristem and auxin distribution patterns concentrate in the stem; crushing this tissue halts vertical growth permanently.
Transplant into potting soil with higher fertility: 5-3-4 ratio supports vegetative growth. Water with half-strength liquid fertilizer (1-1-1 NPK equivalent) immediately after transplanting to reduce shock. Lower light intensity to 3,000 lumens for 48 hours, then resume full spectrum.
Pro-Tip: Brush seedlings with a stiff card or your hand for 30 seconds twice daily. This mechanical stimulation triggers thigmomorphogenesis, producing stockier stems with 20 percent greater diameter.
Establishing
Harden off seedlings over 7-10 days before final transplant. Begin with 1 hour of morning sun, increasing by 1 hour daily. Monitor wind exposure; stems thinner than 2 millimeters snap easily.
Space final transplants according to mature width. Lettuce needs 6-8 inches, carrots (thinned) 2 inches, petunias 10-12 inches. Dig holes 1 inch deeper than root balls. Backfill with native soil amended with 1 tablespoon of 4-4-4 per plant.
Pro-Tip: Apply mycorrhizal inoculant (Glomus intraradices) directly to root zones during transplant. Colonization increases phosphorus uptake by 30 percent and drought tolerance measurably within 3 weeks.
Troubleshooting
Symptom: Seedlings collapse at soil line within 48 hours of emergence.
Solution: Damping-off from Pythium or Rhizoctonia. Increase air circulation to 20-30 air changes per hour. Reduce watering frequency. Apply Trichoderma drench at labeled rates.
Symptom: Purple or red leaf undersides with stunted growth.
Solution: Phosphorus deficiency from cold soil (below 55 degrees) or pH above 7.0. Warm root zones or apply phosphoric acid to lower pH. Foliar-feed with 1-2-1 liquid fertilizer until roots recover.
Symptom: Elongated, pale stems leaning toward light source.
Solution: Insufficient light intensity or excessive nitrogen. Increase lumens to 5,000 minimum. Reduce fertilizer to 3-1-2 ratio. Lower temperatures to 60-65 degrees at night.
Symptom: White fungal mycelium on soil surface.
Solution: Saprophytic fungi from excessive moisture. Scrape off growth. Allow top 1/2 inch to dry between waterings. Increase ventilation.
Symptom: Seedlings wilt despite moist soil.
Solution: Root rot from anaerobic conditions. Check drainage holes for blockage. Transplant to fresh, sterile medium immediately. Drench with hydrogen peroxide at 1 tablespoon per quart water.
Maintenance
Water seedlings when the top 1/4 inch of medium dries, typically every 24-48 hours under grow lights. Established transplants need 1 inch of water weekly, delivered in two 0.5-inch applications to encourage deep rooting. Use drip irrigation or soaker hoses to keep foliage dry.
Fertilize every 14 days with half-strength liquid feed (5-5-5 NPK) until flowering begins, then switch to 3-5-7 to promote blooms and root crops. Avoid foliar feeding during midday; apply early morning when stomata open maximally.
Mulch outdoor plantings with 2 inches of shredded leaves or straw after soil warms to 60 degrees. Mulch applied too early delays warming and germination.
FAQ
How deep should mini seeds be planted?
Plant mini seeds at a depth equal to twice their diameter. Surface-sow light-dependent seeds like lettuce with only a vermiculite dusting.
Can I plant mini seeds directly outdoors?
Yes, when soil temperature reaches 50 degrees for cool-season crops or 60 degrees for warm-season types. Mark rows with radish seeds to track placement.
Why do my mini seeds fail to germinate?
Common causes include planting too deep (over 1/4 inch), soil temperatures outside the 65-75 degree range, or desiccation from inadequate moisture. Seed viability drops below 50 percent after 2-3 years for most species.
What lighting do indoor mini seeds need?
Provide 4,000-6,000 lumens for 14-16 hours daily. Position lights 3 inches above soil during germination, adjusting upward as seedlings grow.
How do I prevent damping-off disease?
Sterilize containers and tools. Use fresh seed-starting mix. Water from below when possible. Maintain air circulation and inoculate with Trichoderma fungi.