6 Smart Steps to Vineyard Layout Plans
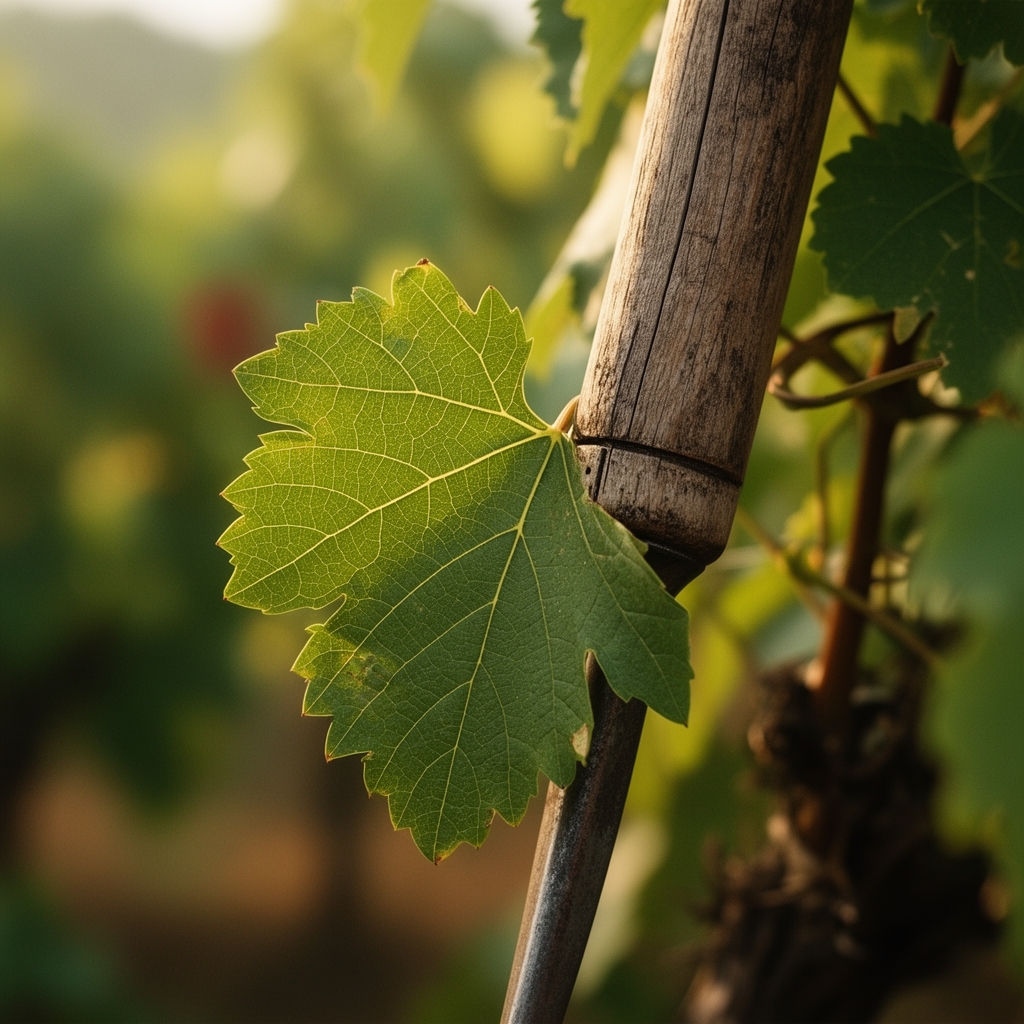
The morning sun strikes a hillside at a 22-degree angle, casting long shadows across contour lines that will soon define row orientation. Successful steps to vineyard layout plans begin not with planting, but with understanding how water moves, how frost settles, and where afternoon heat accumulates. The difference between a functional vineyard and an exceptional one lies in decisions made before a single rootstock enters the ground.
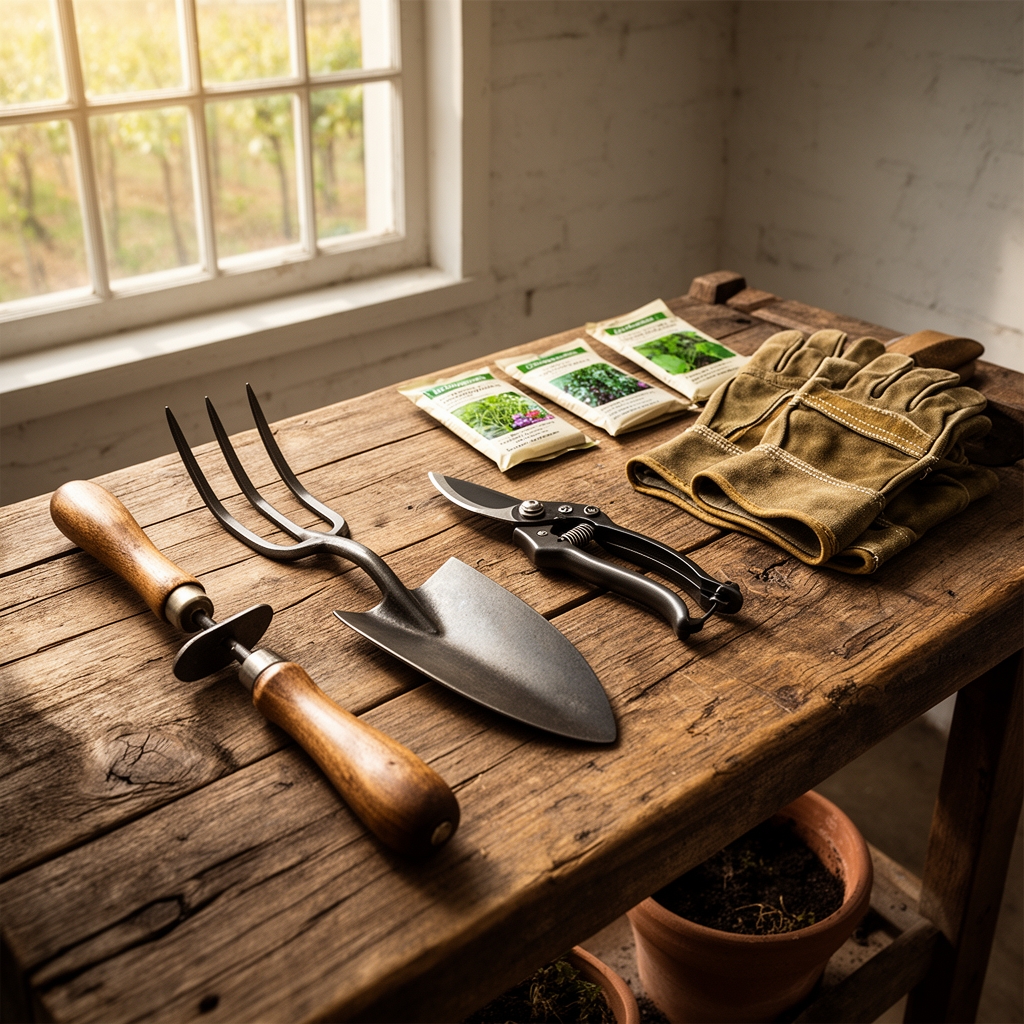
Materials
Soil testing establishes the foundation. Target pH ranges between 6.0 and 6.8 for most Vitis vinifera cultivars, though some American rootstocks tolerate 5.5. Request a full cation exchange capacity analysis alongside standard NPK readings. Sandy loam soils with CEC values between 10 and 25 meq/100g provide ideal drainage while maintaining nutrient retention.
Amendments should match deficit patterns. For nitrogen-poor sites, apply blood meal at 12-0-0 or feather meal at 13-0-0 in early spring. Phosphorus deficiencies respond to bone meal (3-15-0) or rock phosphate (0-3-0) incorporated six months before planting to allow microbial breakdown. Potassium gaps require Sul-Po-Mag (0-0-22) or greensand (0-0-3) with its slow-release trace minerals.
Balanced organic fertilizers like 4-4-4 or 5-5-5 formulations serve as maintenance baseline. Calcitic limestone raises pH while adding calcium; dolomitic limestone contributes both calcium and magnesium. Sulfur lowers pH at rates of 1 pound per 100 square feet to drop one full point in sandy soil.
Physical materials include 8-foot treated posts at 3-inch diameter for end posts, 6-foot posts at 2.5-inch diameter for line posts spaced every 20 feet. High-tensile wire in 12.5-gauge galvanized steel provides cordon support. Drip irrigation tubing at 0.6 GPH per emitter allows precise water management.
Timing
Hardiness zones dictate cultivar selection and planting windows. Zone 6 vineyards plant bare-root stock between April 15 and May 15, when soil temperatures reach 55°F at 6-inch depth. Zone 7 advances this window to April 1. Zone 8 permits late March installation.
Frost-date calculations inform site selection. Cold air drainage patterns matter more than average last-frost dates. Sites with downslope air movement avoid frost pockets that form in valley bottoms. A 50-foot elevation gain above surrounding terrain reduces frost risk by 3 to 5 degrees Fahrenheit.
Autumn site preparation begins 12 months before planting. September soil tests allow amendment incorporation before winter freeze-thaw cycles begin soil structure improvement. Cover crops of cereal rye or hairy vetch establish between October 1 and October 20, providing biomass and nitrogen fixation.
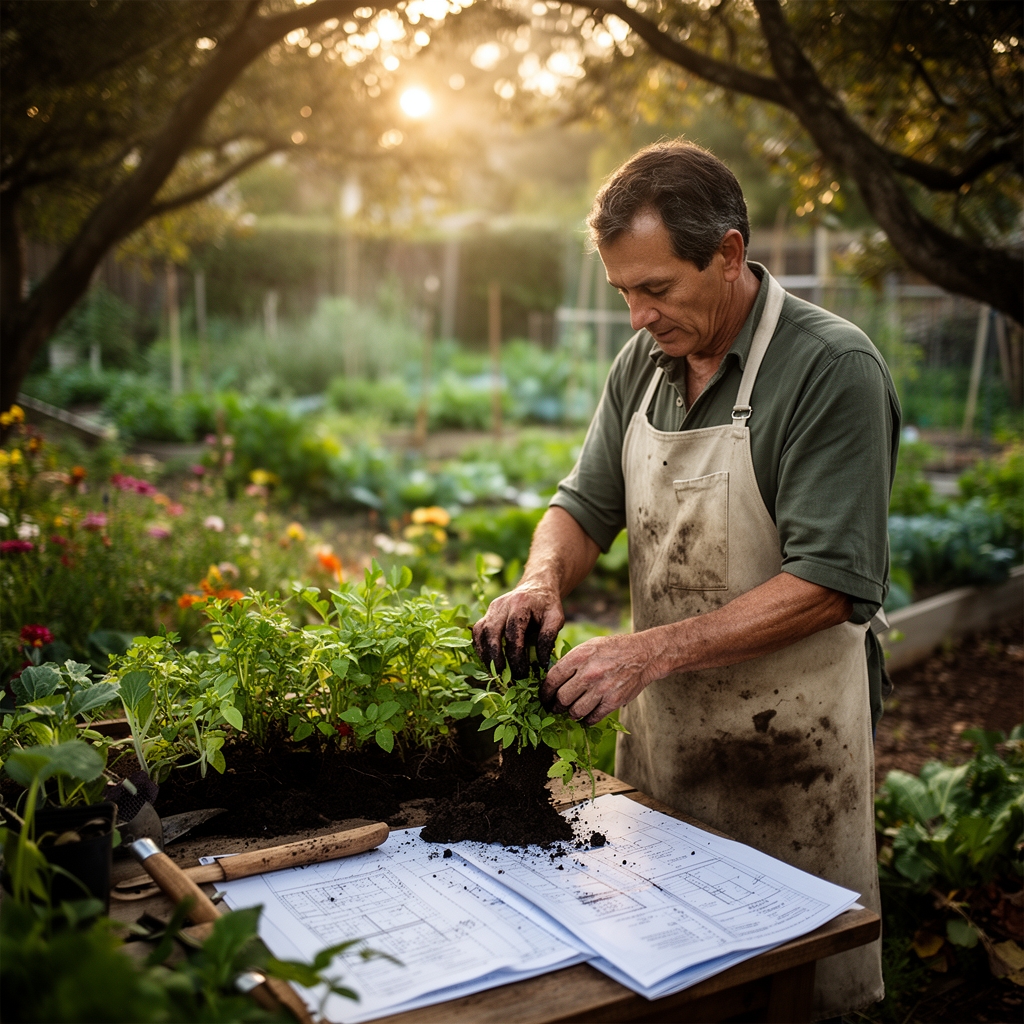
Phases
Site analysis precedes all physical work. Measure slope gradients with a clinometer; grades between 2% and 15% provide drainage without excessive erosion. North-south row orientation maximizes even light distribution in flat terrain. East-west rows suit steep slopes by following contour lines.
Pro-Tip: Use a transit level to map elevation changes every 25 feet. Mark microtopography features that create frost pockets or water accumulation zones.
Rootstock selection matches soil type and pest pressure. 3309C tolerates heavy clay and provides moderate vigor. 101-14 Mgt suits drought-prone sandy sites. SO4 offers phylloxera resistance with low vigor for high-fertility ground. Bench-graft vines or purchase certified grafted stock 18 months in advance.
Bare-root vines require 24-hour hydration before planting. Dig holes 12 inches deep and 12 inches wide. Position graft unions 2 inches above final soil grade to prevent scion rooting. Mycorrhizal inoculant applied directly to roots at 1 teaspoon per plant accelerates establishment and nutrient uptake.
Pro-Tip: Prune roots to 6 inches before planting to stimulate lateral root development rather than circling growth.
Trellis installation occurs immediately after planting. Set end posts 30 inches deep with concrete anchors. String bottom wire at 30 inches height for trunk training. Add fruiting wires at 52 and 72 inches for vertical shoot positioning systems. Tension wires to 200 pounds using in-line strainers.
First-year management focuses on root development. Remove all flower clusters to direct auxin distribution toward vegetative growth. Select one dominant shoot as the future trunk; remove all others once it reaches 12 inches.
Pro-Tip: Apply 0.25 pounds of 10-10-10 fertilizer per vine in a 6-inch band 8 inches from the trunk after shoot emergence.
Troubleshooting
Symptom: Interveinal chlorosis on young leaves with green veins remaining distinct.
Solution: Iron deficiency induced by high pH. Apply chelated iron (Fe-EDDHA) as foliar spray at 0.5% solution. Long-term correction requires sulfur application to reduce soil pH below 7.0.
Symptom: Purplish-red leaf margins with stunted shoot growth.
Solution: Phosphorus deficiency. Side-dress with triple superphosphate (0-46-0) at 0.5 pounds per vine. Cold soil temperatures below 50°F inhibit phosphorus uptake even when present.
Symptom: Shot berries and poor fruit set despite adequate flowering.
Solution: Boron deficiency or zinc insufficiency. Soil application of Solubor at 0.5 pounds per acre corrects boron. Zinc sulfate foliar spray at 2 pounds per 100 gallons addresses zinc gaps.
Symptom: Galls on roots with swollen, knot-like tissue.
Solution: Phylloxera infestation. No chemical control exists. Remove and destroy affected vines. Replant only with phylloxera-resistant rootstock such as 1103P or 110R.
Symptom: White powdery coating on leaves and fruit clusters.
Solution: Powdery mildew (Erysiphe necator). Apply wettable sulfur at 5 pounds per 100 gallons every 10 days from budbreak through veraison.
Maintenance
Irrigation requirements average 0.5 inches per week during active growth. Drip systems apply water in 2 to 3 hour sessions twice weekly rather than daily light watering. Monitor soil moisture with tensiometers; irrigate when readings reach 50 centibars at 18-inch depth.
Canopy management begins at 12-inch shoot length. Remove basal suckers weekly. Position shoots vertically between catch wires to improve air circulation. Leaf removal at fruit set exposes clusters to 40% dappled sunlight, reducing disease pressure without causing sunburn.
Annual pruning occurs during dormancy when cane lignification completes. Spur pruning retains two-bud spurs every 6 inches along permanent cordons. Cane pruning selects four canes with 8 to 12 buds each. Remove 80% to 90% of previous season's growth.
Apply compost at 2 inches depth in 3-foot bands along rows each November. Reapply balanced fertilizer at 0.5 pounds actual nitrogen per vine each April when buds swell.
FAQ
What row spacing works for mechanical cultivation?
Eight feet between rows allows tractor access for most vineyard equipment. Narrow 6-foot spacing suits hand cultivation only. Wide 10-foot spacing reduces vine density below optimal production levels.
When do vines reach full production?
Year three allows first commercial harvest at 50% capacity. Year five achieves full cropping potential of 4 to 8 tons per acre depending on training system and variety.
Which training system requires least labor?
Vertical shoot positioning with bilateral cordons balances crop quality and maintenance efficiency for commercial operations under 10 acres.
How deep should vineyard soil preparation reach?
Ripping to 24-inch depth breaks hardpan layers and improves drainage. Avoid excessive tillage below this depth to preserve soil structure.
What vine density maximizes quality?
Between 600 and 900 vines per acre provides optimal balance. Higher densities require aggressive shoot thinning. Lower densities produce excessive vigor with shading problems.