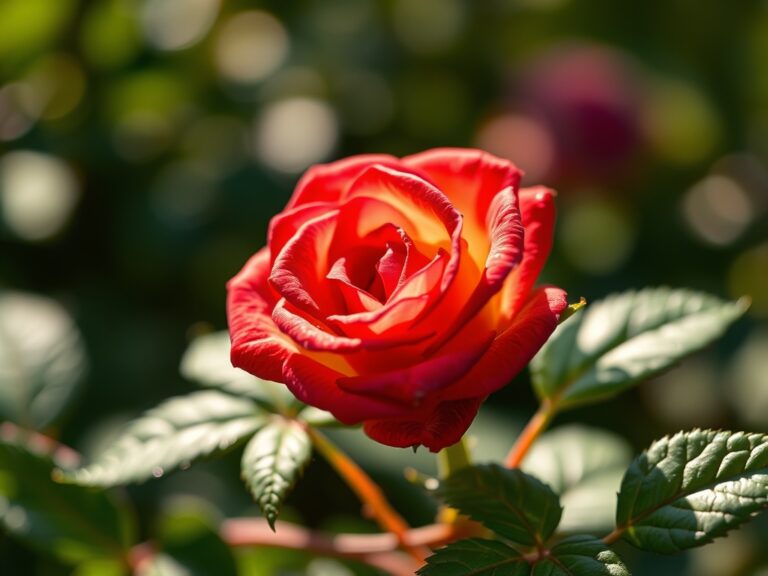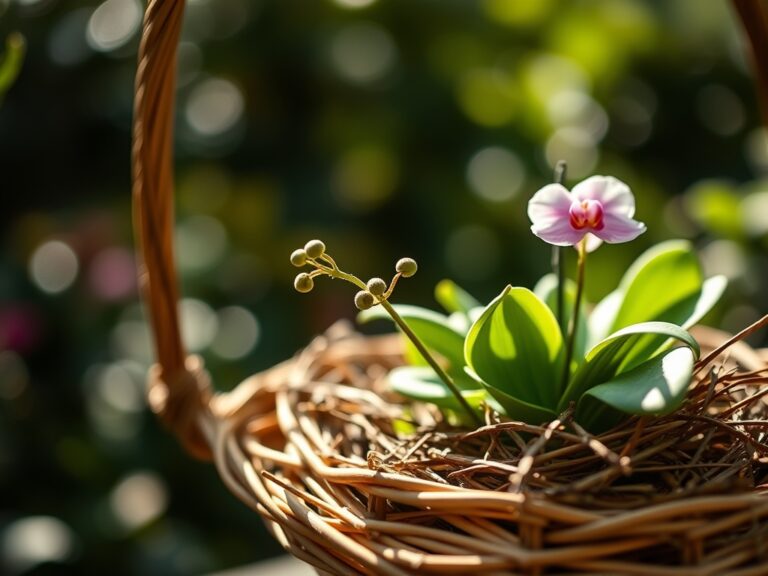
6 Basic Steps to Grow an Indoor Rose Bush
The scent of a garden rose filling a January living room defies winter entirely. Cultivators who master the steps to grow an indoor rose bush transform south-facing windows into microclimates capable of producing blooms nine months per year. The technique requires precise control of light duration, substrate chemistry, and airflow patterns that outdoor beds provide naturally. Indoor cultivation allows year-round observation of phenological stages, from bud break to senescence, while protecting specimens from aphid pressure and black spot outbreaks common in humid outdoor environments.
Materials
Select a container with drainage holes measuring 12 to 18 inches in diameter. Terra cotta breathes better than glazed ceramic, promoting gas exchange at the root zone. The growing medium must balance water retention with aeration. Combine equal parts peat moss, perlite, and aged compost to achieve a cation exchange capacity near 15 meq/100g and a pH between 6.0 and 6.5.
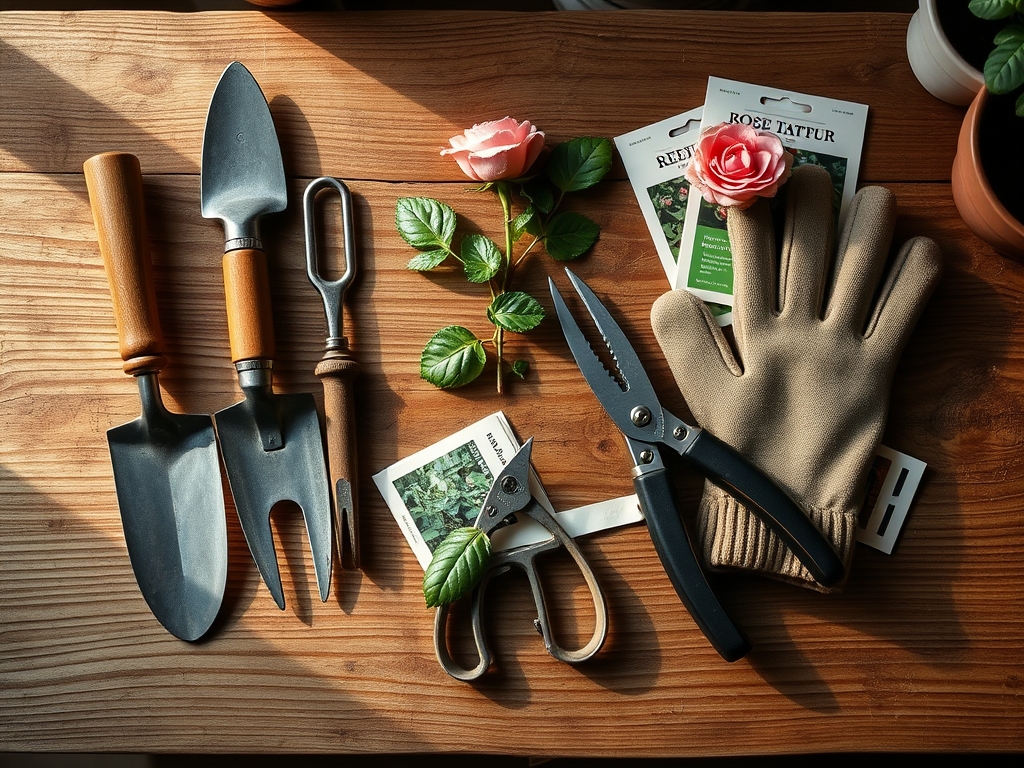
Fertilizer selection hinges on nitrogen form. A 4-4-4 organic meal releases nutrients slowly through microbial mineralization, preventing salt accumulation that damages feeder roots. Alternatively, a water-soluble 10-10-10 formula diluted to half strength provides immediate macronutrients during active growth. Supplement with chelated iron at 1 tablespoon per gallon every six weeks to prevent chlorosis in alkaline substrates.
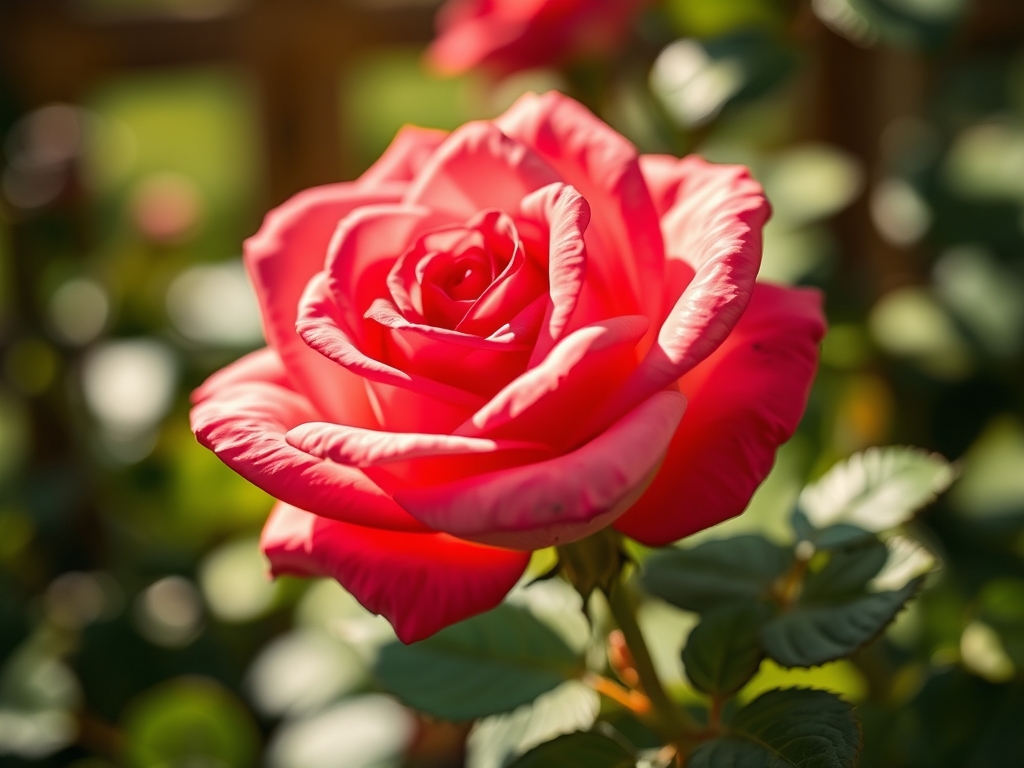
Acquire disease-resistant cultivars bred for compact habit. 'Sunblaze' series, 'Kordana' hybrids, and polyanthas tolerate container confinement better than hybrid teas. Bare-root stock establishes faster than potted nursery plants suffering from circling roots.
Timing
Indoor rose cultivation operates independently of USDA Hardiness Zones, but respect the plant's chilling requirement. Roses need 800 to 1,200 hours below 45 degrees Fahrenheit to break dormancy and set flower buds properly. Place containers in an unheated garage or basement from November through February if you began with field-grown stock. Without this cold stratification period, spring bloom will be sparse and vegetative growth leggy.
Initiate the growing cycle in late February. Move containers to a location receiving six hours of direct sun daily. Supplement with full-spectrum LED grow lights positioned 12 inches above the canopy, providing photosynthetic photon flux density of 400 to 600 micromoles per square meter per second. Extend photoperiod to 14 hours during vegetative growth, then reduce to 12 hours to trigger flowering.
Phases
Sowing and Propagation
Most cultivators begin with purchased plants rather than seed, as roses are heterozygous and seedlings rarely resemble parents. For propagation, take 6-inch softwood cuttings in May. Remove all but two leaves, dip the cut end in 0.3% indole-3-butyric acid rooting hormone, and insert into a 50/50 perlite-vermiculite mix. Maintain 75-degree substrate temperature and 90% humidity under clear plastic domes. Rooting occurs in three to four weeks.
Pro-Tip: Inoculate rooting medium with Rhizophagus irregularis mycorrhizal fungi at 300 spores per cubic inch. The symbiosis increases phosphorus uptake by 40% and improves drought tolerance during the establishment phase.
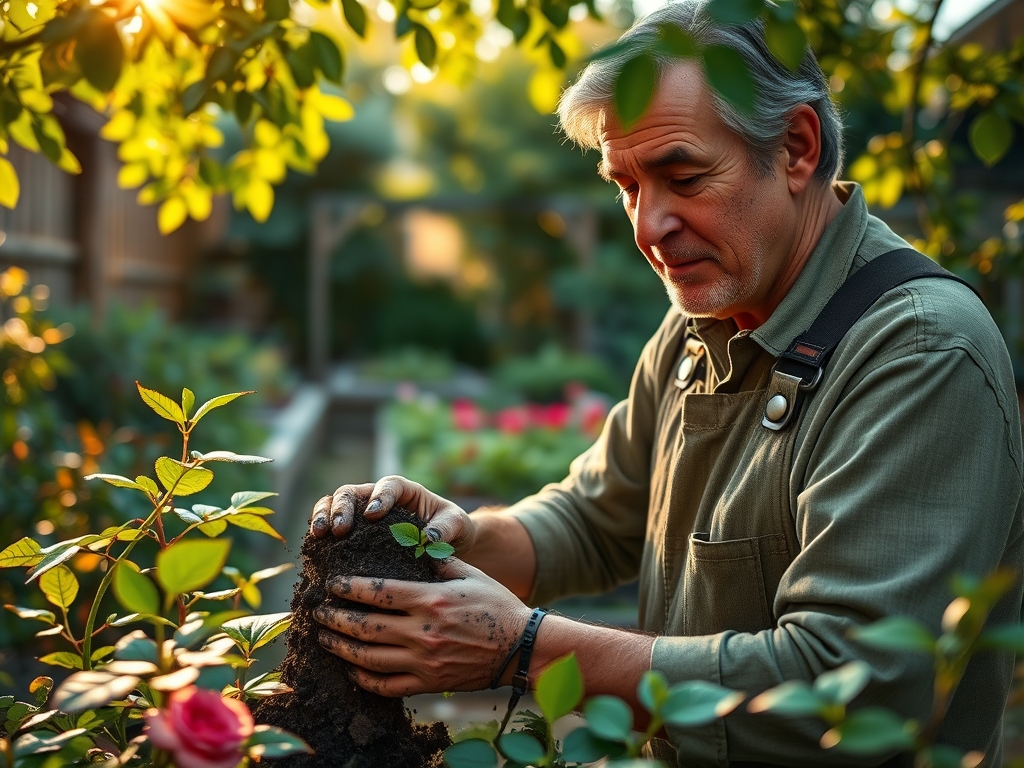
Transplanting
Once roots emerge from drainage holes, transplant into final containers. Water thoroughly one hour before transplanting to reduce root hair damage. Set the bud union 1 inch below the soil surface to encourage basal breaks and prevent suckering from rootstock. Firm soil gently to eliminate air pockets without compressing structure. Apply a 1-inch layer of shredded bark mulch to moderate temperature fluctuation and suppress fungal spore splash.
Pro-Tip: Prune canes to outward-facing buds at a 45-degree angle, 1/4 inch above the bud eye. This angle sheds water and directs auxin distribution toward lateral branching rather than vertical shoots.
Establishing
The first eight weeks determine long-term vigor. Maintain substrate moisture at 60% field capacity using a moisture meter inserted 4 inches deep. Fertilize weekly with diluted solution once new leaves expand fully. Pinch terminal buds on canes longer than 8 inches to redirect energy into root development and lateral shoot formation. Remove flower buds during the first three months to prevent premature reproductive allocation.
Pro-Tip: Rotate containers 90 degrees weekly to ensure even light distribution and prevent phototropic bending. This practice produces symmetrical canopies and uniform flowering.
Troubleshooting
Symptom: Yellow leaves with green veins, beginning on new growth.
Solution: Iron chlorosis from high pH. Drench soil with chelated iron sulfate at 2 tablespoons per gallon. Adjust future irrigation water to pH 6.2 using sulfuric acid.
Symptom: Powdery white coating on leaf surfaces, distorted new growth.
Solution: Powdery mildew thrives in stagnant air. Increase circulation with a 6-inch oscillating fan set to low. Spray foliage with 1 tablespoon baking soda and 1 teaspoon horticultural oil per quart of water every five days for three applications.
Symptom: Sudden leaf drop despite adequate moisture.
Solution: Ethylene gas accumulation from nearby ripening fruit or gas leaks. Relocate plant away from kitchen areas. Ethylene triggers abscission even at 0.1 parts per million.
Symptom: Stippled yellow leaves, fine webbing on undersides.
Solution: Two-spotted spider mites proliferate in low humidity. Raise ambient humidity to 50% with pebble trays. Spray undersides with insecticidal soap at 5 tablespoons per gallon, ensuring complete coverage of webbing and eggs.
Symptom: Black spots with yellow halos expanding from leaf margins.
Solution: Black spot fungus (Diplocarpon rosae). Remove infected leaves immediately. Apply neem oil at 2 tablespoons per gallon every seven days. Improve air circulation and avoid overhead watering.
Maintenance
Water when the top 2 inches of substrate feel dry, typically every three to four days. Apply 1 inch of water per session, measuring runoff volume to prevent salt buildup. Feed every two weeks during active growth with 10-10-10 fertilizer at 1 tablespoon per gallon. Reduce feeding frequency to monthly during winter dormancy.
Deadhead spent blooms by cutting to the first five-leaflet leaf to encourage repeat flowering. Prune heavily in late winter, removing dead wood and reducing cane length by one-third. Repot every two years in early spring, replacing substrate entirely and pruning circling roots with sterilized shears.
Monitor for spider mites weekly by tapping leaves over white paper and inspecting for moving specks. Maintain daytime temperatures between 65 and 75 degrees Fahrenheit, with nighttime drops of 10 to 15 degrees to simulate natural diurnal fluctuation that triggers bud set.
FAQ
How much light do indoor roses need daily?
Six hours of direct sun or 14 hours under full-spectrum LEDs providing 400 to 600 PPFD maintains vegetative growth and flowering.
Can roses survive winter indoors without dormancy?
They survive but produce fewer blooms. Provide 800 hours below 45 degrees for optimal spring flowering.
What causes bud drop before opening?
Ethylene exposure, rapid temperature changes, or substrate moisture fluctuation triggers premature abscission. Stabilize environmental conditions.
How often should I fertilize indoor roses?
Every two weeks during growth with half-strength water-soluble 10-10-10. Monthly during winter dormancy.
Do indoor roses need pruning?
Yes. Remove one-third of cane length in late winter and deadhead spent blooms to the first five-leaflet leaf throughout the growing season.