5 Expert Ways How to Espalier Fruit Trees
The scent of apple blossoms pressed flat against a south-facing brick wall marks the beginning of a productive espalier. Learning how to espalier fruit trees transforms vertical spaces into living fences that produce 15 to 20 pounds of fruit per linear foot while occupying only 18 inches of depth. This ancient technique manipulates auxin distribution through precise pruning cuts and horizontal branch training, creating two-dimensional trees that ripen fruit two weeks earlier than freestanding specimens.
Materials
Select nursery whips aged 1 to 2 years with straight central leaders and flexible lateral branches. Purchase galvanized wire rated for 200-pound tension, strung horizontally at 15-inch intervals between posts sunk 30 inches deep. Use bamboo stakes cut to 6-foot lengths for initial branch guidance.
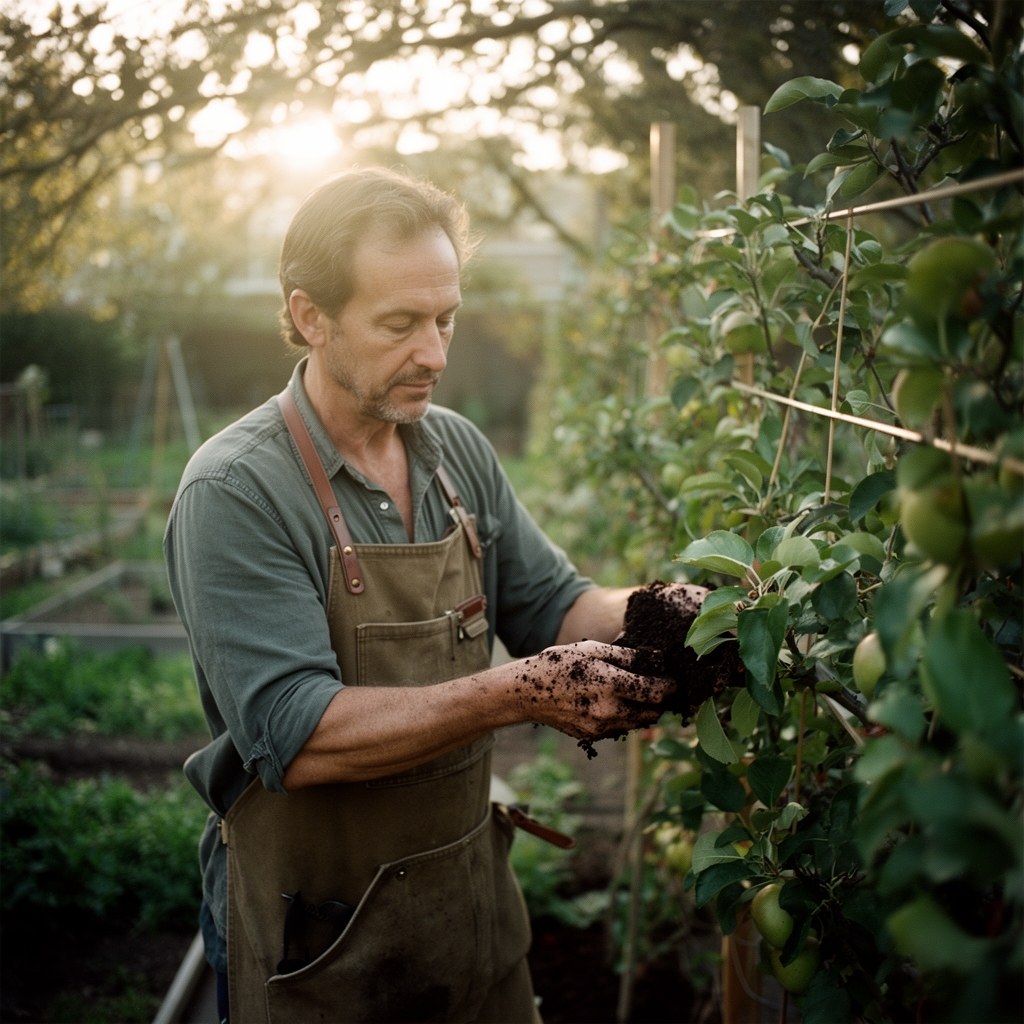
Amend planting sites with compost aged 6 months minimum, targeting a pH between 6.0 and 6.8. Apply a balanced 4-4-4 organic fertilizer at planting, incorporating 2 pounds per 100 square feet into the root zone. For calcitic soils above pH 7.2, work in elemental sulfur at 1.5 pounds per 100 square feet and retest after 90 days.
Obtain mycorrhizal inoculant containing Glomus intraradices and Rhizophagus irregularis at concentrations above 150 propagules per gram. Mix directly with root-ball soil during installation. The fungal networks increase phosphorus uptake by 40 percent and improve drought tolerance in espalier systems where root zones are restricted.
Timing
Plant bare-root stock during dormancy windows specific to hardiness zones. Zones 5 through 7 require installation between March 15 and April 10, immediately after soil temperatures stabilize above 45°F. Zones 8 and 9 extend the window from February 1 through March 20.
Avoid fall planting for espaliers. The intensive training required in the first growing season demands vigorous spring root establishment. Trees planted in autumn allocate carbohydrates to survival rather than the flexible growth needed for horizontal training.
Begin training cuts when new shoots reach 10 to 12 inches, typically 6 weeks after bud break. This timing captures peak auxin flow when branches bend without fracturing cambium layers.
Phases
Establishing the Framework
Plant whips 8 inches from the support structure, angling the root crown 10 degrees toward the wall. This lean compensates for phototropic growth away from vertical surfaces. Prune the central leader to 18 inches above ground level immediately after planting, making cuts 1/4 inch above outward-facing buds.
During the first growing season, select two lateral shoots emerging at heights between 12 and 15 inches. These form the first horizontal tier. Tie selected branches to bamboo stakes angled at 45 degrees using soft vinyl tape, never wire that girdles expanding bark. After 8 weeks, lower stakes to 90-degree horizontal positions over a 3-week period.
Pro-Tip: Score the bark lightly with a sterile blade on the upper side of branches you wish to bend downward. This interrupts auxin flow, reducing apical dominance and promoting even bud break along horizontal arms.
Training Subsequent Tiers
Allow the central leader to grow vertically for 15 additional inches before selecting the second tier. Maintain consistent 15-inch vertical spacing between tiers. Most espaliers support 4 to 5 tiers before the central leader is removed at 72 inches.
Prune lateral branches to outward-facing buds throughout the growing season, maintaining branch diameters below 1.5 inches. Thicker branches lose flexibility and resist horizontal positioning. Remove all growth on the wall-facing side of the tree, forcing energy into the display plane.
Pro-Tip: Apply diluted fish emulsion at 2 tablespoons per gallon every 21 days during active growth. The nitrogen boost promotes the 24 to 30 inches of annual extension growth required for timely tier development.
Establishing Fruiting Spurs
Once horizontal arms extend 4 feet in each direction, shift focus from extension to spur development. Summer-prune new laterals to 6 inches in late July, leaving 5 to 6 leaves per shoot. This stress response triggers flower bud formation for the following spring.
Reduce nitrogen applications to 0.5 pounds per tree after year three. Excess nitrogen produces vegetative growth at the expense of fruit-bearing spurs. Cation exchange capacity testing every 24 months guides precise nutrient adjustments.
Pro-Tip: Bend young fruiting spurs below horizontal using small weights or ties. Spurs positioned at 110 degrees from vertical produce 30 percent more fruit than upright spurs due to optimized light interception and reduced apical dominance.
Troubleshooting
Symptom: Vigorous vertical shoots (water sprouts) emerging from horizontal branches.
Solution: Remove sprouts at their base during summer pruning. Avoid winter removal, which stimulates additional sprouting. Reduce nitrogen inputs by 25 percent.
Symptom: Branch dieback beginning at terminal ends, progressing inward.
Solution: Fire blight infection. Prune 12 inches below visible damage into healthy wood. Sterilize tools with 10 percent bleach solution between cuts. Apply copper spray at green tip stage.
Symptom: Fruit production concentrated at branch tips with bare interior sections.
Solution: Insufficient spur pruning. Heading cuts during dormancy stimulate latent buds. Remove one-third of oldest spurs annually to maintain productive capacity.
Symptom: Leaf chlorosis with green veins on alkaline soils.
Solution: Iron deficiency from pH above 7.5. Apply chelated iron foliar spray at 0.5 ounces per gallon. Incorporate sulfur for long-term pH correction.
Maintenance
Water established espaliers with 1 inch per week during fruit development, delivered through drip irrigation positioned 6 inches from the trunk. Reduce irrigation by half after harvest to promote dormancy.
Retension horizontal wires annually in early spring before bud break. Thermal expansion during summer months creates slack that allows branches to sag. Maintain wire at 180 to 200 pounds of tension using turnbuckles.
Apply 2 inches of aged wood chip mulch in a 4-foot radius, keeping material 6 inches away from the trunk to prevent crown rot. Replenish mulch each autumn after leaf drop.
Dormant oil applications at bud swell smother overwintering scale insects and aphid eggs. Mix horticultural oil at 3 percent concentration and spray until runoff on dry days above 45°F.
FAQ
How long before espalier fruit trees produce?
Apple and pear espaliers fruit in year three after planting. Stone fruits including peach and apricot produce in year two due to faster maturation rates.
Which fruit trees espalier most successfully?
Apples on M26 or M7 rootstock, European pears on OHxF 87, and figs adapt readily. Avoid cherries on standard rootstock due to excessive vigor.
Can existing mature trees be espaliered?
Trees under 5 years with trunk diameters below 3 inches respond to espalier training. Older specimens lack cambium flexibility required for horizontal branch positioning.
What spacing is required between espaliered trees?
Plant trees 10 to 12 feet apart for cordons, 15 to 18 feet for multi-tiered horizontal forms. Rootstock vigor determines final spacing requirements.
Do espaliers require more pruning than standard trees?
Espaliers demand three annual pruning sessions compared to one for freestanding trees. Summer pruning controls vigor while winter cuts shape structure and thin fruiting spurs.