5 Easy Ways How to Grow Gardenia Indoor Bushes
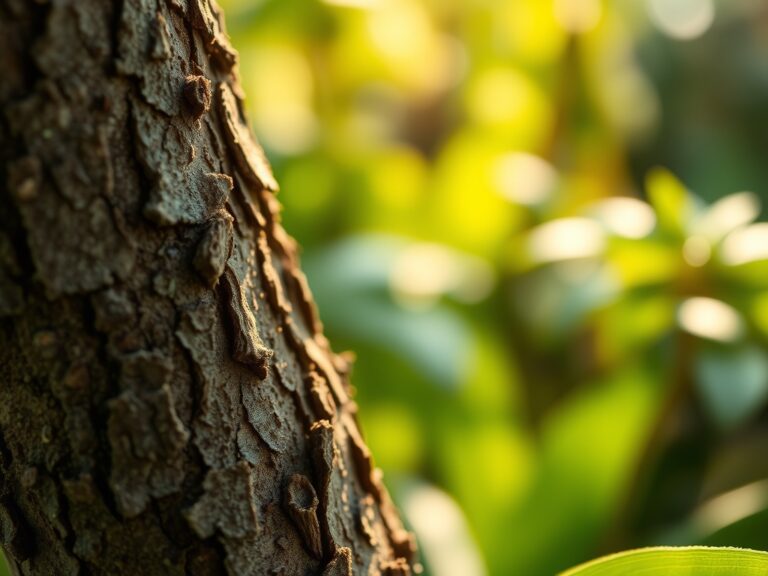
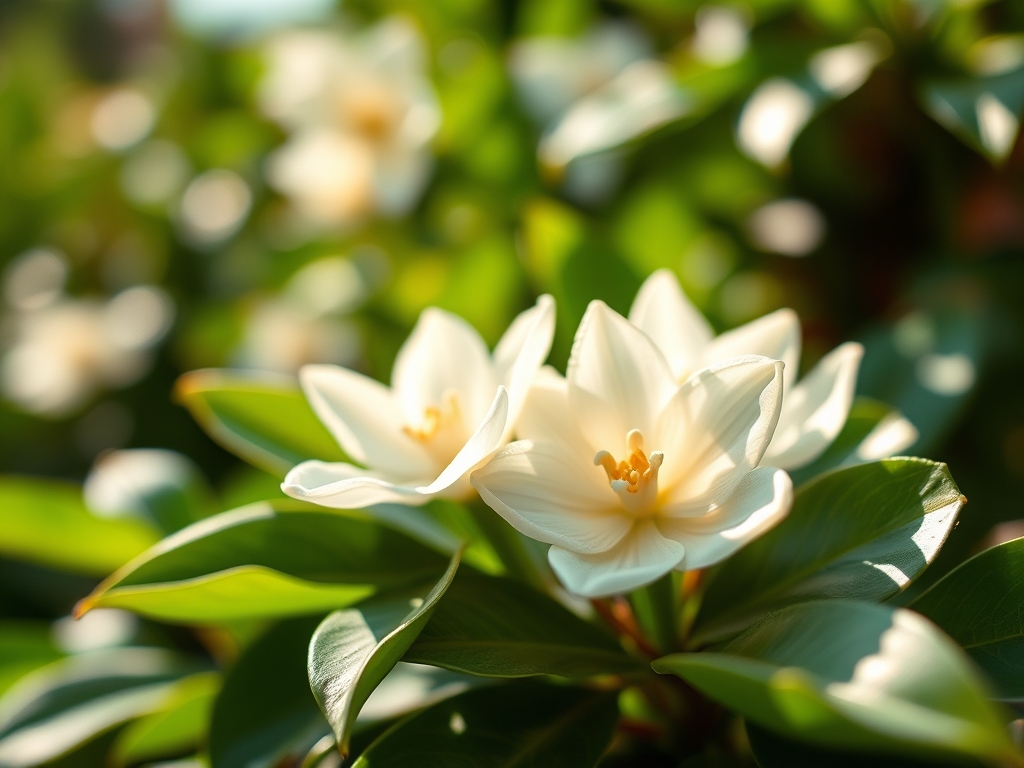
Gardenias announce themselves before you see them. The perfume arrives first, a wave of creamy sweetness that fills a room corner to corner. Learning how to grow gardenia indoor bushes transforms any indoor space into a subtropical sanctuary, but these plants demand precision. Native to warm Asian forests, Gardenia jasminoides thrives indoors only when you replicate its natural conditions: acidic soil, high humidity, and steady temperatures between 65-70°F during the day. Indoor cultivation requires understanding the plant's physiology, from its mycorrhizal partnerships to its sensitivity to chloride ions in tap water.
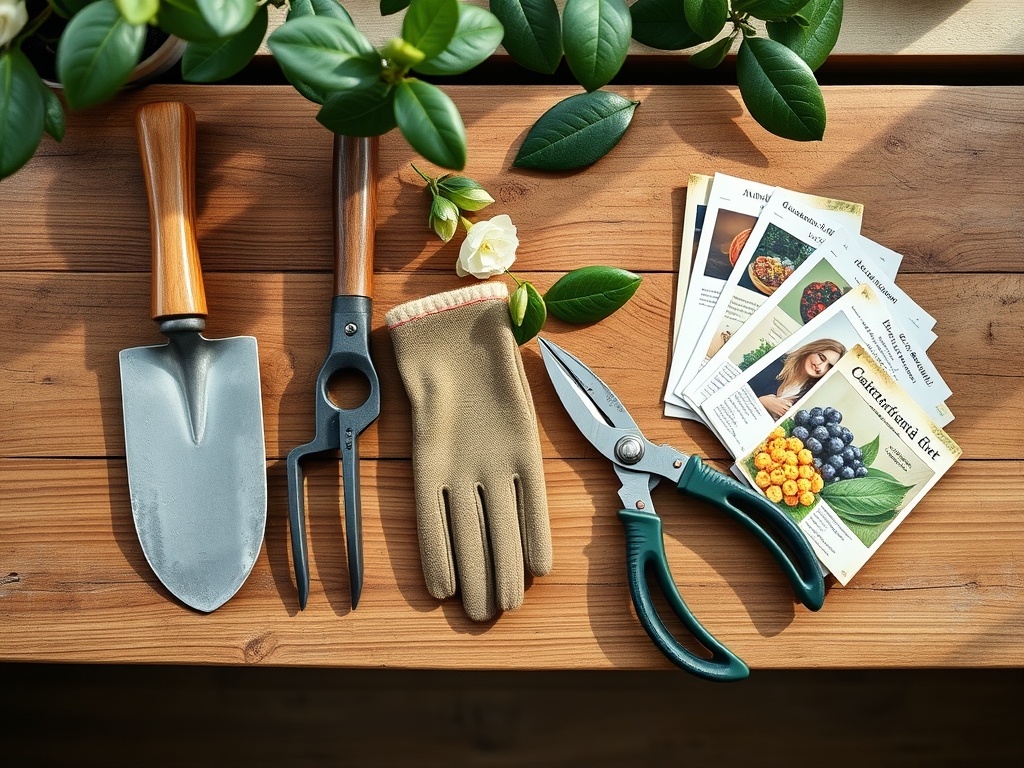
Materials
Soil composition governs success. Mix equal parts peat moss, pine bark fines, and perlite to achieve a target pH of 5.0-6.0. The cation exchange capacity of peat holds essential nutrients while pine bark maintains aeration. Test pH monthly with a calibrated meter, not color strips.
Select a balanced acid-loving fertilizer with an NPK ratio of 4-4-4 or 5-5-5. Organic formulations containing cottonseed meal, fish emulsion, and bone meal release nutrients slowly over 6-8 weeks. Supplement with chelated iron (Fe-EDDHA) at 1 teaspoon per gallon monthly to prevent chlorosis.
Container selection matters. Use glazed ceramic or plastic pots at least 12 inches in diameter with four drainage holes minimum. Terracotta wicks moisture too rapidly for gardenias' needs. Ensure the pot depth accommodates the fibrous root system, typically 10-12 inches.
Mycorrhizal inoculant at transplant increases phosphorus uptake by 40 percent. Choose Glomus intraradices formulations designed for acid-loving species. Apply 1 tablespoon directly to root contact zone during potting.
Timing
Indoor cultivation frees you from traditional hardiness zone constraints, but gardenias recognize seasonal cues. In USDA zones 8-11, gardenias grow outdoors year-round. Indoors, they perform best when purchased or transplanted during active growth from March through June.
Avoid transplanting during bud formation, typically October through February. Root disturbance during this period causes bud drop, a physiological response to stress mediated by ethylene production. The plant aborts flower development to redirect resources toward survival.
Position plants near south or west-facing windows from spring through fall. During winter months when day length drops below 10 hours, supplement with full-spectrum grow lights providing 2,000-3,000 foot-candles for 12-14 hours daily.
Phases
Establishment Phase (Weeks 1-8)
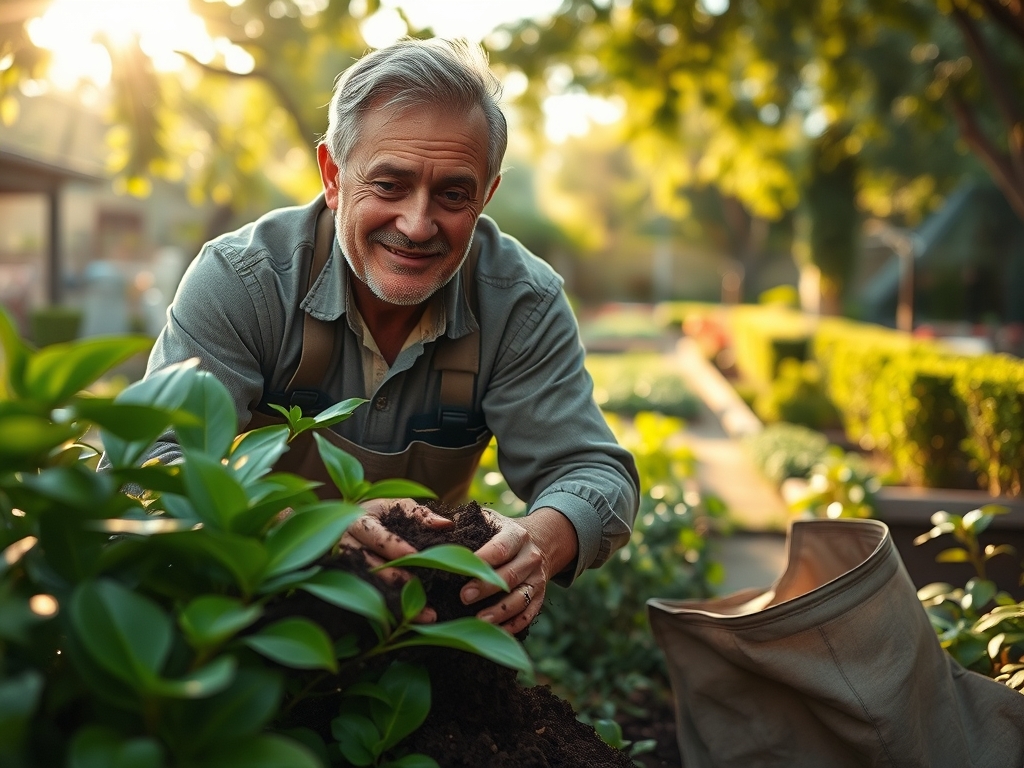
Remove the gardenia from its nursery container and examine roots. Prune any circling roots with sterilized shears at 45-degree angles. Circling roots strangle the plant within 18-24 months. Place the root ball in prepared acidic mix so the crown sits level with the soil surface. Firm soil gently to eliminate air pockets without compacting.
Water immediately with room-temperature filtered water until drainage occurs. Chlorinated municipal water raises pH and deposits salts. Install a basic carbon filter or let tap water sit uncovered for 24 hours to dissipate chlorine.
Pro-Tip: Apply rooting hormone containing 0.1% indole-3-butyric acid (IBA) to any damaged roots before potting. This auxin promotes lateral root development and reduces transplant shock by 60 percent.
Growth Phase (Months 2-6)
Maintain consistent moisture without waterlogging. The top inch of soil should dry between waterings, typically every 4-5 days depending on humidity and temperature. Insert a moisture meter 3 inches deep; water when readings drop to 4 on a 10-point scale.
Feed every two weeks during active growth with diluted liquid fertilizer at half the recommended strength. Gardenias evolved in nutrient-poor forest understories and show tip burn when overfed. Flush soil monthly with plain water to prevent salt accumulation.
Mist foliage daily or place pots on humidity trays filled with pebbles and water. Target 50-60% relative humidity measured with a hygrometer. Low humidity causes bud drop and invites spider mites.
Pro-Tip: Prune immediately after flowering ends, cutting stems just above a leaf node at 30-degree angles. This angle prevents water accumulation and directs auxin distribution to lateral buds, promoting bushier growth.
Maintenance Phase (Ongoing)
Monitor for nutrient deficiencies through leaf analysis. Interveinal chlorosis indicates iron deficiency; apply chelated iron as foliar spray for rapid correction. Uniform yellowing suggests nitrogen deficiency; increase feeding frequency.
Repot every 24-36 months when roots emerge from drainage holes. Move up only one pot size to prevent excess soil moisture, which encourages root rot pathogens like Phytophthora.
Pro-Tip: Place outdoor during summer when nighttime temperatures stay above 55°F. Acclimate gradually over 10 days, increasing sun exposure by one hour daily to prevent leaf scorch.
Troubleshooting
Symptom: Black sooty coating on leaves
Solution: Honeydew secretion from scale insects or whiteflies. Wipe leaves with horticultural oil diluted to 2% concentration. Apply systemically absorbed imidacloprid to soil if infestation persists.
Symptom: Flower buds turn brown and drop before opening
Solution: Temperature fluctuations exceeding 10°F between day and night trigger abscission. Stabilize environment and maintain consistent watering schedule. Ethylene gas from ripening fruit nearby also causes bud drop.
Symptom: Leaf edges turning brown and crispy
Solution: Salt accumulation from over-fertilization or hard water. Leach soil with distilled water at three times the pot volume. Switch to rainwater or reverse osmosis water.
Symptom: Leaves pale yellow with dark green veins
Solution: Iron chlorosis caused by alkaline pH blocking nutrient uptake. Lower soil pH to 5.0-5.5 using sulfur at 1 tablespoon per gallon of soil. Apply chelated iron immediately for symptom relief.
Maintenance
Water with 1-2 cups of filtered water per watering session for a 12-inch pot, adjusting for temperature and humidity. Empty saucers within 30 minutes to prevent root asphyxiation.
Apply 1 tablespoon of granular 4-4-4 fertilizer every 6-8 weeks during spring and summer. Cease feeding from November through February when growth slows. Resume at half strength in early March.
Remove spent flowers immediately by cutting the stem back to the nearest leaf node. This deadheading redirects energy from seed production to new growth.
Inspect undersides of leaves weekly for pests. Early detection prevents infestations. Use a 10x hand lens to spot spider mites, which appear as moving dots smaller than periods.
FAQ
How long do gardenias take to bloom indoors?
Established plants bloom 8-12 weeks after winter dormancy ends, typically late spring. First-year transplants may skip blooming to establish roots.
Can I use coffee grounds for gardenias?
Yes, but compost them first. Fresh grounds contain phytotoxic compounds. Composted grounds add nitrogen and lower pH by 0.2-0.3 units when applied as 1-inch mulch layer.
Why are my gardenia leaves turning yellow?
Three primary causes: iron deficiency from high pH, nitrogen deficiency from underfeeding, or overwatering causing root suffocation. Test soil pH first, then adjust care accordingly.
Do gardenias need pruning?
Yes, annual pruning after flowering maintains shape and stimulates lateral branching. Remove up to one-third of growth, focusing on leggy stems and crossed branches.
What temperature kills gardenias?
Temperatures below 50°F cause leaf drop. Prolonged exposure under 40°F kills branches. Maintain 65-70°F daytime and 60-65°F nighttime temperatures for optimal growth.