5 Creative Ways How to Grow Striped Beets
Striped beets emerge from the soil with concentric rings of magenta and white that spiral through the flesh like geological strata. These Chioggia or candy cane varieties retain their patterns when harvested young and sliced raw, though heat dissolves the distinction into uniform pink. Learning how to grow striped beets requires attention to soil structure, consistent moisture, and precise timing to prevent the woody cores that plague rushed harvests. The variety Beta vulgaris 'Chioggia' originated near Venice in the 1840s and demands cool temperatures during bulb formation. Growers who master the interval between germination and maturity produce roots 2 to 3 inches in diameter with sugar content near 8 percent.
Materials
Soil pH between 6.2 and 6.8 supports optimal nutrient uptake. Test cation exchange capacity before amending. Sandy loam with 3 to 5 percent organic matter prevents forking and allows uniform expansion. Incorporate composted manure at a rate of 20 pounds per 100 square feet four weeks before sowing.
Use a balanced organic fertilizer with an NPK ratio of 4-4-4 or 5-5-5 at planting. Avoid high-nitrogen formulas above 10-5-5, which divert energy to foliage at the expense of root diameter. Boron deficiency causes black heart, so apply 1 tablespoon of borax per 100 square feet if soil tests reveal levels below 0.5 ppm.
Mycorrhizal fungi inoculant increases phosphorus availability by 30 percent. Mix 1 teaspoon per seed cluster at sowing depth. Kelp meal provides trace minerals and cytokinins that regulate cell division. Apply 2 pounds per 100 square feet and water in thoroughly.
Timing
Striped beets require 55 to 65 days from germination to harvest. In Zones 3 through 5, sow seeds 4 weeks before the last spring frost when soil temperature reaches 50°F. A second planting 10 weeks before the first fall frost yields sweeter roots due to cold-induced sugar accumulation.
Zones 6 through 8 allow three succession plantings: early March, mid-July, and late August. Avoid sowing when daytime highs exceed 80°F. Heat above 85°F triggers bolting and lignin deposition in the vascular cambium.
Zone 9 and warmer climates limit production to November through February. Roots planted in October mature by January with reduced pest pressure and minimal irrigation.
Phases

Sowing: Plant seed clusters 1/2 inch deep in rows spaced 12 inches apart. Each cluster contains 2 to 4 seeds fused in a corky pericarp. Soak clusters in room-temperature water for 4 hours to leach germination inhibitors. Firm soil over seeds with a rake to ensure contact.
Germination occurs in 7 to 14 days depending on soil temperature. Optimal range is 60 to 65°F. Seedlings emerge with two narrow cotyledons followed by the first true leaf within 10 days.
Pro-Tip: Apply Trichoderma harzianum spores at sowing to colonize roots and suppress Rhizoctonia solani, which causes damping-off in cool, wet soil.
Thinning: When seedlings reach 2 inches tall, thin to 3-inch spacing. Cut unwanted plants at soil level rather than pulling to avoid disturbing taproots. Consume thinnings as microgreens.
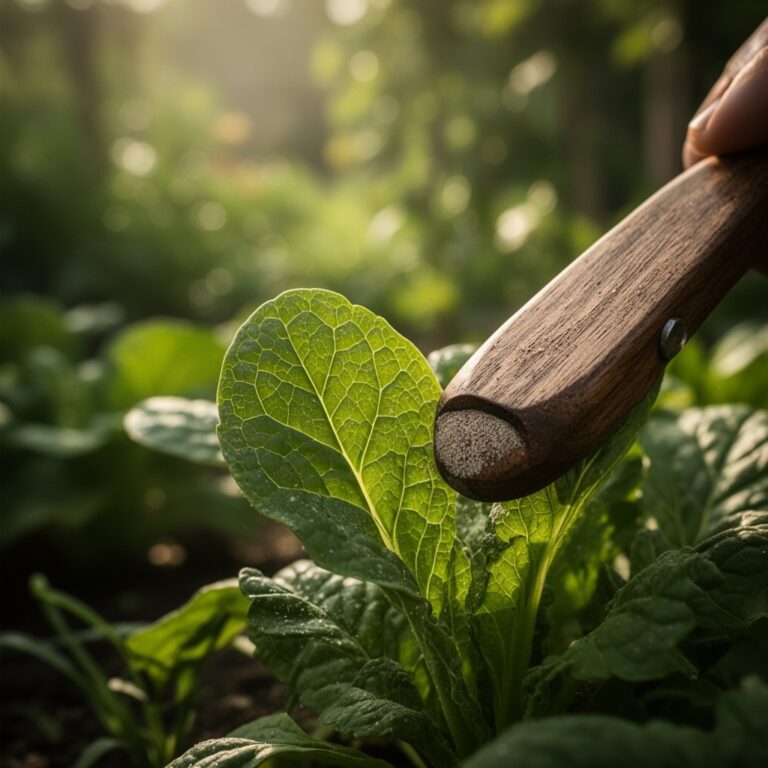
Establishing: Side-dress with a 3-2-2 organic fertilizer when roots reach marble size, approximately 30 days after germination. Apply 1/4 cup per linear foot along the row, 2 inches from stems. Water with 1 inch immediately to move nutrients into the root zone.
Pro-Tip: Maintain soil moisture at 65 to 75 percent field capacity. Fluctuations cause growth rings to separate, creating concentric cracks that invite rot.
Troubleshooting
Symptom: Yellow leaf margins with interveinal chlorosis.
Solution: Magnesium deficiency. Dissolve 1 tablespoon Epsom salt per gallon of water and drench root zone.
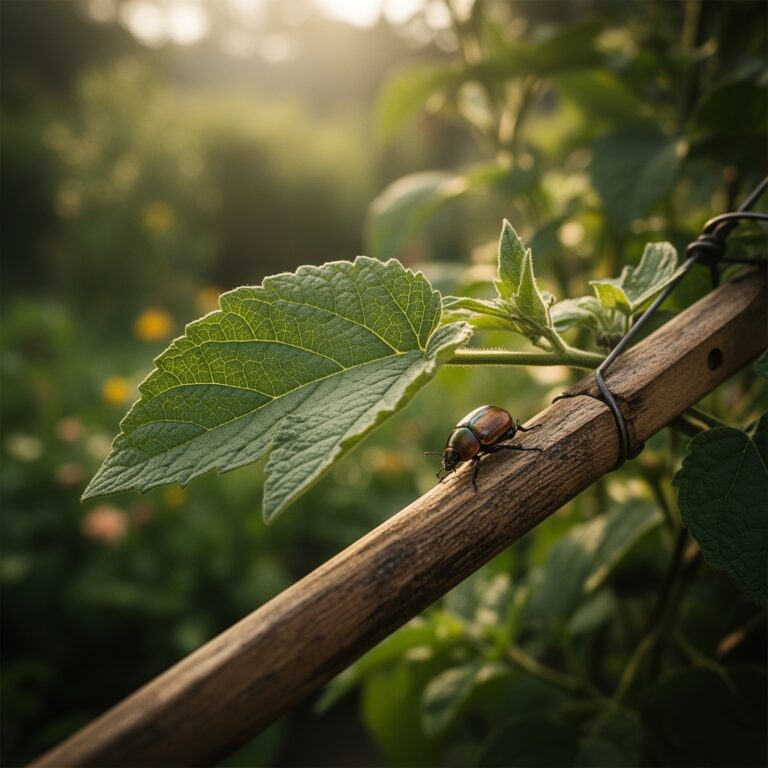
Symptom: Circular lesions with tan centers on leaves, caused by Cercospora beticola.
Solution: Remove infected foliage. Apply copper fungicide at 1 tablespoon per gallon every 7 days.
Symptom: Stunted roots with black, rotted crowns.
Solution: Phoma betae infection. Rotate crops on a 3-year cycle. Avoid overhead irrigation after plants mature.
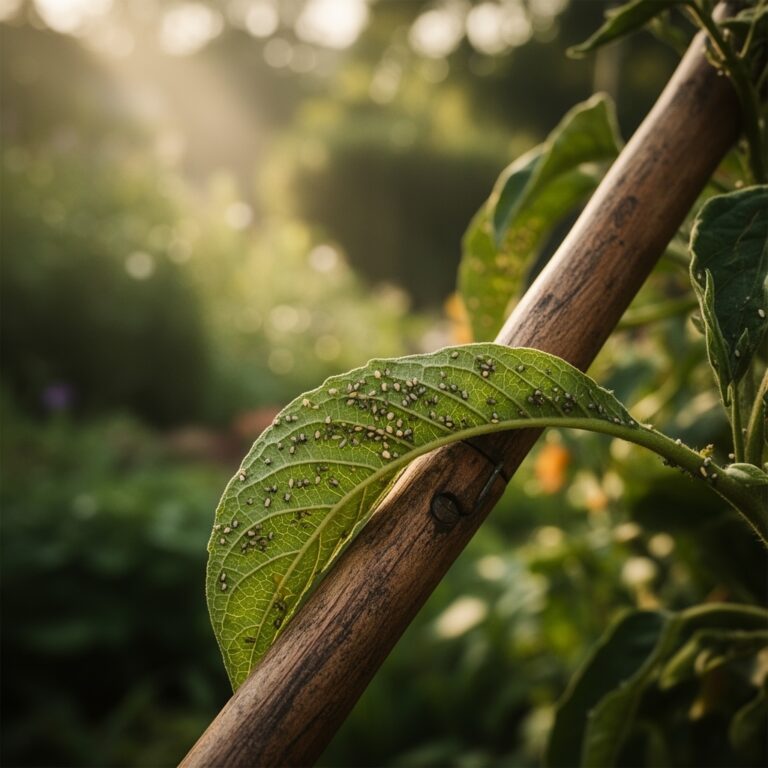
Symptom: Tunnels through roots with frass present, created by Delia radicum larvae.
Solution: Cover rows with floating row cover at germination. Remove cover after 21 days or apply Steinernema feltiae nematodes.
Symptom: Internal black zones radiating from the crown.
Solution: Boron deficiency induced by high pH or drought. Foliar spray with 1/4 teaspoon borax per gallon twice, 10 days apart.
Maintenance
Provide 1 inch of water per week through drip irrigation or soaker hoses. Overhead watering promotes foliar disease. Mulch with 2 inches of straw to stabilize soil temperature and retain moisture.
Weed when plants are dry to prevent disease spread. Hand-pull within 1 inch of stems. Hoe row middles to a depth of 1/2 inch to sever weed roots without damaging beet feeder roots.
Harvest when roots measure 1.5 to 3 inches in diameter. Larger roots develop lignified cores and lose stripe contrast. Twist off tops 1 inch above the crown to prevent bleeding.
FAQ
How deep do striped beet roots grow?
Taproots extend 24 to 36 inches, but the edible portion forms in the top 4 inches of soil.
Can I grow striped beets in containers?
Yes. Use pots 10 inches deep with drainage holes. Choose varieties like 'Chioggia' that mature at smaller sizes.
Why did my striped beets lose their rings when cooked?
Betalain pigments degrade above 140°F. Roast whole at 325°F or slice raw for salads.
Do striped beets need full sun?
Six hours minimum. Partial shade slows maturation by 10 to 14 days and reduces sugar content.
How do I save seeds from striped beets?
Beets are biennial. Overwinter roots in Zone 7 or warmer, or lift and store at 35°F. Replant in spring for seed stalks that mature in 90 days.