10 Technical Steps to Install Pool Coping
The smell of damp earth and the turgor of a healthy leaf define the perimeter of a well managed landscape. When integrating hardscaping with botanical life, the transition point between water and soil must be precise. Understanding the steps to install pool coping is not merely a construction task; it is an exercise in managing the hydrology of the rhizosphere. A failure in the coping seal leads to moisture migration that disrupts the soil cation exchange capacity (CEC) in adjacent planting beds. This guide ensures your masonry and your garden thrive in structural and biological harmony.
Materials:

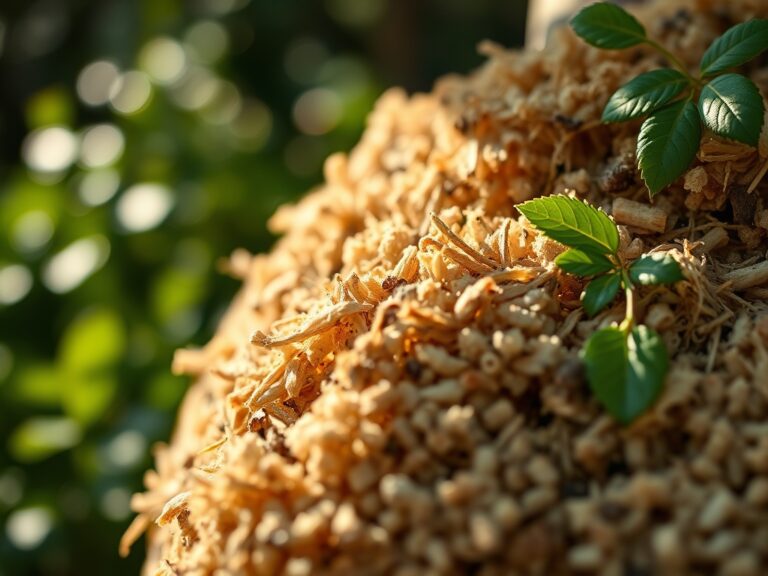
The substrate surrounding the pool must be a **friable loam** with a **pH range of 6.0 to 7.0**. High alkalinity from concrete runoff can lock out essential micronutrients. Before installation, amend the soil with a **5-10-10 NPK ratio** fertilizer to prioritize root development over vegetative growth. You will need **Type S mortar**, a **polymer-modified thin-set**, and **natural stone or pre-cast concrete units**. The substrate should have a high CEC to retain potassium and magnesium ions, preventing leaching during heavy irrigation or splash-out.
Timing:
Successful installation requires specific environmental windows. In Hardiness Zones 5 through 8, schedule work after the final spring frost but before the summer solstice. The "Biological Clock" of surrounding flora is critical; you must install coping before plants enter their peak reproductive stage to avoid heat stress and transplant shock. Aim for ambient temperatures between 60 and 80 degrees Fahrenheit. High heat accelerates mortar curing too quickly, leading to micro-fissures that compromise the structural integrity of the pool edge.
Phases:

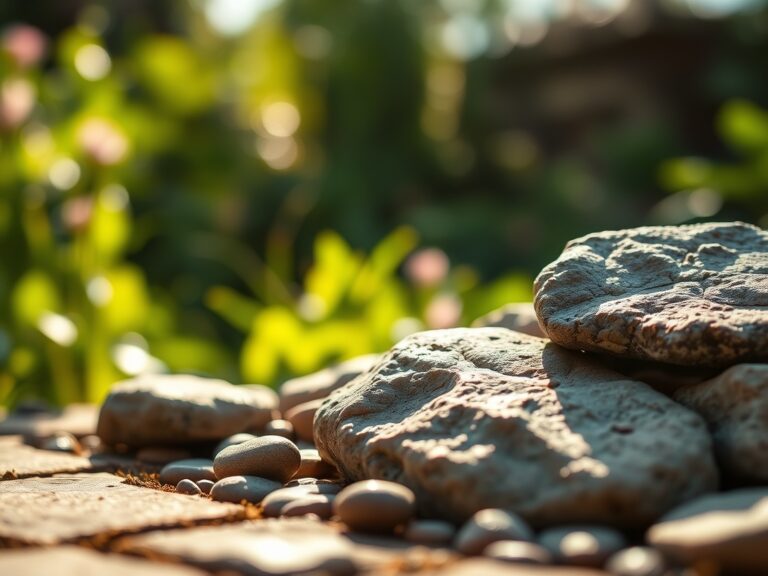
Sowing the Foundation
The first of the steps to install pool coping involves preparing the bond beam. Use a wire brush to remove laitance and debris. Apply a bonding agent to the concrete to ensure the mortar bed adheres permanently.
Pro-Tip: Maintain a 1/4-inch per foot slope away from the pool. This prevents chlorinated water from pooling in the root zone of nearby plants, which causes osmotic stress and cellular dehydration.
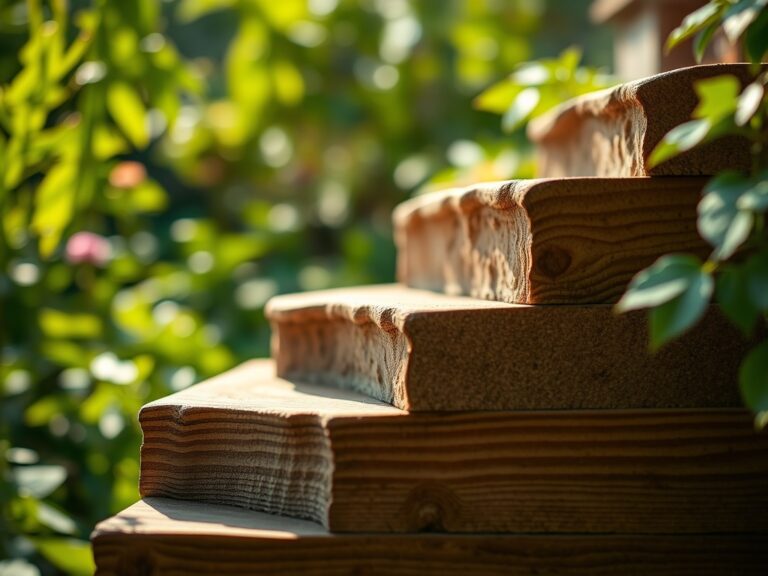
Transplanting the Units
Dry-fit every stone before applying mortar. This allows for precise cuts around skimmers and corners. Use a 1/2-inch notched trowel to spread the thin-set. Set the stone firmly, tapping it with a rubber mallet to remove air pockets.
Pro-Tip: Leave a 3/8-inch expansion joint between the coping and the pool deck. This accounts for thermal expansion and prevents mechanical damage to the plant rhizosphere caused by shifting pavers.
Establishing the Seal
Once the stones are set, grout the joints with a waterproof masonry mix. Use a damp sponge to clean the surface before the grout cures. This prevents "caustic burn" on nearby foliage from drifting cement dust.
Pro-Tip: Apply a silane-based sealer to the stone. This reduces salt efflorescence, which can alter the soil salinity and inhibit the mycorrhizal symbiosis necessary for nutrient uptake in the surrounding landscape.
The Clinic:
Physiological disorders in the landscape often stem from poor installation.
- Symptom: Marginal leaf burn on nearby shrubs.
- Solution: Check for mortar leaching. Test soil pH; if it exceeds 7.5, apply elemental sulfur to lower the alkalinity.
- Symptom: Nitrogen chlorosis (yellowing of older leaves).
- Solution: The construction process may have compacted the soil, limiting oxygen. Aerate the soil and apply a quick-release 20-0-0 nitrogen fertilizer.
- Symptom: Stunted growth and wilting despite irrigation.
- Solution: Poor drainage behind the coping may be causing root rot. Install a French drain to move water away from the root zone.
Maintenance:
A professional must monitor the interface between the coping and the garden. Use a soil moisture meter to ensure the area receives exactly 1.5 inches of water per week at the drip line. Use a hori-hori knife to remove weeds from expansion joints without disturbing the stone bedding. Prune overhanging branches with bypass pruners to prevent organic debris from staining the new stone and altering the water chemistry.
The Yield:
While pool coping does not produce a harvest, the "yield" is the longevity of the surrounding perennials. By managing the steps to install pool coping correctly, you protect the investment of your botanical collection. Healthy plants with high turgor pressure will provide a cooling microclimate around the water, reducing evaporation rates. Handle any nearby floral transplants with care; keep roots moist and shaded until they are returned to the amended soil.
FAQ:
What is the best mortar for pool coping?
Use Type S mortar for its high compressive strength and lateral bond. It withstands the moisture levels and freeze-thaw cycles common in Hardiness Zones 4 through 7 without cracking or losing adhesion to the bond beam.
How do I prevent salt damage to plants?
Select salt-tolerant species like Rugosa Rose or Wintercreeper. Ensure the coping has a proper "bullnose" edge to direct splash-back into the pool rather than onto the soil, maintaining a stable soil salinity level.
Can I install coping in the rain?
No. Precipitation dilutes the mortar, weakening the bond and causing "slump." Excess moisture also compacts the friable loam in your garden beds, destroying the pore space required for gas exchange in the rhizosphere.
How long before I can walk on new coping?
Wait at least 24 to 48 hours for the mortar to achieve initial set. Full cure takes 28 days. Avoid heavy foot traffic or placing heavy planters on the edge to prevent shifting the stones.