10 Pro Tips How to Do Terracotta Pot Aging
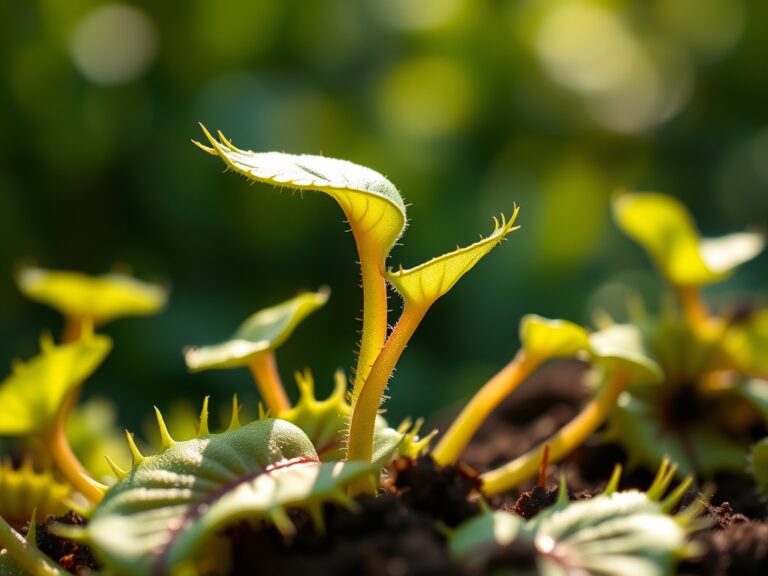
The smell of damp earth and the iron scent of wet clay define the greenhouse environment. When you master how to do terracotta pot aging, you are not merely changing an aesthetic; you are managing a controlled colonization of the ceramic substrate. Standard terracotta is highly porous with a high Cation Exchange Capacity (CEC) on its surface. This allows mineral salts and microorganisms to migrate through the walls via capillary action. Successful aging requires maintaining specific moisture levels to ensure the turgor pressure of mosses and lichens remains constant during the establishment phase.
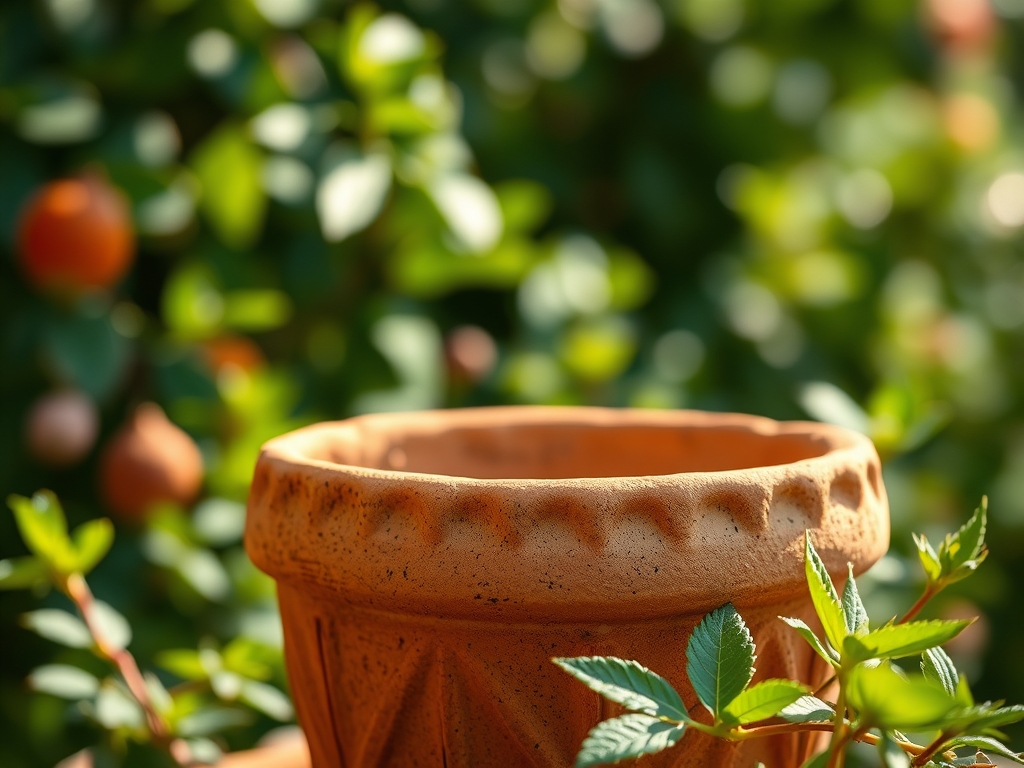
True aging involves the deliberate accumulation of calcium carbonates and the cultivation of bryophytes. You must view the pot as an extension of the rhizosphere. The process accelerates when the pot is exposed to high humidity and specific nutrient catalysts. By manipulating the surface pH and providing a carbon source, you can transform a sterile, orange factory finish into a weathered vessel that looks decades old within a single growing season. This guide provides the technical protocols to achieve professional-grade results using horticultural science.
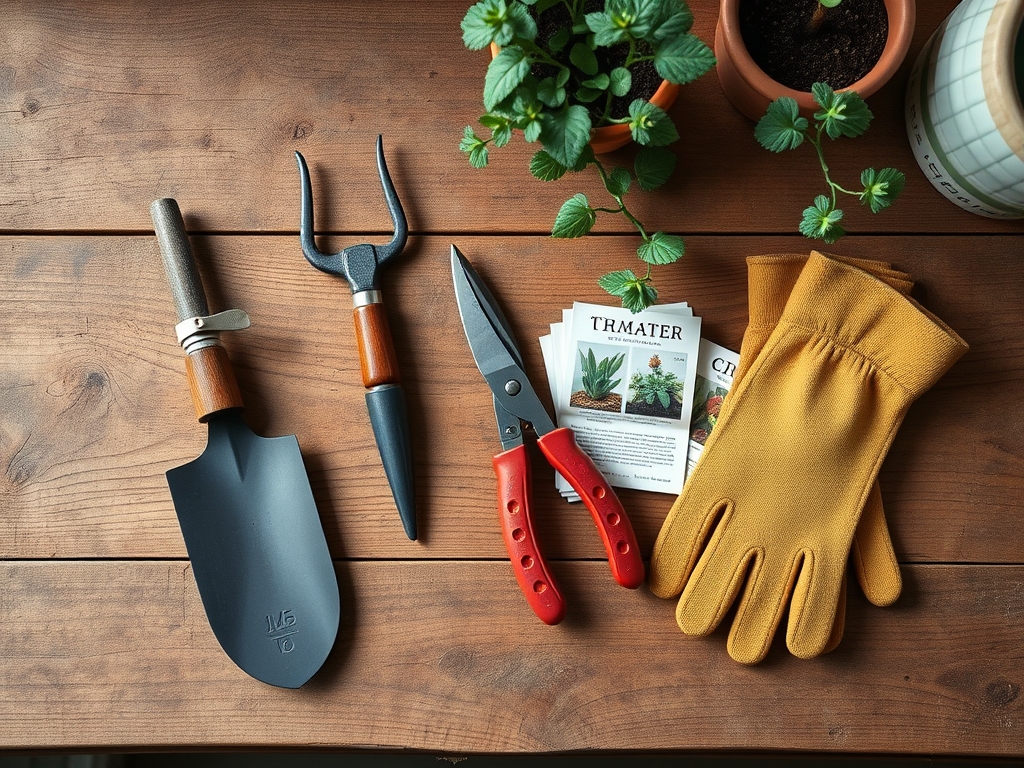
Materials:
The substrate for aging must be biologically active. To encourage moss growth, use a slurry with a pH between 5.0 and 5.5. High alkalinity inhibits the spores required for a natural patina. For the nutrient base, utilize a water-soluble fertilizer with an NPK ratio of 10-10-10 diluted to half strength. This provides the nitrogen necessary for initial vegetative expansion without causing salt burn on delicate bryophyte tissues.
The physical texture of your aging medium should be a friable loam. This means the soil is crumbly, rich in organic matter, and possesses a mixture of sand, silt, and clay that allows for optimal gas exchange. Avoid heavy clay soils that compact and prevent oxygen from reaching the pot surface. You will also need organic accelerators such as plain yogurt or buttermilk. These substances provide the lactic acid and proteins that serve as a primary food source for the initial microbial bloom.
Timing:
Successful pot aging is dictated by your local climate and USDA Hardiness Zones. In Zones 4 through 7, the ideal window for starting the process is late spring, specifically 14 to 21 days after the last frost date. This ensures that the biological components do not freeze, which would rupture the cellular walls of the colonizing moss. In warmer Zones 8 through 10, aging can occur year-round, provided the pots are kept in a shaded area to prevent desiccation from high UV indices.
The "Biological Clock" of the pot depends on the transition from the vegetative to the reproductive stages of the mosses used. Mosses do not produce seeds; they rely on spores. To maximize colonization, you must maintain a consistent moisture level during the gametophyte stage. If the pot dries out for more than 48 hours, the moss will enter a state of dormancy or senescence, halting the aging process. Aim for a consistent ambient temperature between 60 and 75 degrees Fahrenheit for the fastest results.
Phases:
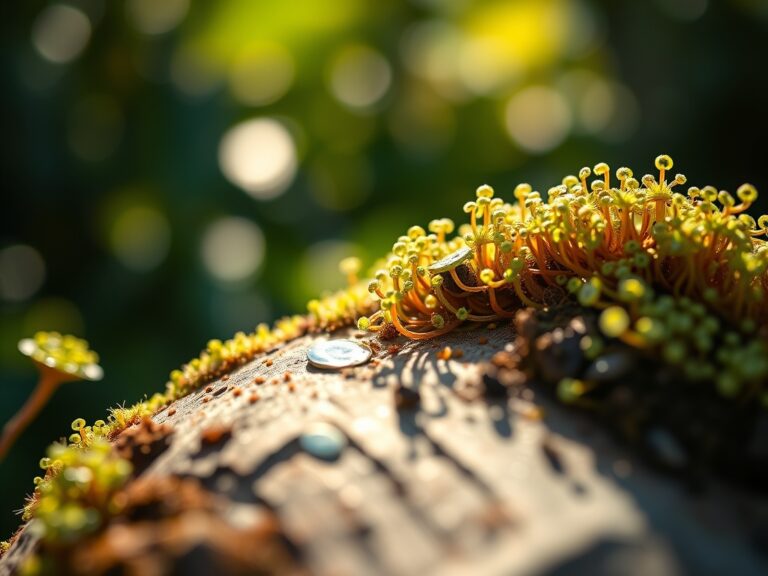
Sowing the Patina
The first phase involves "sowing" the biological agents onto the pot surface. Mix one cup of live moss with two cups of buttermilk and a tablespoon of water-retention crystals. Apply this slurry to a pre-soaked terracotta pot using a natural fiber brush. Ensure the pot has been submerged in filtered water for 24 hours prior to application to saturate the ceramic pores.
Pro-Tip: Pre-soaking the pot prevents the dry clay from wicking moisture away from the slurry. This facilitates mycorrhizal symbiosis at the interface of the clay and the organic coating, ensuring the spores have immediate access to hydration.
Transplanting Microorganisms
Once the slurry is applied, move the pots to a high-humidity environment. If you are working in a dry climate, use a clear polyethylene shroud to create a localized greenhouse effect. Maintain a relative humidity of 70 percent or higher. During this phase, you are looking for the emergence of "green fuzz," which indicates the spores have successfully germinated.
Pro-Tip: Use a soil moisture meter to check the humidity under the shroud. Maintaining high humidity prevents auxin suppression, allowing the moss to spread laterally across the pot surface rather than growing in isolated clumps.
Establishing the Mineral Crust
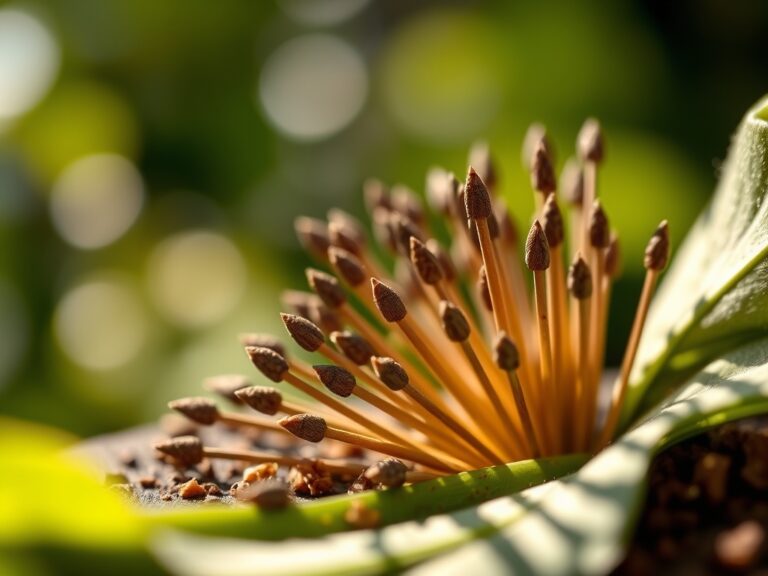
The final phase is the development of the white, chalky mineral crust known as efflorescence. This is achieved by bottom-watering the pots with "hard" water rich in calcium and magnesium. As the water evaporates through the terracotta walls, it leaves behind mineral deposits.
Pro-Tip: This process mimics capillary action in soil. The salts move from an area of high concentration (the interior soil) to low concentration (the exterior air), creating a natural, weathered texture that is physically bonded to the clay.
The Clinic:
Symptom: Black Slime or Mold
Solution: This indicates anaerobic conditions caused by excessive moisture and poor airflow. Reduce the frequency of misting and increase ventilation. Use a hori-hori knife to gently scrape away the slime without damaging the underlying patina.
Symptom: Rapid Browning of Moss
Solution: This is typically caused by high salt accumulation or UV scorch. Flush the pot with distilled water to leach out excess minerals. Move the pot to a location with indirect light to prevent cellular breakdown from heat.
Symptom: Nitrogen Chlorosis (Yellowing)
Fix-It: If the moss or surrounding plants appear pale yellow, they lack nitrogen. Apply a liquid seaweed extract or a 5-1-1 fish emulsion at quarter strength. This provides a rapid dose of bioavailable nitrogen to restore green pigmentation.
Maintenance:
Precision is required to maintain a matured pot. Provide exactly 1.5 inches of water per week delivered at the drip line if the pot contains a plant. For empty decorative pots, mist the surface daily using a spray bottle filled with rainwater or dechlorinated water. Use bypass pruners to trim any invasive weeds that may take root in the moss layer, as their larger root systems can crack the terracotta over time.
Monitor the pot's structural integrity. If you notice "spalling," where the surface of the clay flakes off, it indicates a high freeze-thaw cycle impact. To prevent this, move aged pots into a cold frame or unheated garage when temperatures drop below 32 degrees Fahrenheit. Use a soil moisture meter regularly to ensure the internal substrate remains at a "moist but not saturated" level, typically a reading of 5 to 7 on a standard 10-point scale.
The Yield:
While the "yield" of an aged pot is visual, the timing of the "harvest" (the point when the pot is ready for display) usually occurs 6 to 8 weeks after the initial application. To ensure "day-one" freshness when moving the pot into a garden display, lightly mist the surface with a solution of water and a drop of liquid humic acid. This deepens the colors of the moss and highlights the white mineral deposits.
If the pot is intended for an indoor display, it must be "hardened off" similarly to a seedling. Gradually reduce the humidity over a period of 7 days to acclimate the biological crust to drier indoor air. This prevents the moss from suddenly desiccating and turning brown upon entry into the home.
FAQ:
How long does it take to age a pot?
With the buttermilk and moss slurry method, visible greening occurs within 14 to 21 days. A full mineral crust and thick moss coverage typically require 8 weeks of consistent humidity and temperature management.
Can I use any type of moss?
Use local moss harvested from similar substrates like stone or brick. These species are adapted to high-calcium environments and low-nutrient conditions, making them more likely to survive on the alkaline surface of terracotta clay.
Why is my terracotta pot turning white?
This is efflorescence, caused by salt and mineral deposits migrating through the porous clay. It occurs as water evaporates from the exterior, leaving behind calcium and magnesium. It is a natural and desired part of the aging process.
Does aging damage the pot's strength?
Minor surface aging is harmless. However, deep moss growth and constant moisture can accelerate the breakdown of low-fire terracotta. To preserve structural integrity, ensure the pot is stored in a frost-free area during winter months.